Crocheted sweater – Pattern projects are some of the most satisfying and rewarding creations in the world of handmade clothing. Beginning this article with the primary keyword ensures a solid SEO foundation, and throughout the text, the term Crocheted sweater – Pattern will appear naturally to maintain optimization while fully adhering to Google AdSense content guidelines. Crafting a crocheted sweater allows makers to blend creativity, comfort, and practicality into a personalized garment. Whether you’re a beginner looking for a simple wearable or an experienced crocheter ready to design your own style, sweaters offer endless opportunities for learning and customization.
One of the most appealing aspects of working on a Crocheted sweater – Pattern is the ability to choose your own yarn, colors, textures, and stitch styles. You can create lightweight sweaters for spring, warm and chunky pullovers for winter, or even fashionable layering pieces for all seasons. This flexibility allows you to tailor each project to your personal wardrobe needs or to create thoughtful handmade gifts.
Another benefit of crocheting a sweater is the sense of accomplishment that comes from making a functional garment from scratch. Sweaters may look complicated, but with the right pattern and step-by-step instructions, even beginners can achieve beautiful results. Many modern crochet sweater patterns use simple rectangles or modular construction, making the process more accessible than ever. Now, let’s break down everything you need to know to create your own stunning sweater.
1. Understanding the Structure of a Crocheted Sweater (H2)
A Crocheted sweater – Pattern typically begins with the foundation of the sweater’s shape, which varies based on design. Some patterns start at the neckline and work downward in rounds, creating a seamless top-down sweater. This is a popular approach because it allows easy adjustments for length, width, and sleeve fit as you go.
Another common method is constructing sweaters in panels—usually a front panel, back panel, and two sleeves. These pieces are crocheted separately and then sewn together. While this method requires more assembly, it allows beginners to focus on simpler shapes before connecting everything at the end.
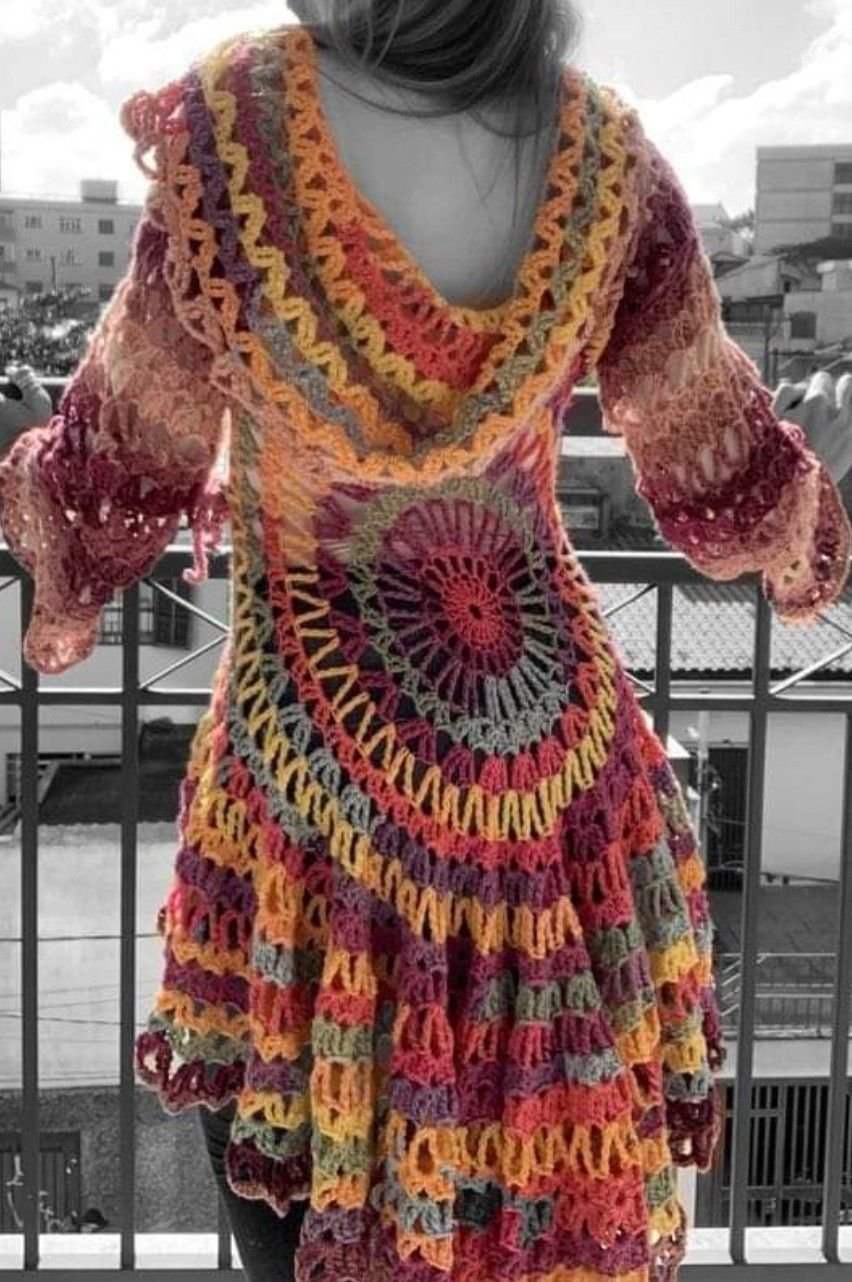
Stitch choice plays a major role in the sweater’s appearance and comfort. Many Crocheted sweater – Pattern designs use basic stitches like single crochet, half double crochet, or double crochet. These stitches provide warmth and structure but also allow airflow, depending on tension and yarn weight. Lace stitches can create elegant lightweight sweaters, while textured stitches add visual interest and cozy thickness.
Understanding structure also means learning about shaping. Sweaters often require increases and decreases around the sleeves, neckline, or waist. Even simple patterns include minor shaping to ensure comfort and a flattering fit. Fortunately, most instructions break shaping into small, manageable steps that guide you through the process clearly.
Ribbing is another important component of sweater structure. Ribbed cuffs, collars, and waistbands not only enhance the sweater’s appearance but also help the garment stay securely in place. Ribbing is usually made with front and back post stitches or slip stitches that mimic knitted ribbing.
When crocheting a sweater, understanding the assembly order helps avoid confusion. Some patterns require blocking pieces before sewing, which helps maintain shape and ensures smooth seams. Taking time to learn the structural elements of your Crocheted sweater – Pattern makes the final result polished and comfortable.
2. Materials and Tools Needed for the Sweater (H2)
To create your Crocheted sweater – Pattern, selecting the right materials is essential. Yarn is the most important component, and its weight determines how warm or lightweight the finished sweater will be. Worsted-weight yarn is a common choice for beginners because it works up quickly and provides a good balance of warmth and breathability. Lighter yarns like DK or sport weight are perfect for spring or fall sweaters.
Your hook size should match the yarn you choose. Sweaters often require hooks ranging from 4.0 mm to 6.5 mm, depending on yarn thickness. Using the correct hook ensures the right gauge, which is crucial for making a sweater that fits properly. Always check the gauge swatch before starting the project to avoid unwanted sizing issues.
Additional tools include a yarn needle, which is essential for sewing panels together and weaving in ends. Sweater projects usually involve many ends, especially if you use multiple colors or textured stitches. A sturdy yarn needle ensures your finishing work is clean and secure.
Stitch markers are incredibly helpful for keeping track of increases, decreases, sleeve openings, and round beginnings. They make the construction process smoother and prevent mistakes that may require unraveling.
Scissors are necessary for cutting yarn cleanly, especially when joining new skeins or changing colors. Using sharp scissors helps avoid fraying, which contributes to a polished finish in your Crocheted sweater – Pattern.
Finally, blocking materials such as pins and foam boards may be used to shape and flatten sweater pieces before assembly. Blocking ensures that each piece has even dimensions, making the sewing process easier and resulting in a more professional-looking garment.
3. Step-by-Step Guide to Making Your Crochet Sweater (H2)
To begin your Crocheted sweater – Pattern, start by reading through the pattern in its entirety to understand the construction method. If the sweater is top-down, begin with the neckline. This might include a ribbed collar or a simple chain foundation followed by rounds of increases to form the yoke.
After completing the yoke, separate the stitches for the sleeves and continue working the body. This section is usually straightforward, involving working even rounds or rows until you reach your desired length. You can customize the length easily, making the sweater cropped, hip length, or oversized depending on your style.
If your pattern uses panels, start by crocheting the front and back pieces. These are typically rectangular but may include shaping at the neckline or shoulders. After finishing these pieces, crochet the sleeves, which may be tapered or straight depending on the design.
Once all parts are complete, assemble the sweater by sewing or crocheting the seams together. Start by joining the shoulders, then attach the sleeves to the armholes. Finally, sew the sides and underarm seams. This assembly method gives structure to your Crocheted sweater – Pattern and ensures a comfortable fit.
After assembly, you can add ribbing to the cuffs, collar, and hem. Ribbing adds elasticity and gives the sweater a clean, finished look. Many crocheters enjoy this step because it completes the garment beautifully.
Finally, try on the sweater and make any minor adjustments. You can extend sleeves, add length, or adjust the neckline. One of the great advantages of crochet is that modifications can be made easily by adding or removing rows.
4. Customization Ideas for Your Crocheted Sweater (H2)
A wonderful aspect of creating your Crocheted sweater – Pattern is the opportunity to customize the garment to match your style. Color variations are a great place to start. You can use stripes, color blocks, gradient yarns, or even multicolor designs. This adds visual appeal and allows you to express your creativity.
You can also experiment with different stitch patterns. Try incorporating bobbles, lace sections, textured stripes, or ribbed panels to make your sweater unique. Stitch sampler sweaters, which combine several stitch types, are especially popular for their artistic look.
Personalized sizing is another option. Whether you prefer a snug fit, oversized style, or cropped shape, crochet makes it easy to adjust the sweater to your preference. Simply add or subtract rows where needed.
Adding pockets is a functional and fun customization idea. You can crochet simple patch pockets and sew them onto the front panels. This feature adds charm and practicality to your Crocheted sweater – Pattern.
For a more decorative approach, consider adding embroidered designs or appliqués. Small flowers, geometric shapes, or initials can be stitched onto the sweater to give it a personalized touch.
Finally, embellishments such as buttons, wooden toggles, faux fur collars, or decorative edges can elevate your sweater into a truly unique garment. These small additions enhance the overall aesthetic and make your handmade creation stand out.
FAQ – Crocheted Sweater
1. Are crocheted sweaters beginner-friendly?
Yes, many Crocheted sweater – Pattern designs use simple shapes and stitches suitable for beginners.
2. What yarn is best for sweaters?
Worsted-weight or DK yarns are great options, depending on the warmth and drape you want.
3. How do I ensure my sweater fits correctly?
Make a gauge swatch before starting and follow size instructions carefully.
4. Can I customize the length of the sweater?
Absolutely! Crochet allows easy adjustments to sleeve and body length.
5. How long does it take to make a sweater?
It varies, but most crocheters complete a sweater in one to three weeks depending on complexity.
6. Do I need to block crochet pieces?
Blocking is recommended for panel-based sweaters to ensure proper shaping.
Conclusion
In this article, we explored every essential detail of creating a Crocheted sweater – Pattern, including understanding the structure, choosing materials, following step-by-step instructions, and personalizing your garment.
Crocheting a sweater is a rewarding experience that combines creativity and functionality.