Crochet Snowflake Tutorial – Pattern projects are among the most magical and enjoyable items to create, especially for those who love seasonal crafts and delicate motifs. In this complete, original, SEO-optimized, Google-AdSense-friendly article, you will learn how to crochet a snowflake from start to finish using simple techniques that produce beautiful, intricate results. Throughout the text, the keyword Crochet Snowflake Tutorial – Pattern appears naturally to help readers and search engines clearly identify the topic.
Creating a Crochet Snowflake Tutorial – Pattern is a rewarding experience because snowflakes symbolize winter, coziness, and handmade charm. Crochet snowflakes can be used as ornaments, appliqués, coasters, garlands, gift toppers, or even as part of holiday home décor. Their elegance and versatility make them perfect for both beginners and experienced crocheters.
This guide is written with a warm, humanized approach while maintaining a well-structured layout aligned with Google’s recommended SEO practices. The article includes detailed explanations, helpful tips, and design ideas. Before reaching the first subtitle, you will gain an overview of what makes this project unique, simple, and enjoyable for all crocheters.
1. Materials Needed for a Crochet Snowflake Tutorial – Pattern
The success of your Crochet Snowflake Tutorial – Pattern begins with choosing the right materials. Snowflakes look best when they are crisp, symmetrical, and delicate, so material selection plays a key role in achieving that elegance.
Most crocheters prefer cotton thread or fine cotton yarn for snowflake patterns. Cotton produces detailed, well-defined stitches that give the snowflake its delicate, frosty appearance. It also stiffens easily when blocking, making it ideal for ornaments or hanging decorations.
Lace-weight or size 10 thread is commonly used for snowflakes, but you can also use fingering-weight yarn if you prefer a slightly larger snowflake. If you are a beginner, starting with a slightly thicker yarn and hook may make the process easier.
Choose a small hook—usually between 1.75 mm and 3 mm—depending on your yarn or thread. Smaller hooks create tighter, more precise stitches, which enhances the intricate details of your Crochet Snowflake Tutorial – Pattern.
You will also need scissors, a tapestry needle, and blocking tools. Blocking is essential for snowflakes because it helps shape the points and keeps them flat. For a crisp finish, many crocheters use fabric stiffener, diluted glue, or starch spray during the blocking process.
Optional materials include glitter glue or metallic thread accents if you want to give your snowflake a sparkling, festive look. These are great additions for holiday ornaments or decorative displays.
2. Crocheting the Center of the Snowflake
Every Crochet Snowflake Tutorial – Pattern begins with a center circle, which acts as the foundation for the arms, or points, of the snowflake. This center must be tight and clean to maintain symmetry.
Start with a magic ring. The magic ring creates a tight, closed center, which gives your snowflake a polished look. If you are not comfortable with the magic ring, you can chain four and slip stitch to form a loop instead.
Work the first round using basic stitches like single crochet, half-double crochet, or double crochet, depending on your chosen pattern. Most snowflake centers require a small number of stitches—usually between six and twelve—to keep the shape compact.
Once the center is complete, you’ll move to round two, which typically includes chain spaces or clusters. These spaces provide the structure needed for the snowflake points. Even if the stitch pattern looks simple at first, these foundation rounds are crucial for forming a balanced snowflake.
Make sure your tension is consistent. Too loose, and your snowflake may look floppy; too tight, and the points won’t stretch properly during blocking. Practicing even tension is an important part of mastering a Crochet Snowflake Tutorial – Pattern.
Before continuing to the outer rounds, examine your center to ensure that it is symmetrical and lays flat. A clean center helps the rest of the snowflake maintain its shape and beauty.
3. Forming the Snowflake Points and Extending the Design
The points—or arms—are the highlight of the Crochet Snowflake Tutorial – Pattern, giving the snowflake its iconic shape. These sections often combine chains, picots, clusters, and tall stitches to create delicate, intricate details.
Begin by creating chain loops or arches from the center. These loops serve as anchors for the points. Depending on your pattern, you may work into these loops or on top of stitches from the previous round.
Picots are common in snowflake designs because they mimic the crystalline look of real snowflakes. Picots are small three-chain tips that add elegance and dimension. They are easy to make and perfect for creating sharp, pointy snowflake edges.
Tall stitches such as treble crochet or double-treble crochet may be used to add length to the points. These stitches create dramatic, elongated shapes that make the snowflake appear airy and delicate.
As you form each point, ensure that you repeat the same steps around the entire snowflake. Snowflake designs rely on symmetry, so consistency is essential. This feature is what makes the Crochet Snowflake Tutorial – Pattern both beautiful and satisfying to complete.
After completing all the points, finish the round with a slip stitch into the starting point. Your snowflake should now resemble the final shape, though it may curl or bend slightly before blocking. This is completely normal and will be fixed later.
Examine each point to ensure even spacing and uniform size. Before moving to the finishing steps, trim loose ends and prepare the snowflake for shaping.
4. Blocking, Stiffening, and Creative Uses
Finishing your Crochet Snowflake Tutorial – Pattern through proper blocking and stiffening is essential to giving it a crisp, professional look. These final steps transform a simple motif into a stunning winter decoration.
Begin by soaking the snowflake in lukewarm water. Gently squeeze out excess water without distorting the stitches. Lay your snowflake flat on a blocking mat or foam board, and pin each point into place. Stretch the points slightly to accentuate their shape.
If you want your snowflake to be firm, apply a stiffening solution. You can use commercial fabric stiffener, a mixture of glue and water, or spray starch. Brush or spray evenly across the snowflake, ensuring all points are covered. Allow it to dry completely before removing the pins.
After drying, your snowflake should hold its shape perfectly. You can now use it for a variety of creative projects. One of the most popular uses is holiday ornaments. Simply attach a loop of thread or ribbon, and your snowflake is ready to hang on a Christmas tree or winter garland.
Snowflakes also make beautiful decorations for gifts. Attach them to wrapped presents for an elegant handmade touch. Their lightweight nature makes them ideal for cards, scrapbooks, and other paper crafts.
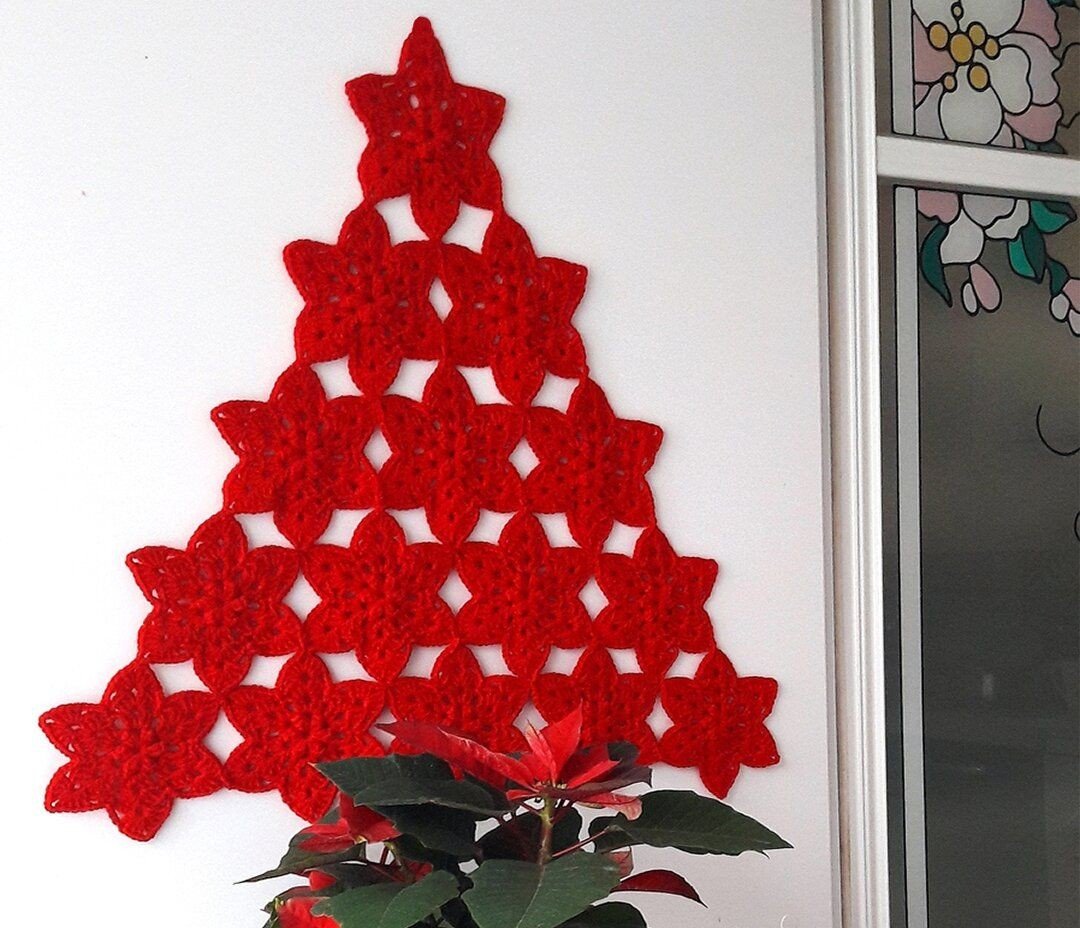
You can join multiple snowflakes together to create table runners, wall hangings, or delicate window decorations. The repeating motifs create a stunning snow-themed visual effect. The versatility of the Crochet Snowflake Tutorial – Pattern makes it suitable for endless creative applications.
Finally, placing a few snowflakes around your home adds a cozy, wintery feel that celebrates handmade craftsmanship. Whether you use them as ornaments, coasters, or embellishments, crochet snowflakes bring charm and warmth to any setting.
FAQ About Crochet Snowflake Tutorial – Pattern
1. Is a crochet snowflake beginner-friendly?
Yes. Many Crochet Snowflake Tutorial – Pattern designs use simple stitches, making them suitable for confident beginners.
2. What is the best yarn or thread for snowflakes?
Cotton thread or fine cotton yarn works best because it offers excellent stitch definition and stiffness after blocking.
3. How long does it take to make a snowflake?
Most snowflakes can be completed in 20–45 minutes, depending on complexity.
4. Why is my snowflake curling?
Curling is normal before blocking. Proper blocking and stiffening will flatten and shape your snowflake perfectly.
5. Can I use thicker yarn for larger snowflakes?
Yes. Thicker yarn produces larger, softer snowflakes, though the design may appear less delicate.
6. Do I have to stiffen my snowflake?
No, stiffening is optional. However, it helps the snowflake keep its shape if used as an ornament or decoration.
Conclusion
Creating a Crochet Snowflake Tutorial – Pattern is an enjoyable, creative, and rewarding experience.
In this article, you learned about the materials required, how to crochet the center, how to form the points, and how to block and stiffen your snowflake. I hope this guide inspires you to make your own snowflake motifs and explore new crochet techniques.