Crocheted bag with drawstring in the shape of a reindeer – Pattern projects are becoming increasingly popular among crafters who enjoy combining creativity with festive charm. Whether you want to make a cute holiday accessory, a unique gift bag, or a playful decoration, this adorable crochet reindeer pouch is the perfect project. Throughout this article, the keyword Crocheted bag with drawstring in the shape of a reindeer – Pattern will appear naturally to strengthen SEO performance while keeping the text engaging and reader-friendly.
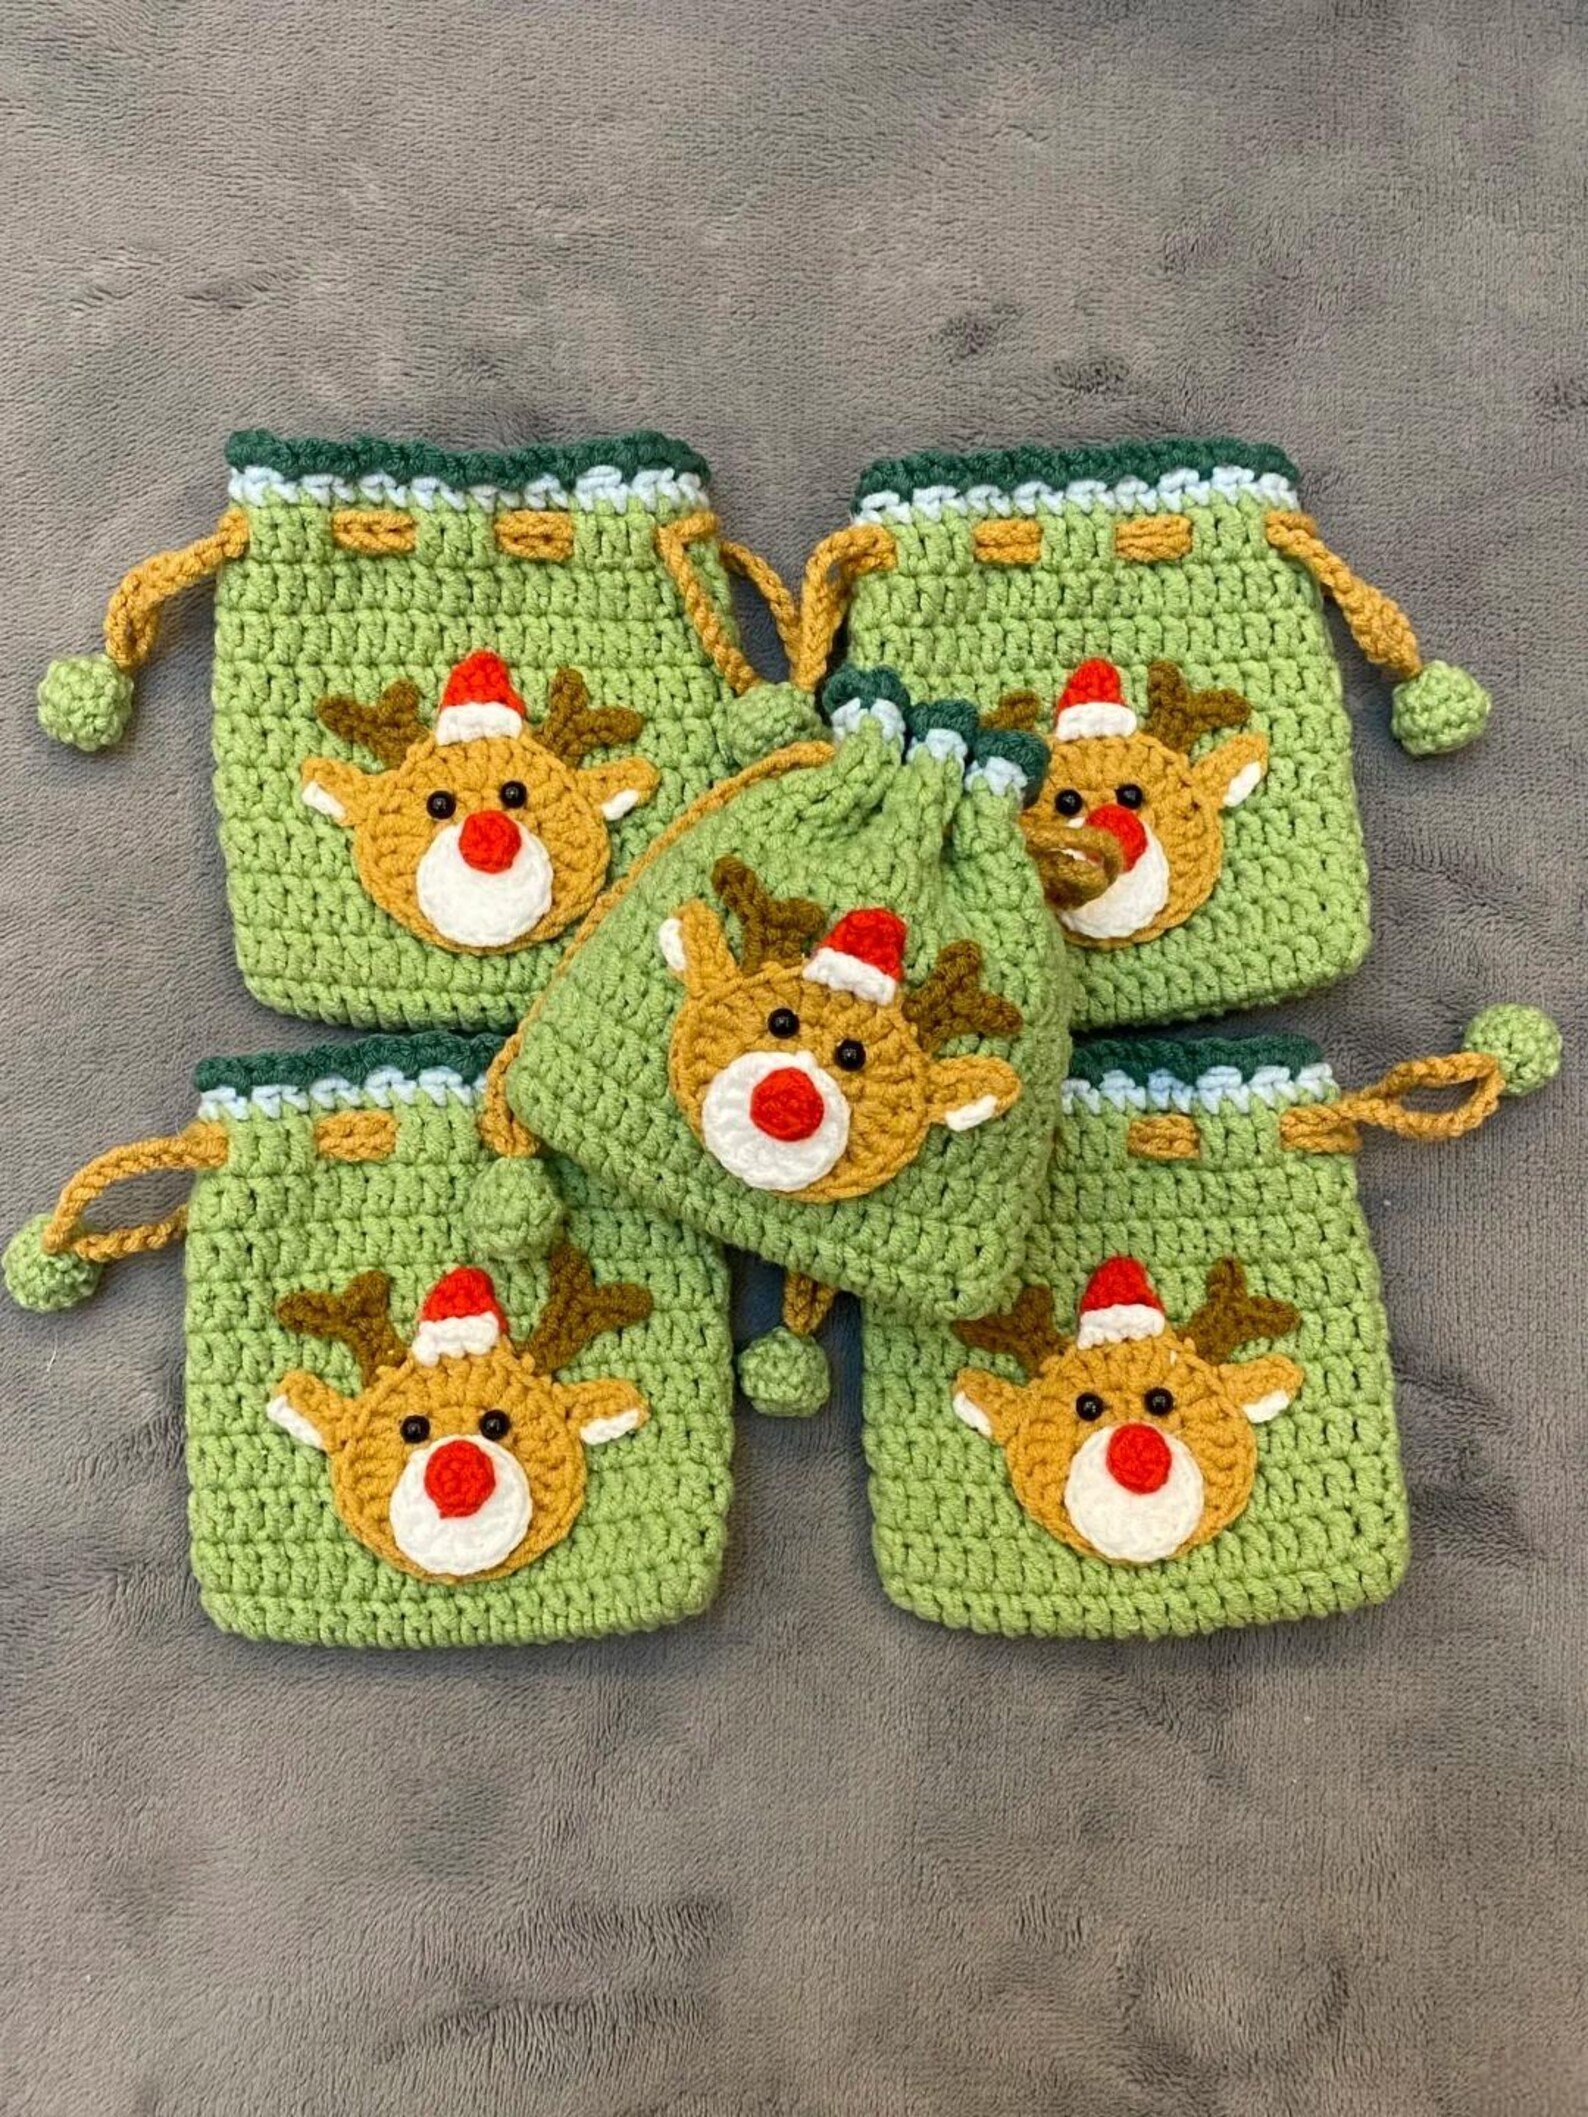
This pattern is ideal for Christmas crafting because it blends practicality with personality. A small crocheted reindeer bag can hold candies, small gifts, keys, coins, or even be used as a charming ornament. Its drawstring closure makes it functional and safe, while the reindeer face and antlers bring a whimsical touch that children and adults alike will adore.
In this complete tutorial-style guide, you’ll learn about materials, key steps in creating the bag, how to shape and assemble the reindeer features, and ways to customize your creation. Everything is explained in a warm, simple language, while still following Google-friendly SEO and AdSense-safe guidelines. Let’s get started with this festive and delightful project.
1. Materials Needed for a Crocheted Bag with Drawstring in the Shape of a Reindeer – Pattern
To create a Crocheted bag with drawstring in the shape of a reindeer – Pattern, gathering the right materials is essential. Because this bag is both decorative and functional, select yarns and tools that offer durability and visual appeal.
Start by choosing your yarn. Medium-weight acrylic yarn is a great choice, especially for a bag intended for daily use or for children. Acrylic is durable, washable, and easy to work with. Cotton yarn is another excellent option if you prefer a smooth, sturdy finish with crisp stitch definition. You will need brown for the reindeer’s face, a darker shade for the antlers, white for the eyes, and red or black for the nose.
Next, pick an appropriate crochet hook. Most Crocheted bag with drawstring in the shape of a reindeer – Pattern projects use a 4 mm to 5 mm hook, depending on yarn thickness. Using a slightly smaller hook than recommended will help create a dense fabric, which is ideal for bag-making because it prevents items from slipping out.
You’ll also need a yarn needle to sew the various parts of the reindeer onto the bag. Stitch markers are very helpful, especially when working in rounds or shaping facial features. Scissors and a tape measure will complete your basic tool kit.
The drawstring can be created with the same yarn or with a decorative cord. If you prefer a more festive look, consider using a satin ribbon or a braided yarn cord. The drawstring not only closes the top of the bag but also adds an elegant finishing touch.
Optional embellishments include safety eyes, pom-poms, tiny bells, or embroidery thread. These additions allow you to give your Crocheted bag with drawstring in the shape of a reindeer – Pattern a unique personality. You can choose a realistic or cartoon-style reindeer, depending on the accessories you add.
Finally, select a workspace with good lighting and enough room for your materials. Having a comfortable crochet environment helps you avoid errors and enjoy the creative process from start to finish.
2. Shaping the Base and Body of the Reindeer Bag
Once your materials are ready, it’s time to begin shaping the main structure of your Crocheted bag with drawstring in the shape of a reindeer – Pattern. The base is typically crocheted in a round or oval shape, depending on the design you prefer.
Begin by working a magic ring if you want a smooth, tight center. This method is perfect for bag bases because it eliminates any gaps at the bottom. If you prefer, you can start with a small chain loop, though the magic ring provides a neater appearance.
After forming the ring, work your stitches in continuous rounds, gradually increasing to widen the base. Use single crochet or half-double crochet stitches for strong, tight fabric. A good base ensures your bag is sturdy and can hold its shape even when carrying small items.
Once the base reaches the desired size, stop increasing and begin crocheting upward to form the body of the bag. This creates the cylindrical shape characteristic of most drawstring pouches. Continue working in rounds, maintaining even tension to avoid wavy or slanted edges.
As you build the body, you may choose to add slight shaping to resemble the reindeer’s head. For example, you can widen the upper portion slightly or leave it straight for a more classic bag shape. Either method works well for the Crocheted bag with drawstring in the shape of a reindeer – Pattern.
Near the top of the bag, create small holes for the drawstring. This can be done by chaining and skipping stitches in one row, then working regular stitches in the next row to secure the openings. Make sure the drawstring holes are evenly spaced to prevent uneven pulling.
Once the top section is complete, fasten off and prepare to add the reindeer details. At this point, your bag should look like a simple pouch, ready for its festive transformation.
3. Adding Reindeer Features to Your Crocheted Bag with Drawstring in the Shape of a Reindeer – Pattern
The most magical part of creating a Crocheted bag with drawstring in the shape of a reindeer – Pattern is adding the facial features and antlers that bring your creation to life. These touches turn a simple pouch into an adorable holiday character.
Begin with the eyes. You can crochet small white circles and add black stitches for the pupils, or you can use safety eyes for a more polished look. If crafting for young children, embroidered eyes are safer and recommended.
Next, crochet the nose. A red nose gives your bag a Rudolph-inspired look, while a brown or black nose is suitable for a more traditional reindeer. The nose can be crocheted as a small circle or made using a pom-pom for extra fluff and charm.
The antlers are the signature feature of this Crocheted bag with drawstring in the shape of a reindeer – Pattern. They can be crocheted separately using a darker brown yarn. Use small branches or curved shapes to make them look realistic or cartoon-like. Sew them securely to the top back area of the bag.
Add the ears next. Crochet small oval pieces and sew them on either side of the head area. Slight shaping can give them a more natural look. Combining ears with antlers enhances the 3D effect and makes the reindeer character instantly recognizable.
You may also embroider a small mouth or cheeks using yarn or embroidery thread. This step is optional, but it adds personality and warmth. A simple curve for a smile makes the reindeer look friendly and playful.
Finally, sew all components securely to ensure durability. Make sure the pieces are evenly aligned so your Crocheted bag with drawstring in the shape of a reindeer – Pattern looks balanced and adorable from every angle.
4. Customizing, Finishing, and Using Your Reindeer Bag
After completing the main structure and attaching all the details, it’s time to personalize your Crocheted bag with drawstring in the shape of a reindeer – Pattern and prepare it for everyday or seasonal use.
Start by adding the drawstring. Thread your yarn chain, ribbon, or cord through the openings made earlier. Tie knots at both ends or attach small pom-poms or bells for festive flair. If you add bells, be sure they are securely fastened to prevent choking hazards.
If you want a structured bag, consider lightly lining the interior with fabric. This step is optional but gives extra stability and helps protect items inside. Make sure the lining does not interfere with the drawstring.
Personalization is where your creativity shines. You can add embellishments like bows, tiny ornaments, and felt cut-outs. For example, a miniature scarf wrapped around the bag gives your reindeer even more charm.
Think about how you plan to use the bag. It can function as a gift pouch for small presents during the holidays. You can also use it as a child’s coin purse, a decoration for your Christmas tree, or even as a treat bag for festive gatherings.
If making several bags for gifts, consider customizing each reindeer with different expressions or colors. This makes each bag unique and adds a special touch to your handmade holiday creations.
Lastly, enjoy your work! A Crocheted bag with drawstring in the shape of a reindeer – Pattern is not just a craft project—it’s a handmade piece filled with love, creativity, and holiday spirit.
FAQ About Crocheted Bag with Drawstring in the Shape of a Reindeer – Pattern
1. Is this pattern beginner-friendly?
Yes. The Crocheted bag with drawstring in the shape of a reindeer – Pattern is suitable for beginners who know basic stitches.
2. What type of yarn works best?
Acrylic or cotton yarn works best due to durability and stitch clarity.
3. Can I make the bag bigger or smaller?
Absolutely. Adjust the base size or the number of rows in the body to change the bag dimensions.
4. How do I ensure the antlers stay firm?
Use tight stitches and consider double-layered antlers for extra support.
5. Is lining the bag necessary?
No, but lining adds structure and protects the interior from stretching.
6. Can I wash the bag?
Hand washing is recommended, especially if the bag includes embellishments like pom-poms or bells.
Conclusion
Creating a Crocheted bag with drawstring in the shape of a reindeer – Pattern is a joyful and festive project that combines crochet skills with holiday creativity. In this guide, you learned how to choose materials, shape the bag, add reindeer features, and personalize your creation.
This adorable pouch makes a perfect decoration, accessory, or handmade gift.