Table Runner – Pattern projects are a wonderful way to add personality, charm, and handmade elegance to your dining space. Starting a sewing project using a table runner – pattern allows you to explore creativity while following a structured, beginner-friendly guide. Table runners are versatile, stylish, and functional pieces that can transform the look of your table, whether for everyday meals or special occasions. They are simple enough for beginners yet customizable enough to delight experienced sewists.
Working with a table runner – pattern gives you freedom to experiment with fabrics, colors, shapes, and embellishments. You can create minimalist modern styles, farmhouse-inspired runners, or festive designs for holidays and celebrations. Because the pattern provides exact measurements and assembly instructions, the process becomes enjoyable and stress-free. It’s an excellent project for anyone who wants to enhance their home décor with something handmade and unique.
Handmade table runners add warmth to any dining area. They protect your table, define your dining setting, and bring visual interest to the center of your home. With the help of this article, you will learn how to read a pattern, choose the right materials, assemble your runner successfully, and personalize it in creative ways. At the end, you will also find a detailed FAQ and a final conclusion to help guide your crafting journey.
1. Understanding the Table Runner – Pattern
A table runner – pattern usually includes measurements, diagrams, and cutting layouts that guide you through the process of building your runner step by step. Understanding the pattern is essential to achieving a polished, well-constructed final product that fits your table perfectly.
Most patterns provide a standard size, but they also include guidelines for resizing the runner to fit different table shapes. Whether your table is round, square, or rectangular, adjusting the pattern is usually very simple. Many tutorials also include tips for matching seams and creating perfectly straight edges.
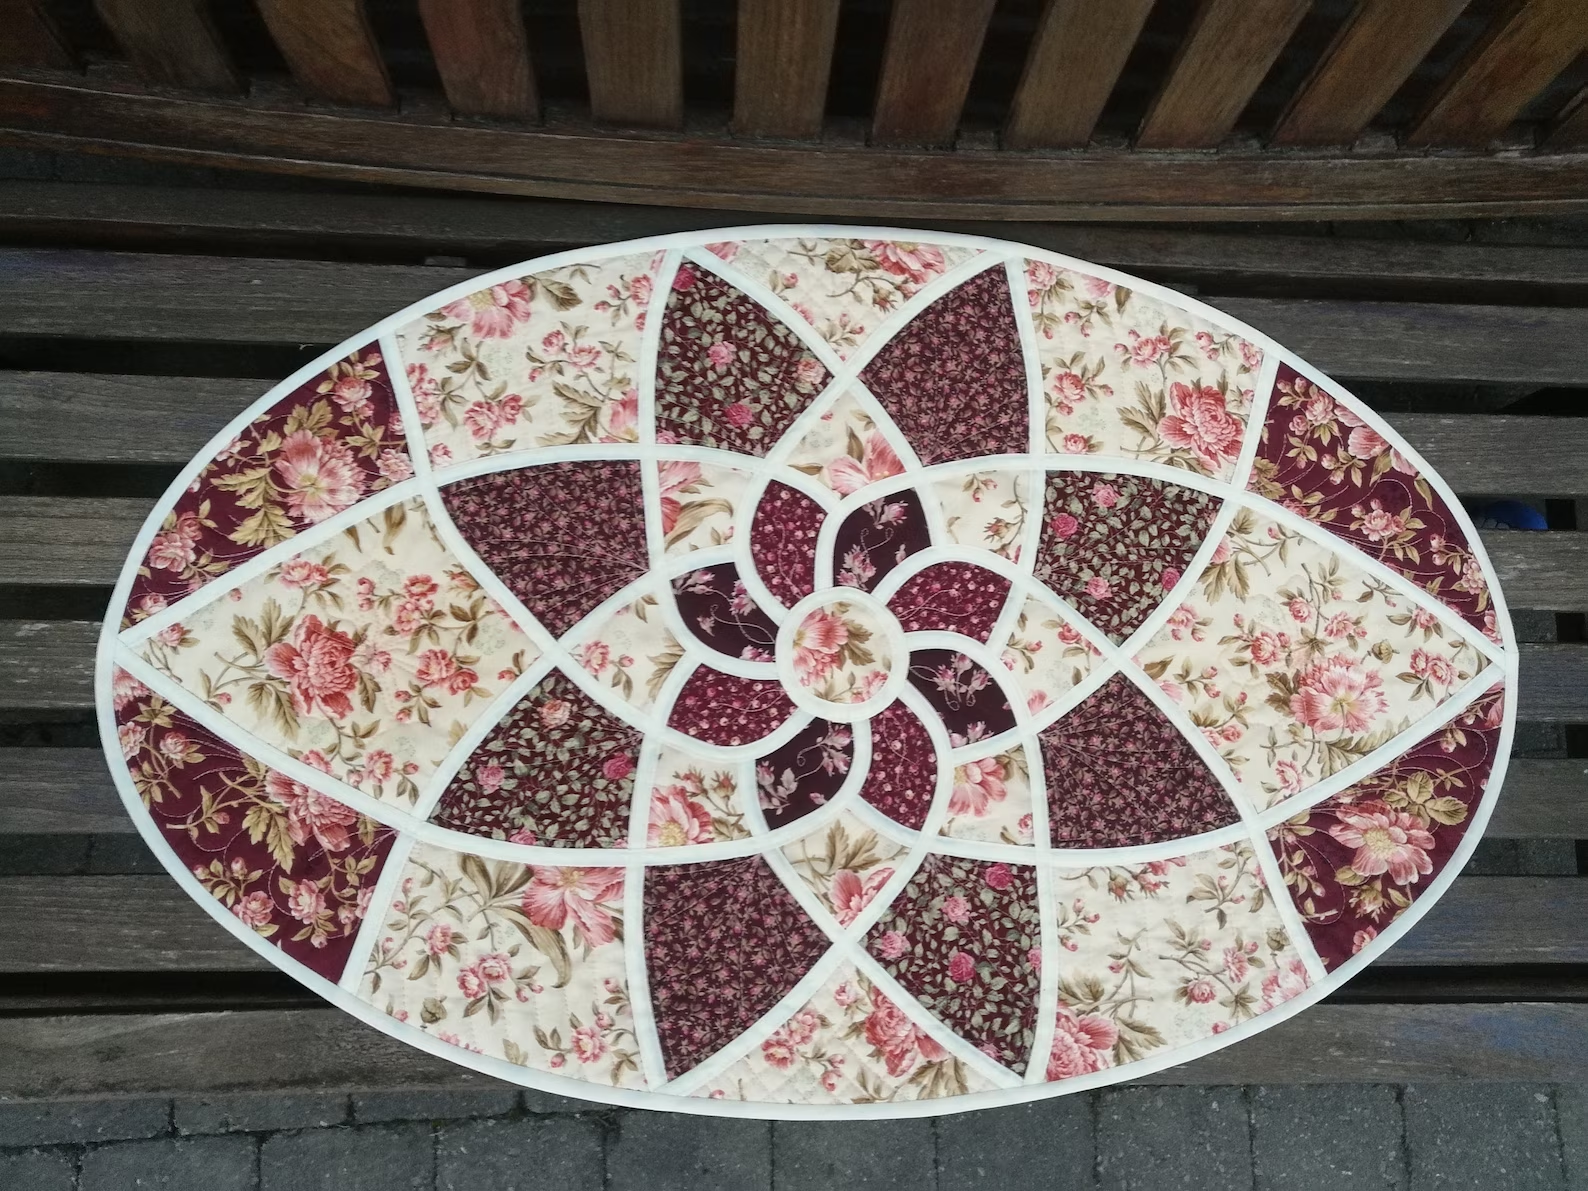
Patterns often show you how to assemble multiple fabric pieces if the design includes patchwork, strip piecing, or quilting. Reviewing these diagrams helps you visualize the final look of the runner. Clear instructions allow beginners to feel confident from the first cut to the final stitch.
Understanding seam allowances is crucial. Most table runner – pattern designs use a standard seam allowance, but some include decorative seams or binding that may require special attention. Reading all instructions thoroughly helps avoid mistakes later in the process.
The pattern also explains how to prepare the edges of your runner. Some designs include traditional hems, while others use binding for a more polished, professional finish. Patterns may also guide you through optional quilting steps for added texture and durability.
By taking time to study the pattern before beginning, you can anticipate each step and plan your project efficiently. This ensures a smoother sewing experience and a beautiful final piece that enhances your dining table.
2. Choosing the Right Materials for a Table Runner
Selecting the right materials plays a major role in the final appearance and quality of your table runner – pattern project. Whether you’re aiming for a rustic, cozy look or a sleek, modern style, the fabric you choose sets the tone for your design.
Cotton is one of the most popular choices for table runners because it is easy to sew, durable, and widely available in hundreds of prints and textures. Cotton fabrics hold their shape well and work beautifully for patchwork or quilted runners.
For a more elegant or formal look, many sewists choose fabrics such as linen, satin, brocade, or jacquard. These materials add sophistication and shine to your table setting but may require more careful handling during sewing.
If your runner will be used for everyday meals, consider fabrics that are washable and resistant to stains. Blended fabrics or cotton-linen mixes are great options because they offer durability and easy care. Prewashing your fabric is highly recommended to prevent shrinkage after sewing.
The backing fabric is just as important as the top layer. Solid-colored cotton or neutral textiles work well for backing because they stabilize the runner and add durability. Using fusible interfacing or batting can give your table runner more structure, especially if you plan on quilting it.
Thread selection matters too. Strong polyester thread is ideal for most projects, while cotton thread works beautifully for quilting designs and decorative stitching. Choosing a thread that blends with your fabric gives a clean, seamless appearance.
Lastly, optional decorative materials like lace, ribbon, appliqués, or embroidery can enhance your runner’s design. These embellishments add personality and charm to your table runner – pattern, turning a simple sewing project into a custom piece of art.
3. Sewing and Assembling the Table Runner
Once you have your materials ready, it’s time to start sewing your table runner – pattern. Begin by cutting the fabric pieces according to the measurements in the pattern. Accurate cutting ensures that all pieces fit together neatly and the final runner lies flat.
If your pattern includes patchwork or stripes, start by sewing smaller sections together. Pressing your seams as you go helps maintain clean lines and gives your runner a professional look. Taking the time to align prints and seams creates a polished final appearance.
After assembling the top layer, prepare the backing fabric and place it right sides together with the top. Many patterns include an optional layer of batting for added thickness and texture. If you choose to use batting, make sure it lies flat and smooth between the fabric layers.
Sew around the edges, leaving an opening for turning. Once the stitching is complete, trim the seam allowances and carefully turn the runner right-side out. Press the edges flat, making sure the seams are crisp and clean.
Close the opening with a small invisible stitch or topstitch around the entire runner. Topstitching is a popular choice because it helps keep the layers secure and adds a decorative border that enhances your design.
If your table runner – pattern includes quilting, now is the perfect time to add it. Quilting lines can be straight, diagonal, free-motion, or decorative depending on your style. Quilting not only adds beauty to your runner but also reinforces its structure.
4. Creative Ways to Personalize Your Table Runner
One of the best features of a table runner – pattern is its flexibility. You can personalize your project in countless ways to match your home décor, the seasons, or your personal style.
One of the most popular customization methods is using themed fabrics. Holiday runners featuring Christmas, Thanksgiving, or Easter motifs instantly enhance seasonal décor. Floral fabrics create a spring-like feeling, while warm earthy tones give your dining table a cozy, autumn-inspired look.
Adding appliqués is another way to personalize your table runner. Shapes like leaves, stars, hearts, or geometric patterns can be sewn onto the surface for added visual interest. Appliqués are easy to apply and allow endless creative possibilities.
Embroidery, either by hand or with a machine, offers a delicate and elegant touch. Names, initials, or decorative borders can turn a simple runner into a treasured keepsake, especially for gifting occasions like weddings or housewarmings.
Playing with texture is also effective. Quilted patterns, raised stitching, or layered fabrics create dimension and visual depth. Decorative stitching in contrasting thread colors can turn a basic seam into a stylish accent.
You can also design reversible runners using two different fabric styles. This is practical and fun because you get two looks in one project. A reversible table runner – pattern is perfect for homes that frequently update décor.
Finally, trimming the edges with lace, pompoms, tassels, or binding gives your runner a unique finishing touch. These small details transform your handmade project into a standout centerpiece that reflects your creativity.
FAQ About the Table Runner – Pattern
1. Is the table runner – pattern beginner-friendly?
Yes, most table runner patterns are simple and suitable for beginners.
2. What fabrics are best for table runners?
Cotton, linen, and blends are excellent choices depending on your desired style.
3. Should I use batting in my runner?
Batting is optional but adds structure and is recommended for quilted designs.
4. How long should a table runner be?
A typical runner is 10–14 inches wide and 60–90 inches long, but patterns can be resized.
5. Can I make a reversible table runner?
Yes, simply choose two fabrics and assemble with the right technique.
6. Do I need a sewing machine?
While a sewing machine is recommended, hand sewing is possible with patience.
7. Can I wash handmade table runners?
Yes, as long as the fabrics are washable. Prewashing helps avoid shrinkage.
8. What decorative elements can I add?
Appliqués, embroidery, lace, tassels, and quilting are all great options.
9. How can I make my runner look more professional?
Press seams carefully, use consistent stitching, and finish edges neatly.
10. Can I sell table runners made from patterns?
Yes, unless the pattern has restrictions. Always check commercial-use terms.
Conclusion
Creating a table runner – pattern project is a rewarding experience that combines creativity, functionality, and craftsmanship.
In this article, you learned how to understand the pattern, choose materials, assemble the runner, and personalize it beautifully. Table runners are versatile décor pieces that make your dining space feel warm and inviting. I hope this guide inspires you to create your own handmade runner.