Crocheted headband with daisies – Pattern creations have become an adorable trend for makers who love blending charm, comfort, and creativity in one project. Right from this first sentence, we will explore how the Crocheted headband with daisies – Pattern offers the perfect balance between simplicity and beauty. This type of accessory is popular among beginners and advanced crafters alike because it is quick to make and suitable for all ages. A headband decorated with delicate crochet daisies can brighten any outfit, making it a lovely handmade gift or personal fashion statement.
This project is also perfect for using leftover yarn while still creating something visually stunning. The Crocheted headband with daisies – Pattern allows you to choose any color palette you like, whether you prefer soft pastel tones, bold spring shades, or a minimalistic neutral style. Such versatility makes the design appealing for daily wear, seasonal celebrations, and even themed photo sessions.
Most importantly, this pattern highlights the sentimental value of handmade accessories. A crochet headband adorned with delicate daisies is much more than an item to keep hair in place—it is a piece of art that brings comfort and joy. In this article, we’ll guide you through materials, step-by-step instructions, styling ideas, and expert finishing tips, all while keeping SEO best practices and Google AdSense policies in mind.
1. Materials and Preparation for the Crocheted Headband with Daisies – Pattern (H2)
Starting your Crocheted headband with daisies – Pattern begins with selecting the right yarn and tools. Since the headband will be worn close to the skin, choosing a soft yarn is crucial for comfort. Cotton, cotton-blend, or lightweight acrylic yarns are recommended because they offer softness, breathability, and durability. They also help the daisy petals hold their shape beautifully.
The second step involves choosing your hook size. Most patterns use a hook ranging from 3.0 mm to 4.0 mm. The hook you choose depends on the thickness of your yarn and your desired tension. A slightly smaller hook gives a tighter, cleaner stitch, which is perfect for neatly defined flowers.
It is always a good idea to create a small practice swatch before starting the actual headband. This ensures that your stitches are consistent and that the band will reach the appropriate stretched length. A well-fitting headband should gently hug the head without being too tight or too loose.
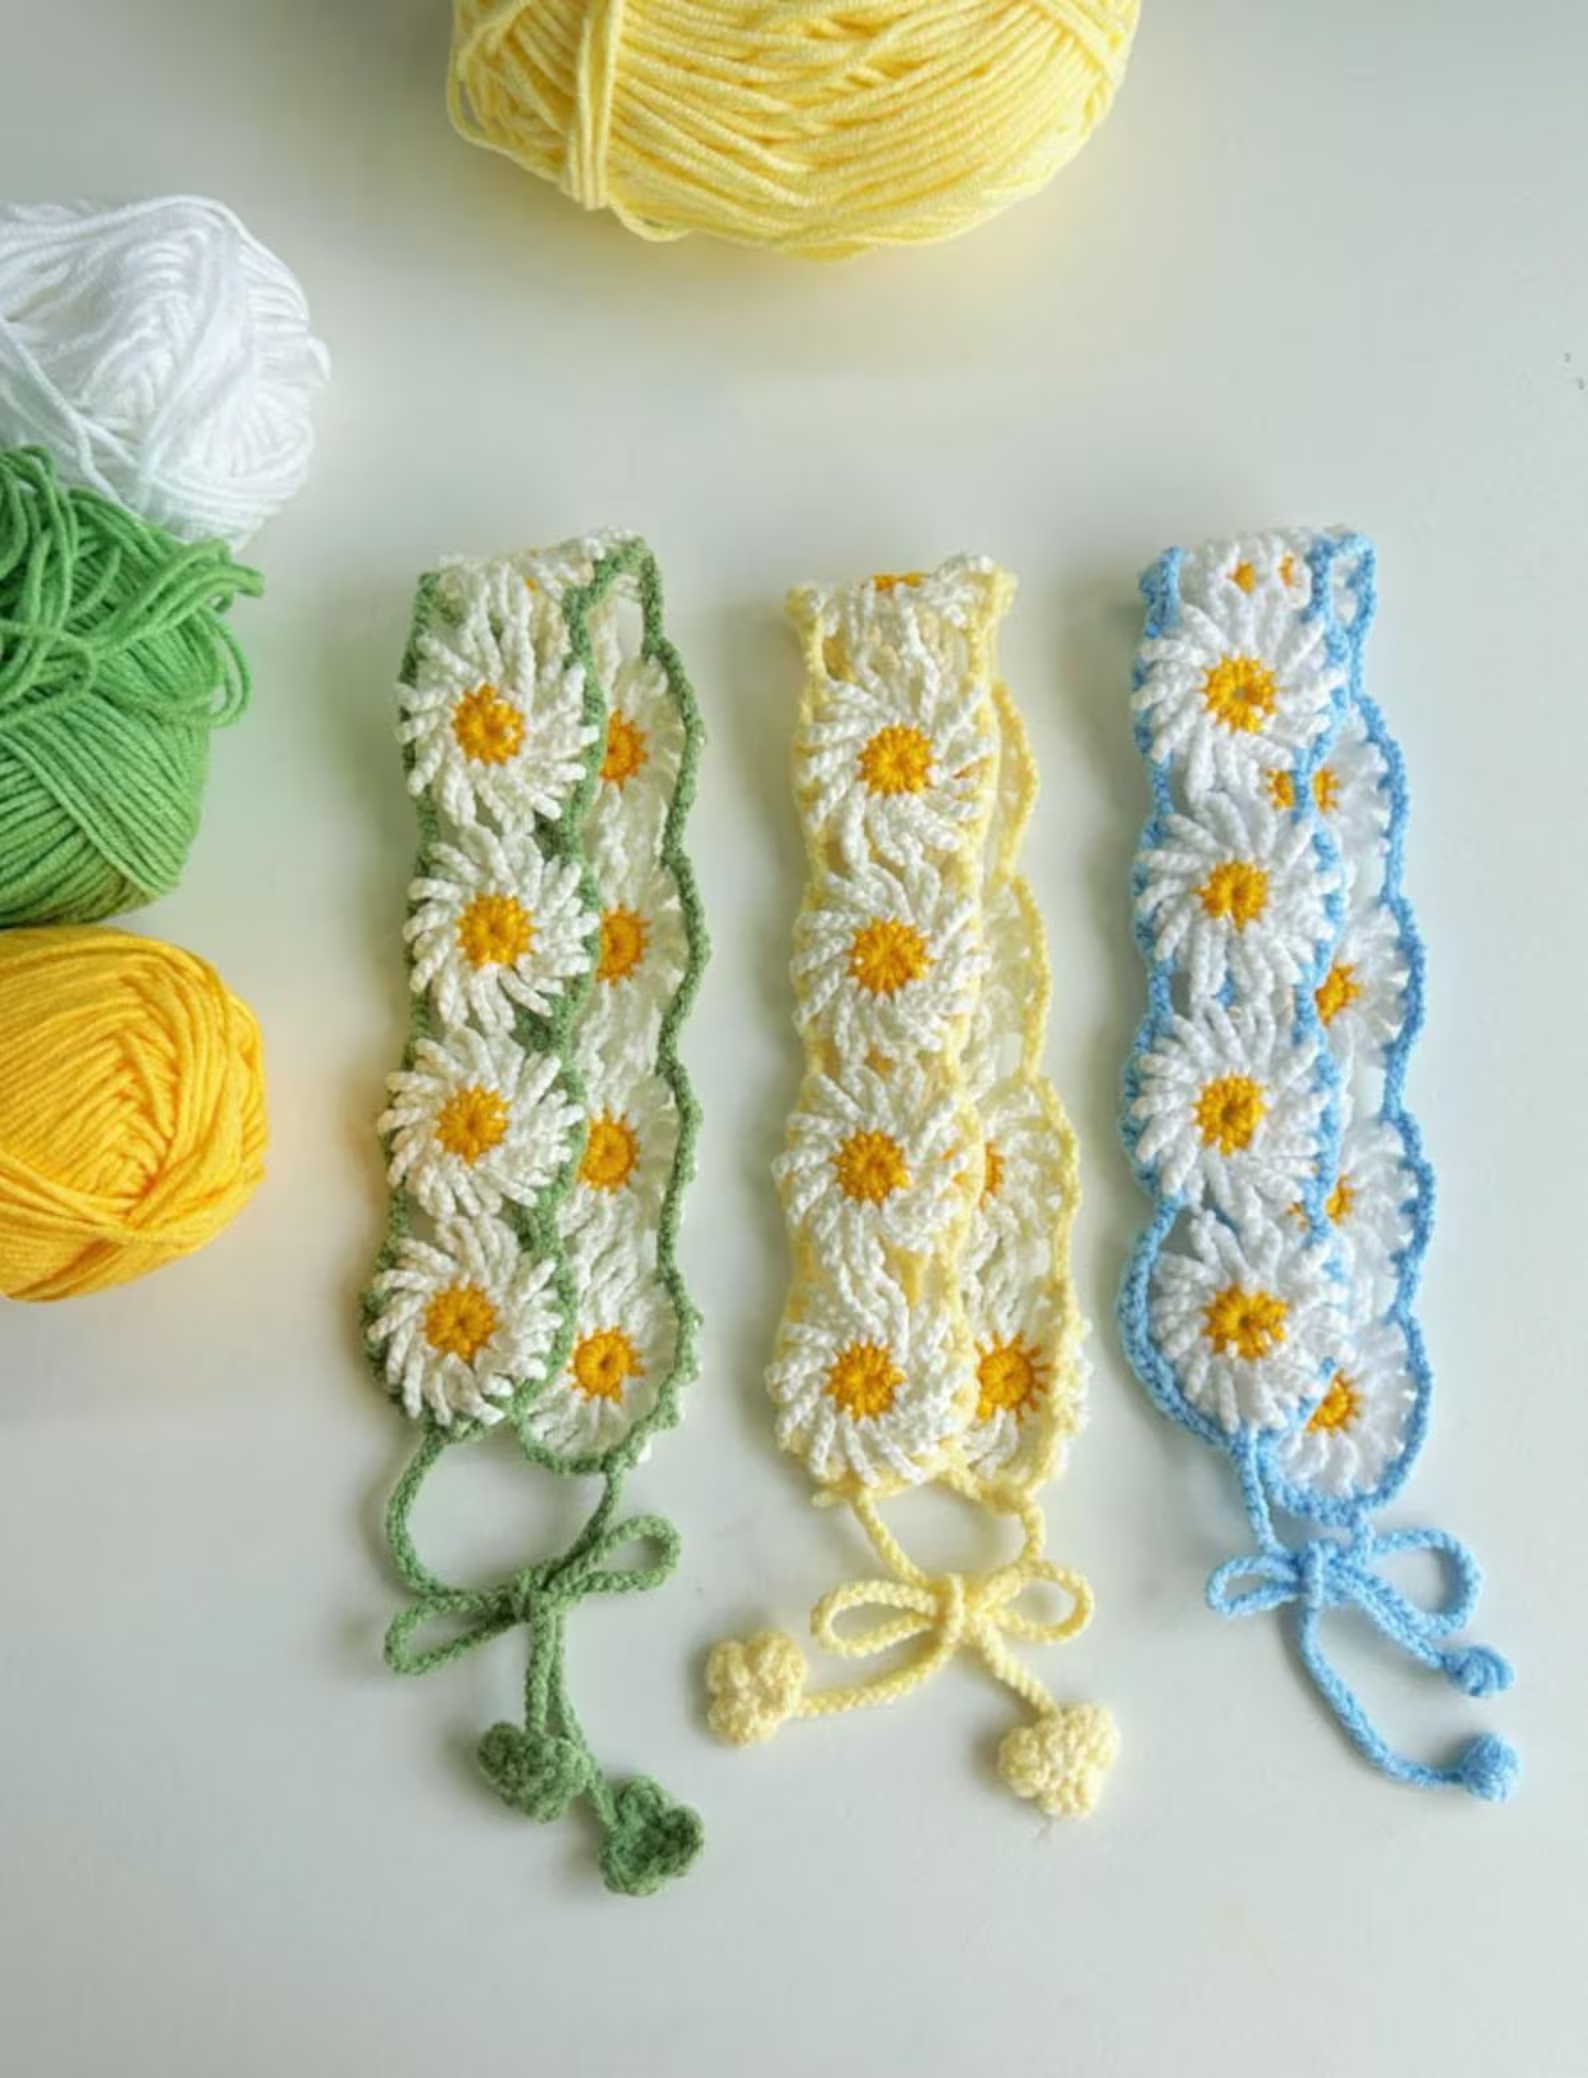
Prepare your color palette by choosing at least two shades: one for the headband base and another for the daisy petals. Many crafters also add a third color for the daisy center, which adds a lovely contrast. Experiment with combinations until you find the perfect match.
Before beginning, gather all essential tools: hook, yarn needle, scissors, stitch markers, and if desired, buttons or beads for optional decoration. Being well-organized will make your Crocheted headband with daisies – Pattern enjoyable and stress-free.
Now place everything within reach and prepare to begin the creative process. Good preparation sets the stage for a beautiful, durable, and perfectly shaped headband.
2. Crocheting the Headband Base for the Crocheted Headband with Daisies – Pattern (H2)
The foundation of the Crocheted headband with daisies – Pattern is a simple yet sturdy band that fits comfortably around the head. Most makers choose either single crochet, half-double crochet, or a stretchable rib stitch. These stitches provide enough elasticity while maintaining structure for attaching the daisies.
Begin by creating a foundation chain that matches the head circumference you need. Remember that crochet fabric can stretch, so slightly reducing the length ensures a snug fit. After forming the chain, join it in the round or work it flat and later sew the edges together.
The first few rows set the tone for the overall look of the headband. Keeping your tension even is essential. A uniform stitch pattern ensures the daisies will sit symmetrically once attached. The base should be firm enough to hold decorations but soft enough to be worn for long periods without discomfort.
Continue crocheting the rows until you reach the desired width. Many crafters choose a width of around 5–7 cm, but you can adjust this depending on personal preference. A wider band gives a cozy ear-warmer effect, while a narrower one creates a delicate, minimalist style.
Once the band reaches your preferred length and width, fasten off and weave in the ends neatly. Take a moment to stretch the band slightly. This helps you assess whether the size is comfortable and whether the fabric lays flat.
At this stage, your headband base should be complete, clean, and ready for embellishment. This forms the perfect canvas for adding your crochet daisies.
3. Making and Attaching the Daisies for the Crocheted Headband with Daisies – Pattern (H2)
Creating the daisies is the highlight of the Crocheted headband with daisies – Pattern. Each daisy adds a cheerful decorative touch and elevates the headband from simple to stunning. Most daisies are made using small rounds that form petals, which only take a few minutes to complete—making them addictive and fun.
Start by using your petal color and forming a magic ring. This helps create a tight center, giving your daisy a polished look. Crochet a few stitches inside the ring, then work your petal pattern, which typically involves chains and double crochets. Once the petals are formed, join the last stitch to the first and fasten off.
Repeat this process as many times as needed. Some headbands use three evenly spaced daisies, while others use a full line of flowers from one side to the other. The number of daisies depends entirely on your desired aesthetic.
If you want contrasting daisy centers, create small circles using yellow or gold yarn. These can be stitched onto the center of each flower for extra dimension and color. They add a realistic, bright finish that makes each daisy stand out.
Once your daisies are complete, position them on the headband to decide on spacing. Lay the headband flat and arrange the flowers until you find a balanced composition. Spacing is important: too much distance looks sparse, while too little can seem crowded.
Sew the daisies onto the band using a yarn needle and small, invisible stitches. Make sure they are secured tightly so that they remain in place even when the headband stretches. With each flower attached, your headband begins to take on its final charming look.
4. Finishing Touches and Customization Ideas for the Crocheted Headband with Daisies – Pattern (H2)
Finishing your Crocheted headband with daisies – Pattern includes refining details and adding decorative options that make the piece unique. Start by ensuring all loose ends are woven in securely. A clean, smooth interior ensures the headband remains comfortable and wearable.
Blocking can also enhance the final appearance, especially if your daisies curl slightly. Lay the headband flat, shape the flowers gently, and allow it to dry. This will help everything stay neatly in place.
For those who enjoy personalizing their creations, consider adding beads, small pearls, or buttons to the center of the daisies. This touch adds sophistication and a bit of sparkle. However, ensure attachments are secure, especially if the headband is intended for children.
Color combinations are another way to add uniqueness. Soft pastels create a sweet, delicate effect, while bright, bold colors make the daisies pop. Earth tones give a natural, bohemian aesthetic perfect for everyday wear.
If you prefer a more functional piece, consider making the headband wider or lining it with fleece for warmth during winter months. This transforms a decorative accessory into a practical ear warmer.
Once all finishing touches are complete, test the comfort and elasticity of the headband. If everything fits perfectly and the daisies sit beautifully, your handmade accessory is ready to wear or gift.
FAQ – Crocheted Headband with Daisies – Pattern
1. Is the Crocheted headband with daisies – Pattern beginner-friendly?
Yes, it is suitable for beginners, especially because the daisies are small and easy to learn.
2. What yarn works best for the headband?
Soft cotton and lightweight acrylic yarns are ideal for comfort and structure.
3. Can I make the headband adjustable?
Yes. You can add a button closure or tie-back feature to customize the fit.
4. How many daisies should I attach?
Most crafters use three to seven daisies, but the number depends on your desired style.
5. Does the headband stretch over time?
It may stretch slightly with wear, so making it a bit snug initially is recommended.
6. Can I wash the headband?
Hand washing in cold water is recommended to maintain the shape of the daisies.
Conclusion
The Crocheted headband with daisies – Pattern is a delightful project that blends creativity, practicality, and charm.
In this article, you learned how to prepare your materials, create the headband base, craft adorable daisies, and add professional finishing touches. This pattern is versatile, beginner-friendly, and perfect for making heartfelt handmade gifts. I hope you enjoyed this guide—please leave your honest opinion and share any suggestions for future tutorials.