Finding the perfect Cleopatra’s Fan Quilt – Pattern is like discovering a hidden gem in the world of traditional quilting, blending ancient aesthetics with timeless needlework techniques. This specific design is renowned for its elegant, curved segments that mimic the Graceful folding fans of antiquity, offering a sophisticated look that stands out in any collection. Whether you are a seasoned quilter or a curious beginner, mastering this quilt pattern allows you to play with movement, color gradients, and historical storytelling through fabric.
The Cleopatra’s Fan Quilt – Pattern is deeply rooted in the “fan” style of quilting, which gained massive popularity in the late 19th century. Unlike a standard block-based quilt, this design utilizes curved piecing to create its signature arch, making the finished product look much more complex than it actually is. By choosing the right cotton fabrics and contrasting colors, you can transform these geometric arcs into a visual masterpiece that pays homage to the legendary Egyptian queen’s opulence.
When searching for a high-quality Cleopatra’s Fan Quilt – Pattern, most enthusiasts look for clarity in the template instructions and precision in the seam allowance guides. This article will dive deep into the mechanics of this design, ensuring you have the knowledge to tackle those tricky curves with confidence. From selecting your fabric palette to the final stitch, we will explore how to bring this regal aesthetic into your modern home with ease and professional flair.
1. Understanding the Architecture of the Cleopatra’s Fan Quilt – Pattern
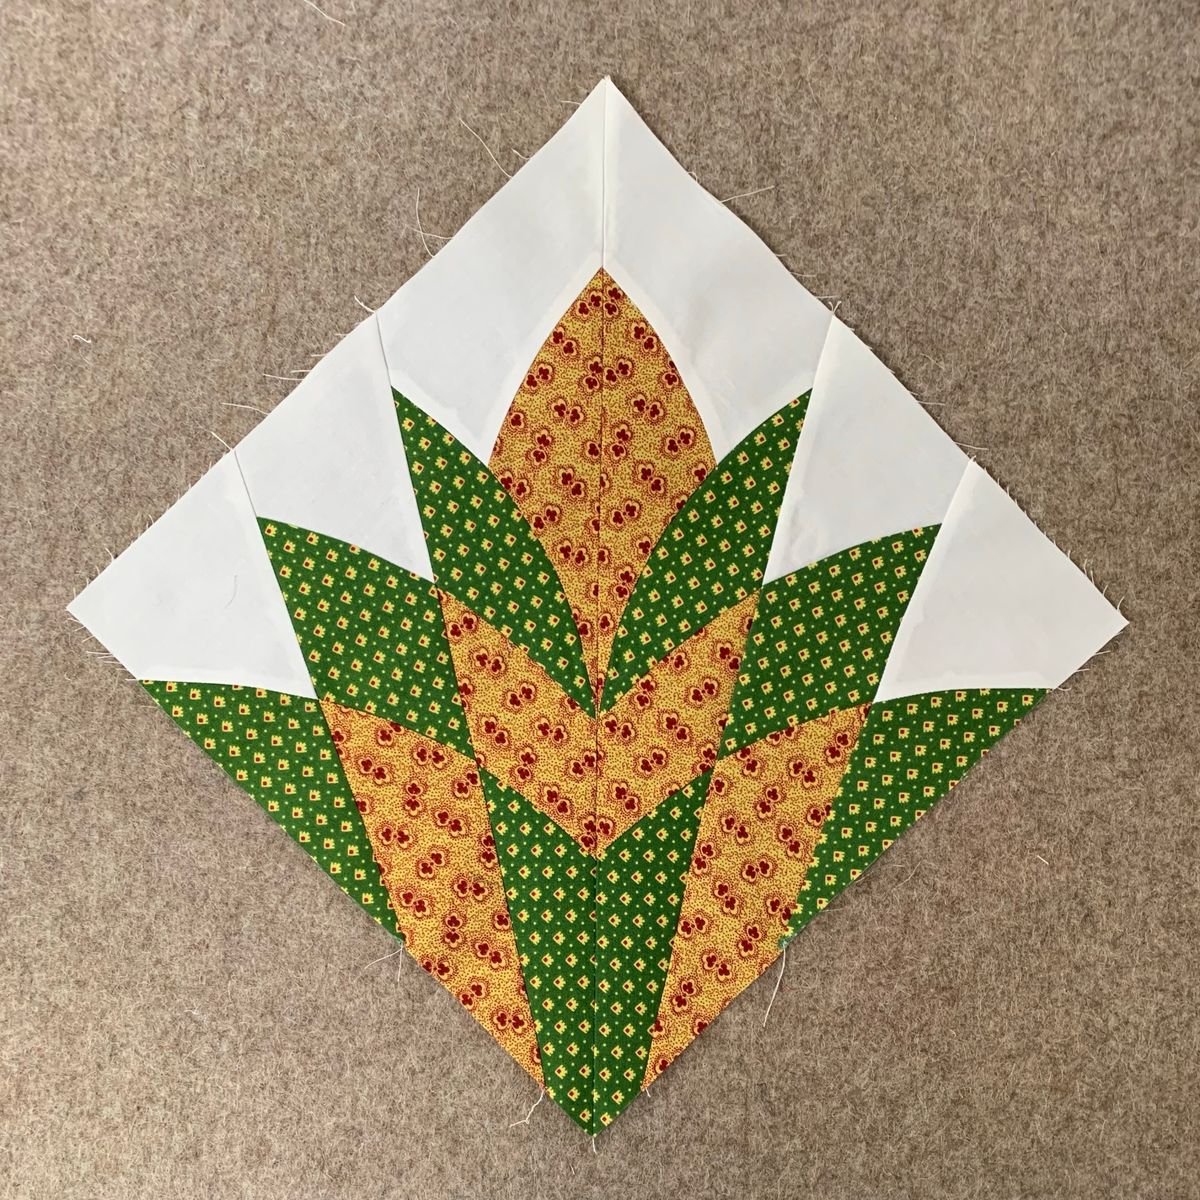
The Cleopatra’s Fan Quilt – Pattern is fundamentally a variation of the traditional fan block, but with a more rhythmic and interconnected layout. The beauty of this sewing project lies in how the “blades” of the fan are constructed, usually involving four to five distinct wedges per block. When these blocks are joined together, they create a mesmerizing secondary pattern of circles and waves across the quilt top.
To successfully execute this quilt design, you must first familiarize yourself with the templates provided in the pattern. Because the shapes involve curves, many quilters prefer using acrylic templates or stiff cardstock to ensure every cut is identical. Accuracy at the cutting stage is the most critical factor in ensuring your quilt blocks lay flat without puckering or stretching.
The “Cleopatra” variation specifically often refers to a layout where the fans alternate or interlock in a way that suggests a continuous, flowing motion. This is different from a simple corner fan, as the Cleopatra’s Fan Quilt – Pattern usually fills the entire square block, creating a more dense and intricate visual texture. It is a favorite for those who love scrappy quilts because it can accommodate many different colors.
Choosing your color scheme for this pattern can be a fun adventure in art history. Many quilters choose “Egyptian” colors like gold, turquoise, and deep lapis lazuli to honor the name. However, a modern Cleopatra’s Fan Quilt – Pattern looks equally stunning in monochrome or soft pastels, depending on the room’s decor where the finished quilt will reside.
One of the unique challenges of this quilt pattern is dealing with the bias edges of the fabric. Because the wedges are cut on an angle, the fabric can become stretchy and distorted if handled too roughly. Experienced quilters often use fabric starch to stiffen the pieces before sewing, which helps maintain the integrity of the Cleopatra’s Fan Quilt – Pattern throughout the assembly process.
Finally, understanding the scale of your quilt blocks is essential for planning your yardage. Most versions of this pattern use 10-inch or 12-inch blocks, which are manageable for most domestic sewing machines. By breaking the Cleopatra’s Fan Quilt – Pattern down into these smaller components, the large-scale project becomes much more approachable and organized for the maker.
2. Essential Tools and Fabric Selection for Your Quilt Pattern
Before you begin stitching your Cleopatra’s Fan Quilt – Pattern, you need to gather specific tools that make curved piecing significantly easier. A sharp rotary cutter, preferably with a 28mm blade for tighter turns, is indispensable for cutting the small wedges of the fan. You will also need plenty of fine glass-head pins to hold your fabric layers together without creating bulk under the presser foot.
Fabric selection is where the Cleopatra’s Fan Quilt – Pattern truly comes to life, and high-quality quilting cotton is the gold standard. Since this design relies on the contrast between the fan blades and the background, choosing a solid or a “read-as-solid” print for the background is wise. This allows the intricate geometry of the fan blades to remain the focal point of the entire quilt design.
Don’t overlook the importance of a quarter-inch seam foot for your sewing machine when working on this quilt pattern. Precision is everything when the wedges of the fan meet at the center point. If your seams are even slightly off, the Cleopatra’s Fan Quilt – Pattern will not align correctly, and the blocks will be difficult to “square up” once they are finished.
In terms of fabric quantity, the Cleopatra’s Fan Quilt – Pattern is known for being a bit of a “fabric eater” due to the multiple pieces in each block. It is always better to buy an extra half-yard of your primary colors to account for any miscuts during the curved segments. Having a dedicated cutting mat with clear grid lines will also help you stay organized as you prep your pieces.
For the batting, consider a low-loft cotton batting to keep the quilt light and flexible, which complements the graceful nature of the fan shapes. If you want more definition in your quilting stitches, a wool blend can provide a bit more “poof” or “loft” to highlight the curves. The Cleopatra’s Fan Quilt – Pattern works well with both hand-quilting and machine-quilting techniques.
Lastly, make sure you have a high-quality iron and pressing mat nearby. In the Cleopatra’s Fan Quilt – Pattern, pressing is just as important as sewing. You will need to press your seams carefully—usually toward the darker fabric—to ensure the block stays flat. Proper pressing techniques prevent the center of the fan from becoming too bulky, which can be a common issue with this specific quilt pattern.
3. Mastering Curved Piecing in the Cleopatra’s Fan Quilt – Pattern
The most intimidating part of the Cleopatra’s Fan Quilt – Pattern for many is the curved seam, but it is a skill that is easily mastered with patience. The trick is to find the “center” of both the convex and concave curves and pin them together first. By “matching the centers,” you distribute the fabric evenly, which is the secret to a smooth Cleopatra’s Fan Quilt – Pattern block without any unsightly pleats.
When sewing the curves of your quilt pattern, always keep the “easier” piece on the bottom and the “fuller” piece on top. Let the feed dogs of your sewing machine do the work of pulling the fabric through while you gently guide the curves. Slow and steady wins the race here; there is no need to rush when creating a Cleopatra’s Fan Quilt – Pattern that you want to last for generations.
Many modern versions of the Cleopatra’s Fan Quilt – Pattern utilize foundation paper piecing (FPP) to achieve perfect points. If you find traditional templates difficult, FPP allows you to sew directly onto paper guides, ensuring every blade of the fan is identical. This method is highly recommended for quilters who want the “perfectionist” look of a professional quilt pattern without the stress of manual measuring.
If you choose the traditional hand-piecing route for your Cleopatra’s Fan Quilt – Pattern, you will find the process very meditative. Hand-sewing curves allows for a level of control that machines sometimes lack, and it stays true to the historical roots of the Cleopatra’s Fan design. It is a great way to work on your quilting project while relaxing on the sofa or traveling.
As you assemble the blocks, you will notice that the Cleopatra’s Fan Quilt – Pattern starts to create a secondary circular design where the corners meet. This is the “magic” moment of the pattern. To make sure these circles look perfect, you must ensure your point alignment is consistent. Taking the time to pin every intersection will pay off when you see the finished quilt top laid out.
Once a block is finished, always square it up to the size specified in your Cleopatra’s Fan Quilt – Pattern instructions. Even a small discrepancy of 1/8th of an inch can multiply across a whole row, leading to a slanted quilt. Using a large square quilting ruler is the best way to trim the excess and keep your Cleopatra’s Fan blocks perfectly uniform and ready for the final assembly.
4. Final Assembly and Creative Variations of the Fan Design
After you have completed all your blocks for the Cleopatra’s Fan Quilt – Pattern, it is time for the “top assembly.” Laying your blocks out on a design wall or a clean floor allows you to see the color distribution. You might find that moving a few blocks around creates a more balanced look, especially if you are using a scrappy fabric approach for your version of the quilt pattern.
Adding sashing between the blocks can change the look of the Cleopatra’s Fan Quilt – Pattern entirely. Sashing (thin strips of fabric between blocks) acts as a frame, giving the eye a place to rest and making each fan block pop. Conversely, joining the blocks directly together creates a seamless, “kaleidoscope” effect that is a hallmark of the Cleopatra’s Fan style.
The border of your quilt is the final touch that ties everything together. Many quilters choose a wide, solid border to contrast with the busy movement of the Cleopatra’s Fan Quilt – Pattern. You can also use “half-fan” blocks in the corners of the border to create a cohesive theme that flows from the center of the quilt all the way to the edges.
When it comes to the actual quilting process (stitching the layers together), “stitching in the ditch” or echoing the fan curves are the most popular choices. Echo quilting involves sewing parallel lines to the seams, which emphasizes the movement of the Cleopatra’s Fan Quilt – Pattern. This technique adds a beautiful texture that mimics the ripples of water or the unfolding of a real fan.
Don’t forget the quilt binding! For a sophisticated Cleopatra’s Fan Quilt – Pattern, a bias binding is often necessary if you have any curved edges on the outside of the quilt. However, most patterns have straight edges, so a standard double-fold binding will work perfectly. Choosing a dark or contrasting color for the binding can provide a sharp “frame” for your hard work.
Finally, remember that the Cleopatra’s Fan Quilt – Pattern is a labor of love. Every stitch you take is part of a long tradition of textile art. Whether you make a small wall hanging or a full king-size quilt, the result is a stunning tribute to geometry and history. Take pride in your finished quilt, knowing you’ve tackled one of the most respected designs in the quilting world.
FAQ – Frequently Asked Questions
1. Is the Cleopatra’s Fan Quilt – Pattern suitable for beginners?
While it is more challenging than a simple “square” quilt, a dedicated beginner can certainly do it. It requires patience with curved piecing and accurate cutting. If you have mastered the basic quarter-inch seam, you are ready to try this quilt pattern.
2. How much fabric do I need for a standard throw-size Cleopatra’s Fan Quilt?
Typically, you will need about 6 to 8 yards of total fabric, depending on how many colors you use in the fan blades. Always check your specific pattern instructions for the exact yardage, as the “Cleopatra” style can vary in block density.
3. Can I use a regular sewing machine for this pattern?
Yes, a standard home sewing machine is perfectly fine. You don’t need a long-arm machine to sew the Cleopatra’s Fan Quilt – Pattern blocks. Using a walking foot can help when you are finally quilting the layers together.
4. What is the best way to handle the curves without them bunching up?
The “pinning” method is your best friend. Pin the two ends and the center of the curve first, then fill in with more pins. Using a shorter stitch length on your machine also helps you navigate the curves of the quilt pattern more smoothly.
5. Why is it called “Cleopatra’s Fan”?
The name is inspired by the Art Deco era’s fascination with Ancient Egypt. The graceful, repeating arcs resemble the hand-held fans depicted in Egyptian art, making the Cleopatra’s Fan Quilt – Pattern feel both historic and glamorous.
6. Do I need to use foundation paper piecing for this?
It is not mandatory, but many find it easier. You can use traditional acrylic templates and “fussy cut” your fabric if you prefer. The choice depends on which method of quilt construction you find most comfortable.
Conclusion
In this article, we have explored the intricate world of the Cleopatra’s Fan Quilt – Pattern, from its historical inspiration to the technical nuances of curved piecing and fabric selection.
We’ve learned that while this quilt design looks complex, breaking it down into manageable steps—using the right tools and precise template cutting—makes it an achievable project for any passionate crafter. By mastering this pattern, you are not just making a blanket; you are creating a piece of art that features movement, rhythm, and a touch of ancient elegance.