The Rat Bag – Pattern has become a sensation in the world of modern crafting and quirky accessory design. Whether you are a seasoned sewist or a curious beginner, finding a Rat Bag – Pattern that balances functionality with a unique aesthetic is the key to creating a standout piece. This specific design style focuses on a mix of rustic charm and urban utility, making it a favorite for those who appreciate handmade items with a bit of personality.
When you dive into the world of the Rat Bag – Pattern, you aren’t just following a set of instructions; you are engaging in a creative process that results in a highly versatile carrier. These bags are often characterized by their slouchy silhouettes and durable materials, which have historical roots in traditional “rat catcher” or “poacher” bags. Today, the Rat Bag – Pattern is reinvented for daily use, perfect for carrying tech gadgets, journals, or art supplies while maintaining a distinct, handcrafted look.
Mastering the Rat Bag – Pattern requires an understanding of both textile choice and structural geometry. To ensure your project is successful and meets the high standards of SEO-friendly crafting, it is essential to focus on the details of the layout and the assembly techniques. By the end of this guide, you will understand exactly how to manipulate the Rat Bag – Pattern to suit your personal style, ensuring that every stitch contributes to a durable and fashionable final product.
1. Understanding the Core Concept of the Rat Bag – Pattern
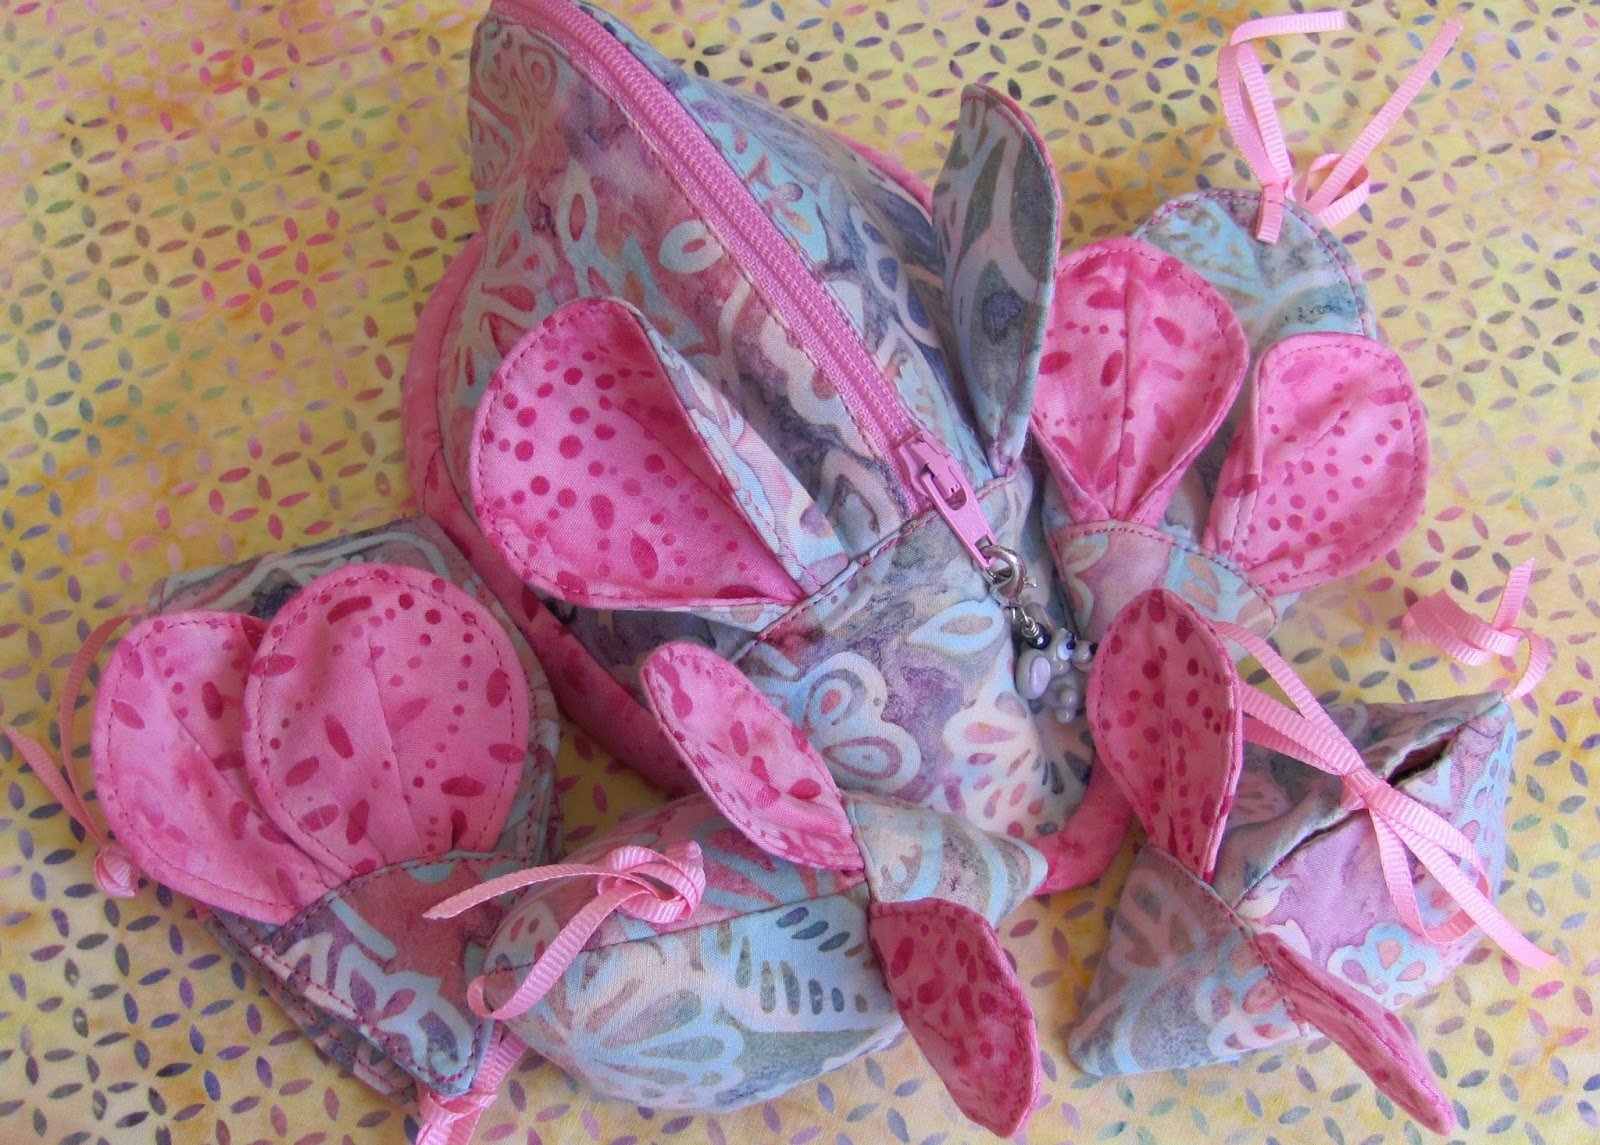
The fundamental idea behind the Rat Bag – Pattern is the marriage of organic shapes with industrial durability. Unlike standard tote bags, this design utilizes specific curvaceous seams and asymmetrical flaps that give the bag its signature “rat” or “rodent-like” sleekness. It is a pattern that prioritizes comfort against the body, making it an ideal choice for crossbody wear or over-the-shoulder utility.
To achieve the best results, you must select fabrics that complement the Rat Bag – Pattern architecture. Heavy-duty materials like waxed canvas, denim, or repurposed leather are the most recommended options. These fabrics provide the necessary weight to keep the bag’s shape while allowing it to weather naturally over time, which is a hallmark of this specific style.
Precision is the most critical factor when cutting your fabric pieces for the Rat Bag – Pattern. Because the design often features unconventional angles, using a rotary cutter and a high-quality acrylic ruler is highly advised. If the initial cuts are off by even a few millimeters, the final assembly may result in bunching or misalignment of the main compartments.
Another key element of the Rat Bag – Pattern is the integration of hidden pockets. Many enthusiasts love this design because it allows for “secret” storage areas tucked behind the main lining. When you are looking at a high-quality sewing pattern, check for instructions regarding interior zip pockets or magnetic snap closures that don’t disrupt the external flow of the fabric.
In terms of hardware, the Rat Bag – Pattern often calls for antique brass D-rings and swivel hooks. These components add to the “reclaimed” aesthetic that is currently trending in the DIY fashion community. Choosing high-quality hardware ensures that the bag remains functional for years, even under the stress of daily commuting or heavy loads.
Finally, remember that the Rat Bag – Pattern is highly adaptable. You can scale the dimensions up for a weekend travel bag or down for a minimalist everyday carry. This flexibility is why the term Rat Bag – Pattern is so frequently searched by crafters—it represents a template for endless creativity and personal expression through textile art.
2. Technical Breakdown of the Rat Bag – Pattern Layout
When you open a digital or physical copy of the Rat Bag – Pattern, the first thing you will notice is the pattern key. This key identifies which pieces are for the exterior, the lining, and the interfacing. For a professional finish, never skip the interfacing step, as it provides the structural integrity that prevents the bag from looking limp or unfinished.
The Rat Bag – Pattern usually consists of five main panels: the front, the back, the gusset (bottom/sides), and the flap. Each of these components plays a vital role in the overall “slouch” of the bag. The gusset construction is particularly important because it determines the depth of the bag and how much volume it can actually hold.
One of the most innovative parts of the Rat Bag – Pattern is the use of darts. Darts are small, V-shaped folds sewn into the fabric to create a three-dimensional contour. In this specific pattern, darts are used at the bottom corners to mimic the rounded, soft edges of a pouch, giving the Rat Bag – Pattern its distinctive, ergonomic feel.
Sewing the strap attachment points is where many beginners find a challenge within the Rat Bag – Pattern. It is essential to reinforce these areas with cross-stitch boxes (also known as X-box stitches). This ensures that the weight of the bag’s contents doesn’t tear the fabric at the stress points, which is a common failure in poorly designed handmade bags.
Lining the Rat Bag – Pattern requires a lighter weight fabric, such as cotton poplin or linen. Using a contrasting color for the lining is a popular trick among professionals; it makes it easier to find items inside the bag and adds a “pop” of surprise when the bag is opened. This attention to detail is what elevates a basic project to a pro-level accessory.
Always perform a “dry fit” of your pieces before the final stitching. This involves pinning the Rat Bag – Pattern components together to check for symmetry. If you are satisfied with the look, proceed with a top-stitch using a heavy-gauge thread. Top-stitching not only strengthens the seams but also provides that classic, rugged look that defines the Rat Bag – Pattern aesthetic.
3. Optimizing the Rat Bag – Pattern for Durability
Durability starts with the thread choice you use for your Rat Bag – Pattern. Bonded nylon or heavy-duty polyester thread is non-negotiable if you are using thick materials like canvas. Standard all-purpose thread may snap under the tension required to hold the heavy panels of a well-constructed Rat Bag together.
The seam allowance specified in the Rat Bag – Pattern must be strictly followed to ensure all pieces fit together like a puzzle. Usually, a 1/2-inch or 5/8-inch allowance is standard. If you are working with fabric that frays easily, consider using a zigzag stitch or a serger on the raw edges before you begin the main assembly process.
Weatherproofing is a fantastic way to enhance your Rat Bag – Pattern project. If you aren’t using pre-waxed fabric, you can apply a fabric wax bar to the finished exterior. This creates a water-resistant barrier and gives the bag a unique “patina” over time, making your version of the Rat Bag – Pattern truly one-of-a-kind.
Internal structure is often overlooked, but the Rat Bag – Pattern benefits greatly from a removable base shaper. By cutting a piece of heavy plastic or stiff cardboard and wrapping it in matching fabric, you can prevent the “sagging” effect that happens when heavy items are placed in a soft-sided bag. This keeps the bag silhouette crisp.
The Rat Bag – Pattern also encourages the use of reinforced stitching on the flap. Since the flap is the part of the bag handled most frequently, adding a layer of fusible fleece inside can give it a padded, premium feel. This small addition makes the bag more comfortable to handle and protects any delicate items stored inside.
Lastly, consider the closure mechanism as a point of strength. While the Rat Bag – Pattern might suggest a simple button, upgrading to a heavy-duty magnetic snap or a buckle strap can significantly increase the security of the bag. Secure closures are a top priority for users looking for a reliable commuter bag pattern that won’t spill its contents.
4. Customizing Your Rat Bag – Pattern Project
The true beauty of the Rat Bag – Pattern lies in its ability to be customized to the user’s specific needs. Many crafters choose to add modular webbing (MOLLE style) to the sides of the bag, allowing for the attachment of extra pouches or water bottle holders. This turns the standard Rat Bag into a tactical or outdoor-ready piece.
Embroidery and patches are another way to make the Rat Bag – Pattern reflect your personality. Because the front flap offers a large, flat surface area, it serves as the perfect “canvas” for hand-stitched designs or vintage iron-on patches. This customization makes the Rat Bag – Pattern a favorite in the indie craft scene.
If you prefer a more professional or “office-ready” look, you can adapt the Rat Bag – Pattern using sleek synthetic materials or high-grade faux leather. By stripping away the rustic elements and focusing on clean lines and monochromatic colors, the bag transforms into a modern tech-messenger bag suitable for any corporate environment.
Adjustable straps are a must-have modification for the Rat Bag – Pattern. Using a tri-glide slide allows the user to switch between a tight, high-carry position and a loose, low-slung style. This adaptability ensures that the Rat Bag – Pattern fits individuals of all body types comfortably, which is a key selling point for those selling their finished crafts.
Don’t be afraid to experiment with the scale of the Rat Bag – Pattern. Some users have successfully shrunk the pattern to 50% to create a “Mini Rat Bag” for use as a phone pouch or a festival bag. Conversely, enlarging the pattern can result in a massive duffle-style bag that retains the unique aesthetic of the original Rat Bag design.
In conclusion, the Rat Bag – Pattern is more than just a template; it is a foundation for innovation. Whether you follow the instructions to the letter or use them as a springboard for your own inventions, the resulting bag is sure to be a conversation starter. The combination of durable construction and unique style ensures the Rat Bag – Pattern remains a staple in the DIY community.
FAQ – Frequently Asked Questions
1. Is the Rat Bag – Pattern suitable for beginners?
Yes, while it has some unique curves, the Rat Bag – Pattern is very approachable for beginners who have basic knowledge of how to operate a sewing machine. The key is to go slowly through the gusset assembly.
2. What is the best fabric for a Rat Bag – Pattern?
The most popular fabrics are 12oz canvas, denim, and waxed cotton. These provide the rugged look and durability that the Rat Bag – Pattern is known for.
3. Can I sell bags made from the Rat Bag – Pattern?
This depends on the specific license provided by the pattern creator. However, most indie patterns allow for small-scale commercial use (selling at craft fairs, etc.), but always check the “Terms of Use” included with your Rat Bag – Pattern download.
4. How much fabric do I need for a standard Rat Bag – Pattern?
Usually, 1 to 1.5 yards of exterior fabric and an equal amount of lining fabric is sufficient for a medium-sized bag. Always check the specific requirements listed on your pattern envelope.
5. Do I need a special needle to sew the Rat Bag – Pattern?
If you are using heavy fabrics like canvas or leather, you will need a Denim needle (90/14 or 100/16) or a Leather needle. A standard universal needle may break when trying to penetrate multiple layers of thick material.
Conclusion
In this article, we have explored the intricate details of the Rat Bag – Pattern, covering everything from its historical inspiration to the technical nuances of its assembly. We discussed the importance of fabric selection, the role of structural reinforcements, and how to customize the design to fit your specific lifestyle.
By following the Rat Bag – Pattern guidelines, you can create a high-quality, durable accessory that stands out in a world of mass-produced goods. We hope this guide inspires you to start your next sewing adventure and master the art of the Rat Bag – Pattern.