Crochet Blanket – Pattern enthusiasts often find themselves searching for the perfect blend of comfort and creativity, looking for a project that transforms a simple ball of yarn into a family heirloom. Whether you are a seasoned crafter or a curious beginner, the journey of creating a handmade blanket is as much about the process as it is about the final result. Starting your next crochet project requires a solid understanding of the stitch techniques and yarn types that will make your work stand out, ensuring your finished piece is both durable and aesthetically pleasing.
When you begin working on a Crochet Blanket – Pattern, you are engaging in a timeless tradition that combines manual dexterity with artistic expression. The versatility of a crochet design allows for endless customization, from choosing the color palette to selecting the weight of the yarn. By following a well-structured step-by-step guide, you can navigate the complexities of tension, gauge, and border finishes without feeling overwhelmed by the technicalities of the craft.
In the modern world of DIY crafts, finding a high-quality Crochet Blanket – Pattern that is easy to follow and SEO optimized for modern searchers is essential for sharing your passion with others. This article will dive deep into the essential elements of creating a stunning blanket, focusing on the materials, the basic stitches, and the advanced techniques that define a professional-looking piece. Let’s explore how you can master this art form while maintaining the perfect balance of texture and warmth in every loop you create.
1. Choosing the Right Yarn for Your Crochet Blanket – Pattern
The foundation of any successful Crochet Blanket – Pattern starts with selecting the appropriate yarn fiber. For a blanket that is both soft and breathable, many crafters opt for cotton blends or premium acrylics. These materials are not only affordable but also machine washable, which is a vital consideration for items used frequently in a household setting.
Weight is another crucial factor when interpreting a Crochet Blanket – Pattern. Using a bulky yarn (Level 5 or 6) will result in a faster project and a thicker, warmer feel, whereas a worsted weight yarn (Level 4) offers more intricate stitch definition. Your choice directly impacts the final drapability of the throw, so always check the manufacturer’s label for recommendations.
Color selection can make or break your crochet aesthetic. When working through a complex Crochet Blanket – Pattern, using solid colors helps highlight the texture of your stitches, while variegated yarn can add a whimsical, colorful flair without the need for frequent yarn changes. Consider the room where the blanket will live to ensure the colorway matches the decor.
Understanding yarn dyelots is a pro tip often mentioned in high-quality crochet tutorials. If you are making a large Crochet Blanket – Pattern, ensure all your skeins come from the same batch to avoid subtle color shifts. Nothing is more frustrating than finishing a large-scale project only to realize the shades don’t quite match under natural light.
The hook size you choose must complement your yarn to achieve the correct gauge. Most Crochet Blanket – Pattern instructions will specify a hook size, but your individual tension might require you to go up or down a millimeter. A hook that is too small for the yarn will create a stiff fabric, while one that is too large will result in a loose, gappy stitch pattern.
Finally, consider the durability of the yarn over time. A Crochet Blanket – Pattern represents hours of labor, so using high-quality anti-pilling yarn ensures your masterpiece won’t look worn out after the first wash. Investing a few extra dollars in quality materials at the start pays off in the longevity and feel of the finished hand-crocheted item.
2. Essential Stitches and Techniques for Your Crochet Blanket – Pattern
Mastering the basic crochet stitches is the first hurdle in completing a beautiful Crochet Blanket – Pattern. The chain stitch (ch) acts as your foundation, while the single crochet (sc) and double crochet (dc) provide the height and structure. Most patterns are simply variations or combinations of these fundamental movements, layered to create visual interest.
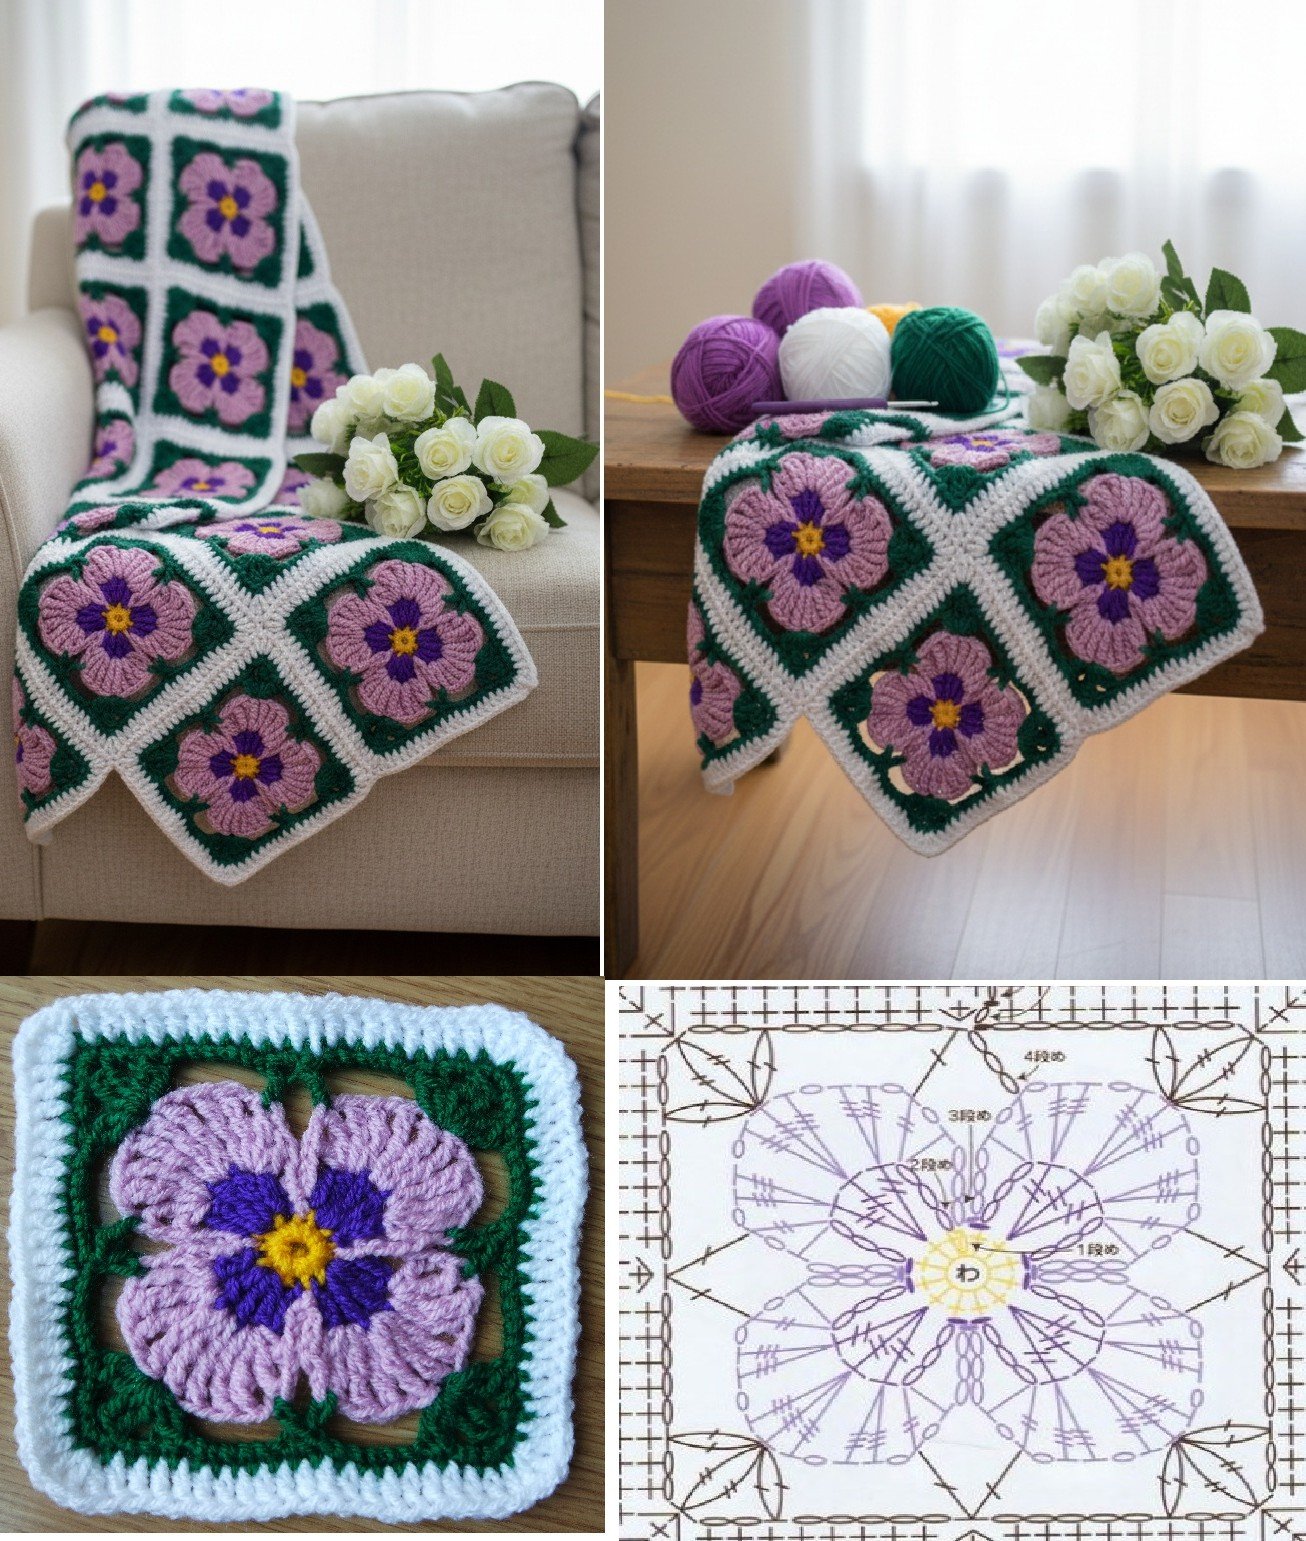
The Granny Square is perhaps the most iconic version of a Crochet Blanket – Pattern. It relies on clusters of double crochet stitches and corner spaces, allowing you to create small motifs that are later joined together. This modular approach is perfect for beginners because it makes a large project feel manageable and portable.
For those seeking more texture, the waffle stitch or bobble stitch can elevate a standard Crochet Blanket – Pattern to a luxury level. These techniques involve working around the post of the stitch or grouping multiple loops together to create a 3D effect. While they use more yarn (often called yarn eaters), the resulting thermal properties are unmatched for winter use.
Maintaining a straight edge is a common challenge when following a Crochet Blanket – Pattern. To avoid the dreaded “triangle effect,” always count your stitches at the end of every row. Using stitch markers at the beginning and end of a sequence can help you identify exactly where to place your last stitch, ensuring your blanket borders remain perfectly aligned.
The slip stitch (sl st) is an underrated tool in any Crochet Blanket – Pattern. It is used for joining rounds, moving yarn across a row without adding height, and creating a clean, professional finished edge. Learning how to execute a seamless invisible join will take your work from “homemade” to “hand-crafted” in the eyes of any recipient.
Blocking your finished Crochet Blanket – Pattern is the final “secret” step. By wetting the fabric slightly and pinning it to specific dimensions, you allow the yarn fibers to relax and the stitches to settle. This process corrects minor tension issues and ensures that your blanket lays perfectly flat, showcasing the geometric symmetry of your hard work.
3. Customizing Sizes and Dimensions in a Crochet Blanket – Pattern
One of the best things about a Crochet Blanket – Pattern is its scalability. You can take a simple stitch repeat and turn it into anything from a security baby blanket to a king-sized bedspread. Knowing how to calculate your starting chain based on the desired width is a skill that empowers you to design your own custom pieces.
For a standard lapghan, which is a popular size for a Crochet Blanket – Pattern, you generally aim for dimensions around 35 by 48 inches. This size is large enough to be functional while small enough to be completed in a reasonable timeframe. It’s an ideal choice for gift-giving or for providing comfort to those in hospitals or nursing homes.
If you are following a Crochet Blanket – Pattern for a nursery, safety is paramount. Baby blankets should avoid large holes where tiny fingers could get caught, so a dense stitch pattern like the moss stitch is often recommended. Ensure the finished size is approximately 30 by 30 inches to provide ample coverage without excess bulk.
To calculate the amount of yarn needed for a larger Crochet Blanket – Pattern, you can use a swatch method. Crochet a 4×4 inch square, weigh it, and then use basic math to determine the total yardage required for the full surface area. This prevents the “yarn chicken” scenario where you run out of yarn just inches before the final border.
A Crochet Blanket – Pattern often includes a border design that adds several inches to the final dimensions. Whether you choose a simple crab stitch (reverse single crochet) or an elaborate scalloped edge, remember to account for this extra width when planning your center panel. The border acts as a frame, pulling the entire design concept together.
Remember that yarn stretch occurs over time, especially with heavier blankets. A Crochet Blanket – Pattern worked in a very loose tension might grow significantly once it is hung over a sofa or used daily. Choosing a firm tension or a more stable stitch like the herringbone double crochet can help the blanket maintain its original shape for years to come.
4. Troubleshooting and Finishing Your Crochet Blanket – Pattern
Even the most experienced crafters run into issues when working on a Crochet Blanket – Pattern. One of the most common problems is uneven tension, which causes one side of the blanket to look tighter than the other. If you notice your work curling, try relaxing your grip or switching to a larger crochet hook to give the yarn more room to breathe.
Joining new yarn is a critical skill for any Crochet Blanket – Pattern. Instead of tying knots, which can come undone or feel bulky, use the Russian join or the magic knot technique. Alternatively, simply work the new yarn into the last pull-through of a stitch and weave in the ends as you go to ensure a secure and invisible transition.
Weaving in ends is often the least favorite part of a Crochet Blanket – Pattern, but it is essential for longevity. Use a tapestry needle to thread the yarn tails back through the stitches in multiple directions. This “zig-zag” method locks the yarn in place, preventing the crochet stitches from unraveling during a heavy wash cycle.
If you find a mistake several rows back in your Crochet Blanket – Pattern, you have two choices: “frog it” (rip it out) or fix it on the fly. While “frogging” is painful, it is usually the best way to maintain the integrity of the geometric pattern. If the error is minor, you can sometimes “increase” or “decrease” in the current row to get your stitch count back on track.
Adding a professional label to your finished Crochet Blanket – Pattern provides a wonderful touch. You can find custom leather or fabric tags that state “Handmade with Love” or include care instructions. This small detail elevates the perceived value of the blanket and serves as a lasting reminder of the time and effort you invested.
Once your Crochet Blanket – Pattern is complete, take high-quality photos to document your progress. Sharing your work on social media or crafting forums can provide inspiration to others and help you connect with the global crochet community. Your unique take on a classic pattern might just be the spark someone else needs to start their own creative journey.
FAQ – Frequently Asked Questions
How long does it take to finish a full-sized Crochet Blanket – Pattern?
The time required depends heavily on the yarn weight and stitch complexity. A bulky yarn blanket can be finished in a weekend (approx. 10–15 hours), while a delicate lace-weight bedspread might take several months of consistent work.
Which crochet hook is best for a beginner following a Crochet Blanket – Pattern?
An ergonomic 5.0mm (H) hook is generally considered the gold standard for beginners. It fits comfortably in the hand and works perfectly with worsted weight yarn, which is the easiest material to learn with.
Can I use any Crochet Blanket – Pattern to make a different size?
Yes! Most patterns use a stitch multiple (e.g., “multiple of 4 + 2”). As long as you follow the math of the repeat, you can chain any length to make the blanket wider or narrower to suit your needs.
How do I wash a blanket made from a Crochet Blanket – Pattern?
Always check your yarn label first. Generally, it is best to wash handmade items on a gentle cycle with cold water and lay them flat to dry. Avoid hanging them, as the weight of the water can stretch the crochet fibers.
What is the best Crochet Blanket – Pattern for someone who hates sewing?
Look for “continuous” or “one-piece” patterns like the C2C (Corner-to-Corner) or ripple stitch. These allow you to work the entire blanket in one go without having to sew individual squares together at the end.
Conclusion
In this article, we have explored the comprehensive world of the Crochet Blanket – Pattern, covering everything from the initial yarn selection and hook sizing to the intricate details of stitch anatomy and finishing techniques.
We learned that the secret to a professional-looking handmade throw lies in the details: maintaining consistent gauge, choosing high-quality washable fibers, and taking the time to properly block the final piece. By understanding how to scale a crochet design and troubleshoot common errors, you are now equipped to tackle projects ranging from small baby gifts to large, cozy home decor items.