A Hat with granny stitch – Pattern is one of the most rewarding projects you can undertake if you love the classic, vintage aesthetic of crochet. The granny stitch is a timeless technique consisting of clusters of three double crochets that create a beautiful, breathable texture. Whether you are a seasoned pro or a beginner looking to expand your skills beyond simple rows, mastering a hat with granny stitch – pattern allows you to create stylish, handmade gifts that never go out of style.
Choosing the right crochet hook and yarn weight is essential when starting your hat with granny stitch – pattern. Typically, a medium-weight (worsted) yarn works best to showcase the definition of the stitch clusters. Because the granny stitch is naturally somewhat “holy” or airy, selecting a soft wool or acrylic blend ensures the hat remains warm while maintaining that signature bohemian look. Many crafters enjoy using self-striping yarn to let the color changes do the heavy lifting for them.
In this guide, we will dive deep into the mechanics of the hat with granny stitch – pattern, exploring everything from the magic ring foundation to the final pom-pom embellishment. Understanding the stitch anatomy is key to ensuring your hat has the right drape and fit. By the end of this article, you will have a comprehensive understanding of how to manipulate double crochet clusters and chain spaces to create a custom-fit headpiece that looks professional and feels incredibly cozy.
1. Understanding the Essentials of the Hat with Granny Stitch – Pattern
The foundation of any successful hat with granny stitch – pattern begins with understanding the cluster stitch. In crochet terminology, a “granny cluster” usually refers to a set of 3 double crochet (dc) stitches worked into the same space. This creates a thick, repetitive pattern that is easy to memorize, making it the perfect “couch project” for relaxing while you work.
When you start your hat with granny stitch – pattern, you generally begin at the crown and work your way down. This is known as a top-down construction. By starting with a magic circle or a small ring of chains, you create a center point from which the granny clusters radiate outward. Increasing the number of clusters in the first few rounds determines the eventual circumference of the hat.
The term pattern refers to the specific set of instructions that guide you through increases, straight rounds, and the brim. A well-written hat with granny stitch – pattern will provide clear stitch counts for each round. This is crucial because if you miss an increase, your hat might turn out too small, resembling a skullcap rather than a slouchy beanie.
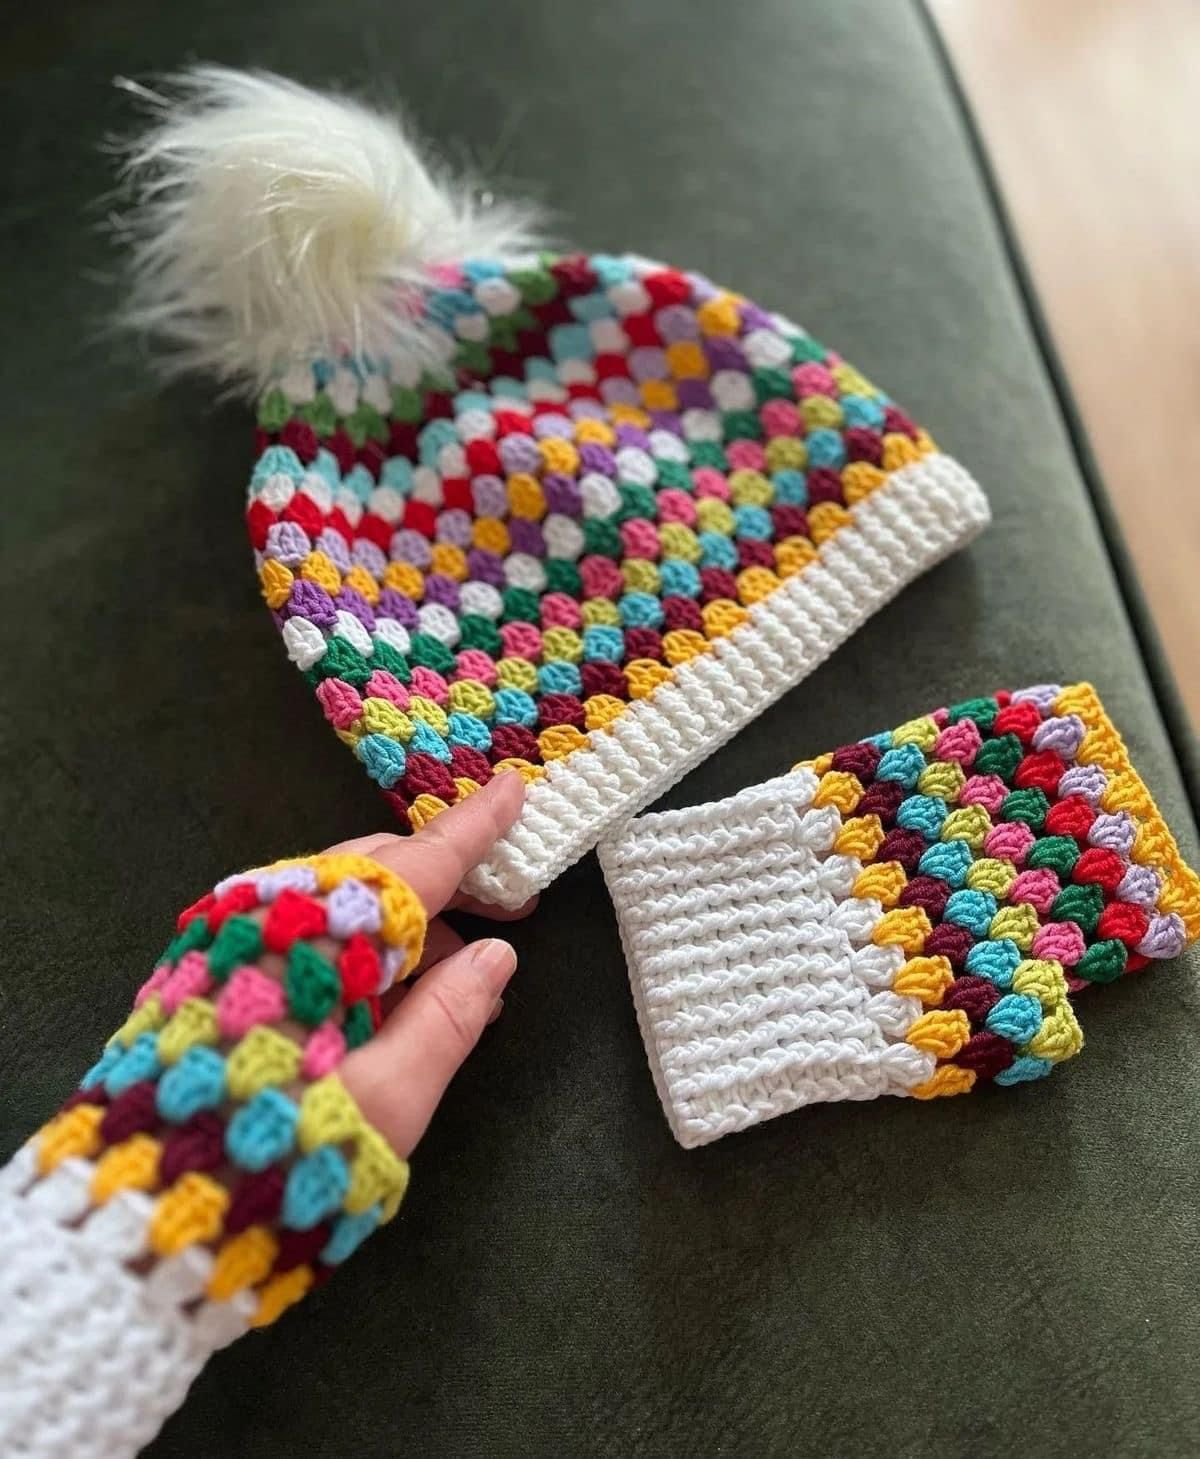
One of the best things about a hat with granny stitch – pattern is its versatility with colorwork. You can change colors every round to create a vibrant, scrap-yarn masterpiece, or use a solid color for a more modern, textured look. The openwork nature of the granny stitch allows for excellent ventilation, making these hats ideal for transitional seasons like spring and autumn.
For those new to reading a crochet pattern, the abbreviations are your best friends. In a hat with granny stitch – pattern, you will frequently see “ch-sp” (chain space), which is where you will insert your hook to create the next cluster. Unlike traditional solid crochet, you aren’t usually stitching into the top of the previous stitches, but rather into the gaps between them.
Finally, ensuring your gauge is correct is the secret to a professional finish. Even the most perfect hat with granny stitch – pattern can fail if your tension is too tight or too loose. Always take the time to crochet a small swatch of granny stitches to see if your dimensions match the designer’s recommendations before committing to the full project.
2. Step-by-Step Guide to the Granny Stitch Technique
To begin the actual construction of the hat with granny stitch – pattern, you must master the increase rounds. In the first few rows, you will place two clusters into a single chain space. This expands the circle flatly so it sits comfortably on the top of the head. Without these precise increases, the hat would immediately start to curl into a tube shape.
Once the crown of your hat with granny stitch – pattern reaches the desired diameter—usually about 6 to 7 inches for an average adult—you stop increasing. At this stage, you simply place one cluster in each space from the previous round. This transition is what causes the crochet work to “bowl” downward, forming the sides of the hat that cover the ears.
The hat with granny stitch – pattern relies heavily on the slip stitch (sl st) to join rounds. Each round is typically finished by joining the last cluster to the first one, then “walking” your hook over to the next space using slip stitches. This keeps the seam nearly invisible, ensuring that the granny clusters look continuous and symmetrical all the way around the head.
As you progress through the pattern, you will notice how the texture develops. The beauty of the granny stitch is that it is reversible; both sides look almost identical, which is a great bonus for handmade headwear. If you prefer a “slouchy” look, you can continue the straight rounds for a longer duration before starting the final edging or brim.
The brim is where you can truly customize your hat with granny stitch – pattern. While many prefer to finish with a few rounds of single crochet (sc) for a tight fit, others opt for front post and back post double crochet to create a ribbed effect. Ribbing provides more elasticity, helping the hat stay securely on the head during windy days.
Attention to detail during the finishing stages makes a world of difference. When completing your hat with granny stitch – pattern, use a tapestry needle to weave in your ends securely. Because the granny stitch has many “holes,” you must be careful to weave the yarn through the actual fibers of the stitches to ensure the ends don’t pop out after a few wears or washes.
3. Materials and Tools for a Professional Finish
Choosing the right yarn is the most impactful decision you’ll make for your hat with granny stitch – pattern. A Category 4 (Worsted) yarn is the gold standard for durability and warmth. However, if you want a delicate, lightweight summer hat, you might opt for a cotton blend or a Category 3 (DK) weight yarn, which yields a finer, more intricate result.
The crochet hook size should complement your yarn choice. Most hat with granny stitch – pattern designs suggest a 5.0mm (H/8) hook. If you are a “tight” crocheter, you might want to move up to a 5.5mm hook to ensure the hat has enough “drape.” A stiff granny stitch can make the hat feel uncomfortable and boxy rather than soft and conforming.
Stitch markers are invaluable tools when working in the round. Even though the clusters are easy to see, it’s easy to lose track of where a round begins, especially when working the increase rounds of your hat with granny stitch – pattern. Placing a marker in the first cluster of each round saves time and prevents the frustration of having to frog (rip out) your work.
Don’t forget the importance of a measuring tape. Throughout the process of following your hat with granny stitch – pattern, you should measure the diameter of the crown and the total length from top to bottom. For a standard adult hat, the total length usually falls between 8 and 9 inches. Measuring as you go ensures a custom fit for whoever will be wearing the piece.
Adding a pom-pom is a popular way to finish a hat with granny stitch – pattern. You can make one yourself using a pom-pom maker and the same yarn used in the hat, or you can buy a trendy faux-fur pom-pom. These additions add a touch of personality and can make a simple handmade hat look like it came from a high-end boutique.
Lastly, consider the care instructions for your finished project. If you used a wool yarn, the hat will require hand-washing to avoid felting. If you used acrylic, it can likely go in the washing machine. When gifting a hat with granny stitch – pattern, it is a lovely touch to include a small “care card” so the recipient knows how to maintain the beauty of your handiwork.
4. Customizing Your Hat for Different Sizes
To adapt a hat with granny stitch – pattern for children or infants, you simply stop the increase rounds earlier. For a baby, you might only do three or four rounds of increases before moving to the straight sides. The math of crochet is quite simple: the smaller the crown diameter, the smaller the finished hat will be.
If you are looking for a slouchy hat style, the hat with granny stitch – pattern is easily modified. Instead of stopping at 8 inches of total length, you can continue the granny rounds until the hat reaches 10 or 11 inches. This extra length creates the “slouch” at the back, which is a very popular fashion choice for teens and young adults.
Color transitions can also “resize” the look of the hat. Using darker colors for the brim and lighter colors for the crown can draw the eye upward, creating the illusion of height. In your hat with granny stitch – pattern, try using a variegated yarn for the clusters and a solid, contrasting color for the final rounds of the brim to make the pattern “pop.”
For those who find the standard granny stitch too open, you can modify the pattern by eliminating the chain-1 space between clusters. This results in a “solid granny” look. This variation of the hat with granny stitch – pattern is much warmer and provides better protection against cold winter winds while still retaining that iconic textured appearance.
Don’t be afraid to experiment with fiber types. A mohair or alpaca blend can turn a basic hat with granny stitch – pattern into a luxury item. These fibers have a “halo” (fuzziness) that fills in the gaps of the granny stitch, making the hat incredibly soft and providing a high-end, sophisticated aesthetic that is perfect for winter fashion.
The final tip for customization is the brim tension. If you find your hat is too loose at the bottom, use a smaller hook size just for the brim. This will pull the stitches closer together, ensuring the hat with granny stitch – pattern stays snug against the forehead. A well-fitting brim is the difference between a hat you wear once and a hat you wear every day.
Frequently Asked Questions (FAQ)
Is the granny stitch hat suitable for beginners?
Yes, absolutely! The hat with granny stitch – pattern is one of the best projects for beginners because it uses basic stitches and is very forgiving. If your count is off by one stitch, it is usually easy to hide within the clusters.
How much yarn do I need for one hat?
Typically, one 100g skein of worsted weight yarn is more than enough to complete a standard adult-sized hat with granny stitch – pattern. If you are making a slouchy version or adding a large yarn pom-pom, you might want to have a second skein on hand.
Can I use this pattern for a “messy bun” hat?
Yes! To turn your hat with granny stitch – pattern into a messy bun hat, simply start by crocheting your first round of clusters around a sturdy hair elastic instead of using a magic ring. This leaves a hole at the top for your ponytail.
Why is my hat turning out like a flat circle?
If your work isn’t “cupping” into a hat shape, you are likely still performing increases. To make the hat grow downward, you must stop adding extra clusters and only place one cluster in each available space from the previous round.
How do I change colors without messy knots?
The best way to change colors in a hat with granny stitch – pattern is to pull the new color through the last two loops of the final stitch of a round. This creates a seamless transition. You can then crochet over the yarn tails to secure them without needing knots.
Does the granny stitch use a lot of yarn?
Interestingly, the granny stitch is often considered a “yarn eater” because of the dense clusters, but because of the open spaces between them, it actually uses less yarn than a solid half-double crochet or waffle stitch pattern.
Conclusion
In this article, we have explored the intricate and delightful world of the hat with granny stitch – pattern. We covered everything from the fundamental double crochet clusters and increase rounds to the importance of gauge, yarn selection, and finishing techniques.
You’ve learned how to start from the crown, manage your chain spaces, and customize the size and style to fit anyone from a newborn to an adult. The granny stitch remains a favorite among crafters because it combines a vintage feel with modern versatility, allowing for endless creativity through colorwork and brim variations.