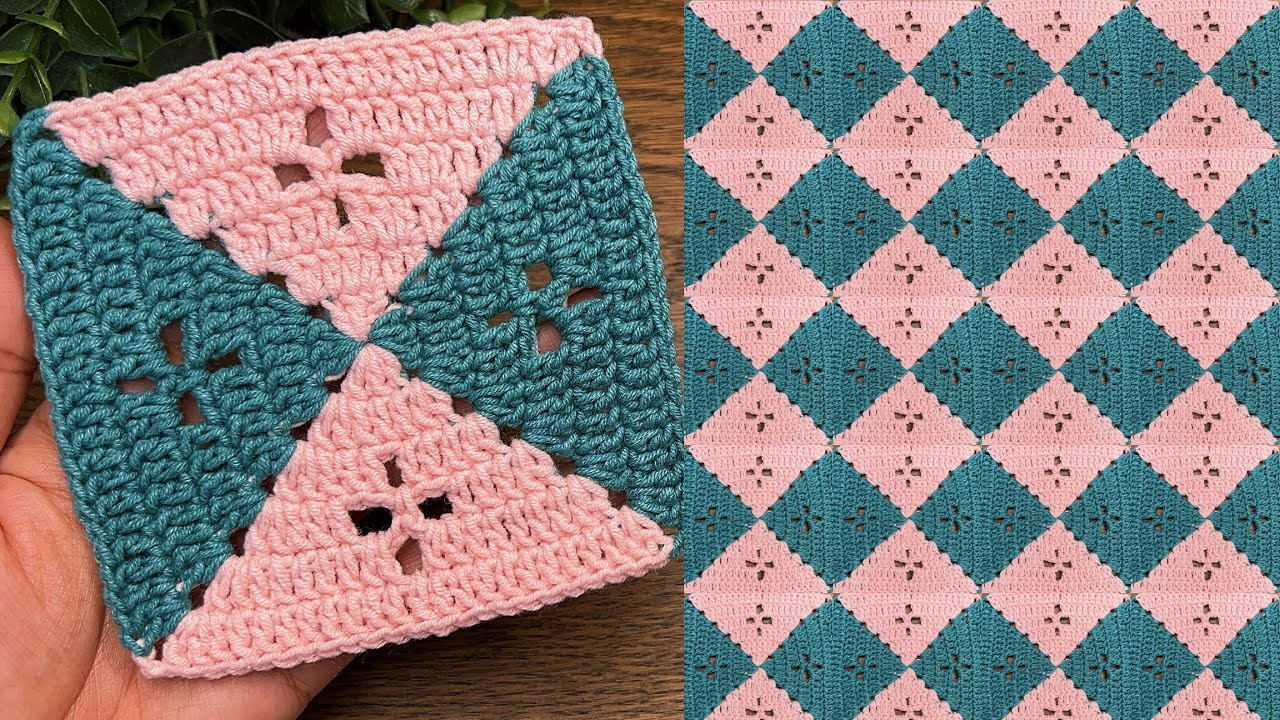
The Crochet Granny Square – Tutorial is your ultimate gateway into one of the most beloved, versatile, and enduring traditions in the fiber arts world. Whether you are holding a crochet hook for the very first time or you are a seasoned maker looking to refine your technique, mastering this iconic motif opens up a universe of creative possibilities. From cozy blankets and stylish cardigans to trendy tote bags and home decor, the humble square is the building block of countless spectacular projects. In this comprehensive guide, we will break down everything you need to know to create a flawless, beautiful motif from scratch.
Stepping into the world of yarn crafts can feel overwhelming with so many stitches and terms, but focusing on a Crochet Granny Square – Tutorial simplifies your learning curve significantly. This classic pattern is celebrated globally because it relies on a repetitive, rhythmic combination of basic stitches that are easy to memorize yet incredibly satisfying to execute. As you practice, you will find that making these squares becomes almost meditative, allowing you to relax while creating something genuinely beautiful and functional with your own two hands.
Our goal today is to provide a highly humanized, engaging, and thoroughly optimized Crochet Granny Square – Tutorial that complies fully with the highest content quality guidelines. We will explore the essential tools, walk through a step-by-step breakdown of the stitches, share industry secrets for achieving perfectly flat edges, and look at how to seamlessly join your pieces together. Grab your favorite yarn, find a comfortable seat, and let us dive deep into the ultimate step-by-step journey of crafting your very first classic crochet square.
1. Essential Materials and Tools for Success
Before starting your journey with this classic Crochet Granny Square – Tutorial, gathering the correct supplies is paramount to ensuring a smooth, enjoyable crafting experience. You do not need a massive budget to get started, but investing in comfortable, high-quality basic tools will dramatically improve your stitch consistency and hand comfort.
For beginners following this Crochet Granny Square – Tutorial, we highly recommend selecting a worsted weight yarn (medium weight number four) in a smooth texture and a bright, solid color. Lighter shades make it significantly easier to see your stitch anatomy, find the spaces where your hook needs to go, and count your rows accurately without straining your eyes.
Pairing your chosen yarn with the correct hook size is the next critical step for a beautiful Crochet Granny Square – Tutorial outcome. A 5.0 mm (H-8) ergonomic aluminum crochet hook is generally the perfect match for worsted weight yarn, offering an ideal balance that prevents your stitches from becoming too tight or too loose.
In addition to your yarn and hook, you will need a few inexpensive notions to keep nearby while working through this Crochet Granny Square – Tutorial. A sharp pair of embroidery scissors is essential for clean yarn cuts, and a blunt-tipped tapestry needle is absolutely required for weaving in your loose yarn ends securely.
Stitch markers can also be incredibly helpful for beginners tackling a Crochet Granny Square – Tutorial, especially for marking the corner spaces of your expanding motif. Using markers ensures you never accidentally skip a crucial chain space, keeping your square perfectly symmetrical as it grows larger row after row.
Taking the time to prepare your creative workspace with good lighting and organized supplies allows you to focus completely on the rhythm of the yarn. Once you have your worsted yarn, ergonomic hook, scissors, and tapestry needle ready, you are fully equipped to conquer the foundation steps of this timeless pattern.
2. Step by Step Guide to the Foundation and First Round
The true magic of this Crochet Granny Square – Tutorial begins with mastering the center foundation ring, which acts as the anchor for all your subsequent stitches. You can begin by making a standard slip knot and chaining four stitches, then joining the first and last chains with a slip stitch to form a tiny yarn ring.
Once your foundation ring is secure, chain three; this initial chain counts as your very first double crochet stitch of the Crochet Granny Square – Tutorial. Next, work two additional double crochet stitches directly into the center of the ring, completing your first official three-stitch cluster, often called a shell.
To create the first corner of your motif in this Crochet Granny Square – Tutorial, chain two, then work three more double crochet stitches into the center of the ring. You will repeat this exact sequence—chaining two for the corner and working three double crochets—two more times until you have four distinct clusters.
To complete round one of your Crochet Granny Square – Tutorial, chain two after your final cluster, then make a slip stitch into the top of your initial chain-three. Inspect your work at this stage; you should see a tiny, distinct square with four clear clusters of stitches and four open corner spaces.
Understanding the anatomy of these early stitches is crucial for the rest of this Crochet Granny Square – Tutorial, as every future round builds directly upon this base. The spaces created by the two chains in each corner will be the target areas where you will place your new stitches in the upcoming steps.
Take a moment to gently pull the center tail of your yarn to close up any excess gap in the middle of your work. Congratulations, you have successfully completed the foundational round, and you are now ready to expand your motif outwards with absolute confidence.
3. Expanding the Motif and Mastering the Corner Strategy
Expanding your work in this Crochet Granny Square – Tutorial requires a simple understanding of how to navigate straight sides versus the open, angled corners. To begin round two, you will slip stitch across the tops of the stitches from round one until your hook reaches the first open corner space.
Chain three to act as your first double crochet, then work two double crochets, chain two, and three more double crochets all within that very same corner space. This specific combination is known as a corner cluster, and it allows your Crochet Granny Square – Tutorial to grow outwardly while maintaining its square shape.
As you move along the straight side to the next corner, chain one to bridge the gap; this single chain keeps your edges flat and flexible. When you reach the next corner space, repeat the exact formula of three double crochets, two chains, and three double crochets into that single opening.
Continue working your way completely around the perimeter, placing a corner cluster in each of the remaining open spaces and separating the sides with a chain one. Once you reach the starting point of your Crochet Granny Square – Tutorial round, secure the circle with a slip stitch into the initial chain-three.
As your work progresses into round three and beyond, you will notice new open spaces appearing along the straight, flat sides of your expanding piece. In these side spaces, you will only ever work a single cluster of three double crochets, reserving the double clusters exclusively for the four corners.
By repeating this beautiful, logical pattern of side clusters and corner expansions, you can make your square as large as you could possibly desire. This predictable rhythm is why the Crochet Granny Square – Tutorial remains an absolute favorite among crafters looking for an enjoyable, stress-free project.
4. Finishing Touches Tailoring and Seamless Joining Methods
Achieving a professional look with your finished Crochet Granny Square – Tutorial pieces comes down to how you handle the final details and assembly. When your square reaches its desired size, cut your yarn leaving a six-inch tail, pull it completely through the loop, and use your tapestry needle to weave it invisibly.
Weaving your ends back and forth through the dense parts of your clusters ensures that your hard work will never unravel in the washing machine. Taking an extra few seconds to carefully hide these yarn tails gives your finished project a clean, polished appearance from the very start.
An incredibly effective industry secret for elevating your Crochet Granny Square – Tutorial results is a simple preservation process known as blocking your work. Pinning your damp squares onto a foam blocking mat and letting them air dry coaxes the fibers into perfectly straight lines and crisp, sharp corners.
When you have completed multiple motifs using this Crochet Granny Square – Tutorial, you will need a reliable method to connect them into a larger project. The slip stitch join creates a beautiful, raised braided texture on the surface of your work, adding an extra layer of visual interest to blankets.
If you prefer a completely flat, invisible seam for garments, the mattress stitch using your tapestry needle is the perfect technique to employ. By sewing through the back loops only of matching stitches, the join disappears entirely, leaving a perfectly smooth and cohesive fabric surface.
Experimenting with different yarn colors for your final round or using a contrasting yarn color for joining can completely transform the overall aesthetic. With these finishing and joining techniques in your skill toolkit, you are ready to turn individual squares into breathtaking heirlooms.
Frequently Asked Questions
Why is my crochet granny square curling at the corners?
Curling usually happens if your tension is too tight or if you accidentally missed a chain stitch in the corners. Ensure you are consistently making two chains in each corner space to give the stitches enough room to lie completely flat, and try using a slightly larger hook size if your tension is naturally tight.
Can I change colors on every single round of the square?
Yes, absolutely! Changing colors at the start of a new round is a fantastic way to create vibrant, eye-catching designs and use up small scraps of yarn. Simply fasten off your current color at the end of a round, and join your new yarn color directly into any corner space to begin the next row.
How do I prevent my square from turning into a circle?
Your motif might lose its shape if you place the wrong number of clusters in the corners. Remember that every corner must contain two separate clusters of three double crochets, separated by two chains, worked into the exact same space; this specific increases creates the sharp 90-degree angles.
What is the best type of yarn for a beginner?
Acrylic yarn or a cotton-acrylic blend in a medium worsted weight (category 4) is ideal for beginners. These yarns are widely available, highly budget-friendly, do not split easily while working, and offer excellent stitch definition, making it very simple to see exactly what you are doing.
Do I really need to block my finished squares?
While blocking is not strictly mandatory, it is highly recommended if you want a truly professional finish. Blocking evens out slight tension variations, straightens wonky edges, and ensures that all your individual pieces are the exact same dimensions, making the final assembly process significantly easier.
Conclusion
In this comprehensive Crochet Granny Square – Tutorial, we have covered every essential milestone required to master this timeless textile art form.
From selecting the perfect worsted weight yarn and ergonomic hooks to navigating the foundation ring, expanding through the corners, and executing flawless finishing techniques, you now possess the complete blueprint for success. This classic motif is a foundational skill that will serve as the heartbeat of your future creative crafting endeavors.