If you have a growing pile of fabric scraps from previous sewing adventures, learning how to create a squares scrap quilt tutorial is the ultimate way to breathe new life into those leftover pieces. Crafters and quilters worldwide often find themselves with a massive stash of fabric bits that are too small for large projects but too beautiful to simply throw away. Engaging in a scrap quilting project allows you to honor your creative journey, reduce waste, and build a deeply personal piece of functional art.
Diving into this creative process is incredibly rewarding because no two projects ever look exactly the same. Each small piece of cotton fabric or salvaged material carries its own history, color palette, and texture, making the final blanket a true mosaic of your crafting life. Whether you are an experienced quilter looking to declutter your studio or a curious beginner eager to learn the foundational steps of piecing, this structured approach will guide you smoothly through every stage of development.
To make the journey seamless, this comprehensive guide balances structural precision with creative freedom, ensuring that your finished piece is structurally sound, durable, and breathtakingly vibrant. By focusing on proper fabric cutting techniques, mindful color layouts, and consistent pressing habits, you can elevate raw scraps into a cohesive heirloom. Let us explore the exact steps, techniques, and insider secrets required to build your very own stunning quilted masterpiece from scratch.
1. Sorting and Preparing Your Fabric Stash
The absolute first step to a successful quilting experience begins long before you touch the sewing machine, starting instead with organizing your collection of leftovers. Gathering all your rogue textiles into one bright workspace allows you to accurately assess the colors, weights, and textures available for your layout. For a durable and balanced project, prioritizing 100% cotton fabric scraps is highly recommended because they hold their shape beautifully and resist stretching.
Once you have gathered your materials, it is time to categorize them by color value, sorting them into darks, mediums, and lights to ensure excellent visual contrast. Mixing up these values across your design prevents the final layout from looking muddy or visually overwhelming when viewed from a distance. If you are upcycling garments like old shirts or dresses, make sure to cut away any bulky seams, buttons, or zippers first.
After sorting, inspect the quality of your fabrics to make sure none of the older pieces are too fragile, thin, or prone to excessive fraying. Giving your salvaged textiles a thorough wash with a gentle, fragrance-free detergent helps remove built-in starches, chemical finishes, or dust from long-term storage. This initial washing phase also reveals whether any vibrant fabrics are prone to bleeding, protecting your future work from accidental color stains.
Once your pieces are dry, take the time to iron every single scrap using a high-quality steam iron and a flat pressing surface. Trying to cut precise shapes out of wrinkled or creased fabric is incredibly difficult and almost always leads to misaligned corners later on. Pressing your fabrics completely flat ensures that your measurements stay perfectly accurate, saving you hours of frustration during the assembly phase.
If you happen to find very lightweight or slightly stretchy fabrics that you absolutely love, consider applying a thin layer of fusible interfacing to their backings. This clever step adds much-needed stability to delicate materials, allowing them to behave exactly like sturdy quilting cotton during the piecing process. Taking these extra preparation steps establishes a solid, professional foundation that makes the actual sewing portion a total breeze.
To wrap up your prep work, invest in a set of clear storage bins or baskets to keep your newly sorted and pressed fabrics organized by color group. Keeping your workspace neat and tidy boosts your creative focus and stops you from feeling overwhelmed by the sheer volume of scraps. With your materials clean, flat, separated, and ready to go, you can confidently transition to the precision cutting phase.
2. Cutting Precise Squares for Maximum Accuracy
Achieving crisp, perfectly aligned corners on your finished blanket depends entirely on the accuracy of your initial cuts, making precision a top priority. For this layout, utilizing a sharp rotary cutter combined with a self-healing cutting mat and a clear acrylic quilting ruler is essential. Trying to cut dozens of identical blocks using standard household scissors is time-consuming and frequently introduces subtle, unwanted variations in size.
Before making your first cut, decide on a standard dimension for your blocks, with popular sizes for scrap projects usually ranging around 5-inch squares. Selecting a uniform size makes it incredibly easy to square up your scraps, maximize fabric usage, and keep the mathematical calculations straightforward. If you have incredibly small leftover bits, you can easily adapt the plan to focus on smaller 2.5-inch squares instead.
Align the straight edge of your clear acrylic ruler with the grainline of the fabric to prevent the blocks from stretching or warping out of shape. Apply firm, even downward pressure on the ruler with your non-dominant hand while smoothly rolling the rotary blade away from your body. Always remember to close the safety guard on your cutter every single time you set it down on your table.
If you are dealing with odd-shaped remnants, cut them into long, uniform strips first, and then sub-cut those strips into individual squares. This systematic strip-cutting method drastically speeds up your workflow and ensures that the edges of your blocks remain perfectly square and true. Keep a small basket right next to your cutting mat to collect any tiny, unusable threads or thin trimmings.
As you build up your pile of identical pieces, bundle them together using fabric clips or rubber bands to keep them organized by color family. Routinely check the sharpness of your rotary blade, as a dull edge will skip threads and cause fraying, forcing you to recut pieces. Taking your time during this phase ensures that every block matches perfectly, setting you up for effortless sewing.
Once all your pieces are neatly cut, count them to make sure you have enough blocks to satisfy the dimensions of your intended blanket layout. Having a few extra blocks on hand is always an excellent idea, giving you more flexibility when arranging the final color design. With your neat stacks of uniform squares complete, you are fully prepared to move on to the layout design.
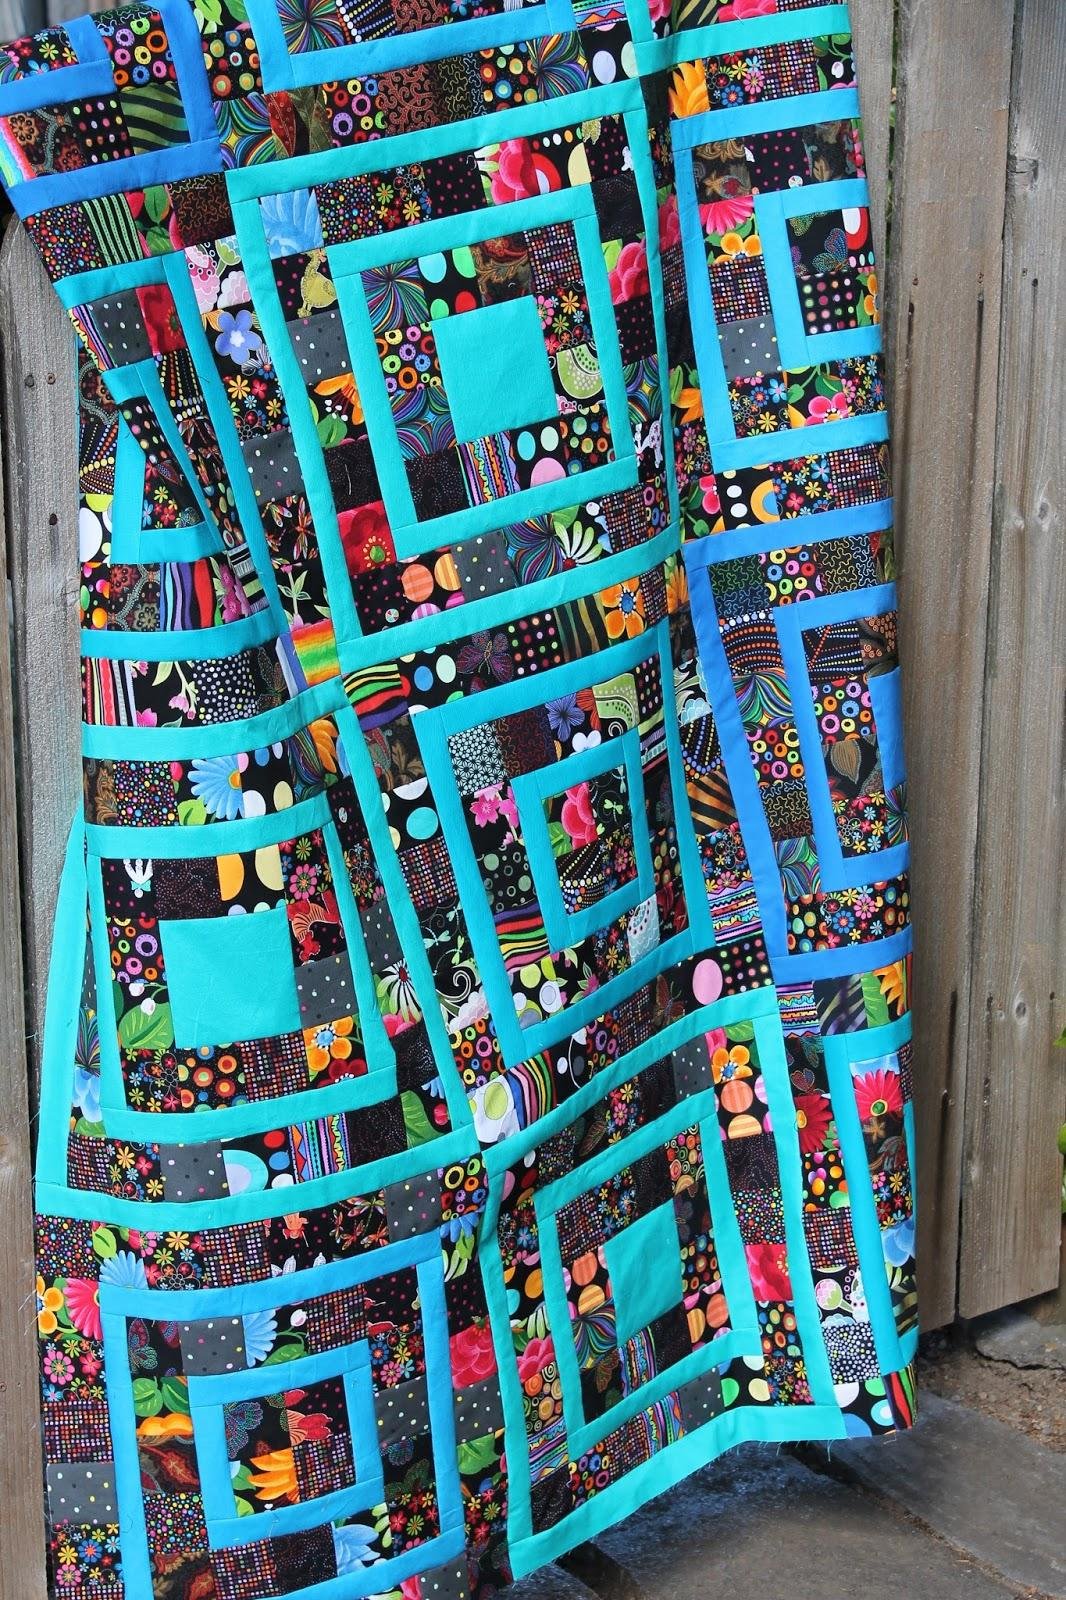
3. Designing and Piecing the Quilt Top
Designing the layout is arguably the most exciting part of the process, as it allows you to play with color combinations and contrast. Utilizing a large flat surface, a clean bed, or a dedicated quilting design wall lets you arrange your colorful blocks before sewing them together. Step back frequently from your layout to check for any accidental clusters of identical colors or dark spots that unbalance the look.
When you are fully satisfied with the visual arrangement of your squares, organize the pieces into neat rows, labeling them sequentially with sticky notes. Bring the first two blocks of row one to your sewing machine, placing them right sides together with the raw edges aligned perfectly. Sew along the right-hand edge using a strict, precise quarter-inch seam allowance, which is the absolute gold standard for quilting.
To save an incredible amount of time and thread, practice a popular technique known as chain piecing throughout the assembly process. Chain piecing involves feeding pairs of squares through your machine one right after another without lifting the presser foot or cutting the threads in between. This creates a long, continuous strand of connected blocks that you can easily snip apart with scissors once the row is finished.
Continue adding blocks to your chains until you have completed all the individual rows required for your unique layout design. Once the individual rows are assembled, it is time to press the seams of row one to the right, and row two to the left. Alternating the direction of your seams like this allows the fabric joints to nest together beautifully when you sew the rows to one another.
When joining row one to row two, pin carefully at each intersection to make sure your corners line up perfectly. Sew across the entire length of the rows, removing each pin just before your needle reaches it to avoid breaking your machine’s needle. Repeat this row-joining process across the entire body of the project until your complete top is fully assembled.
Give the completed top a final, thorough press from the front side, making sure all the outer seams lay completely flat and smooth. Take a brief moment to admire your hard work, noting how the varied scraps have blended into a gorgeous, cohesive canvas. With your top fully pieced and flattened, you are ready to assemble the final layers and finish the project.
4. Quilting and Binding the Finished Heirloom
Finishing your project requires creating a classic quilt sandwich, which consists of your completed top, a layer of cotton batting, and backing fabric. Secure the three layers tightly together using curved basting pins or a temporary fabric basting spray to prevent shifting during the sewing process. If you are new to the craft, straight-line quilting using a walking foot is an excellent, highly dependable method.
Guide your machine smoothly along the existing seam lines, a classic and beautiful technique often referred to as quilting in the ditch. If you prefer a more modern appearance, you can sew straight diagonal lines across the blocks to form an elegant diamond pattern. Keep your sewing speed steady and consistent, allowing the feed dogs of your machine to pull the heavy sandwich layers through evenly.
Once the quilting lines are complete, trim away any excess batting and backing fabric sticking out from the edges of your top. This squaring-up process ensures that the perimeter of your project is completely straight, perfectly even, and ready for the final binding. Creating a clean, square edge makes applying the outer fabric frame much easier and prevents wavy edges.
For a classic finish, cut several long strips of binding fabric measuring two and a half inches wide, and sew them together diagonally. Fold the long continuous strip exactly in half lengthwise with the wrong sides together, and iron it flat to create a durable double-fold binding. Sew the raw edges of the binding strip to the front perimeter of your project using your quarter-inch seam.
Miter the corners carefully as you navigate around each turn to create a crisp, professional, and square appearance on the edges. Flip the folded edge of the binding over to the back of the blanket, securing it tightly with fabric clips. Hand-stitch the binding to the backing fabric using an invisible blind stitch, or machine-stitch it from the front side for speed.
Give your finished piece one last gentle steam press to set all the new stitches and smooth out the bound edges. Your beautiful, eco-friendly creation is now fully complete, durable, and ready to bring cozy warmth and vibrant color to your home. Wash it on a gentle cycle to experience that classic, crinkly quilted texture that makes handmade blankets so incredibly special.
Frequently Asked Questions (FAQ)
What is the best fabric to use for a scrap quilt project?
The absolute best option is 100% quilting cotton because it offers excellent structural stability, does not stretch out of shape easily, and washes beautifully. You can certainly incorporate other materials like linen or lightweight denim, but try to avoid stretchy knits, rayon, or heavy polyester, as they can cause puckering and uneven seams during assembly.
How do I keep my square corners perfectly aligned?
The secret to flawless corners lies in maintaining a highly accurate, consistent quarter-inch seam allowance throughout the project and nesting your seams. By pressing the seam allowances of alternating rows in opposite directions, the fabric junctions will lock together tightly when pinned, resulting in perfectly crisp corners.
Can I make a scrap quilt if I do not own a rotary cutter?
Yes, you can absolutely use standard fabric shears, but it will require significantly more time, effort, and attention to detail. If you choose to use scissors, creating a sturdy cardboard or plastic template of your square size will help you trace and cut individual pieces with the highest level of accuracy possible.
How do I choose a cohesive color scheme when using random scraps?
To keep your design looking balanced and intentional rather than chaotic, try organizing your scraps by value (light, medium, and dark) and spreading them out evenly. Alternatively, you can establish a cohesive visual theme by picking one dominant background color, like crisp white, soft gray, or deep navy, to frame and separate your colorful blocks.
Should I pre-wash my fabric scraps before sewing them together?
Pre-washing is highly recommended if your scraps contain brand-new fabrics mixed with older, salvaged textiles from worn garments. Washing removes manufacturing chemicals, shrinks the cotton beforehand, and reveals if any deeply saturated dyes are prone to bleeding, protecting your hard work from future laundry mishaps.
Conclusion
In this squares scrap quilt tutorial, we explored the entire rewarding process of transforming everyday fabric leftovers into a breathtaking, durable piece of functional art.
By systematically sorting your stash, focusing on precise cutting techniques, maintaining a strict quarter-inch seam, and finishing with clean binding, you can successfully build a gorgeous heirloom. This sustainable approach to crafting not only honors your creative history but also keeps beautiful textiles out of landfills while sharpening your technical quilting skills.