How to Make Floral Bandana for your Pet – Tutorial: if you love spoiling your furry friend with stylish, custom accessories, learning how to make floral bandana for your pet is the perfect weekend DIY project. There is nothing quite like seeing your dog or cat strutting around the neighborhood wearing a gorgeous, handmade accessory that you crafted yourself. This step-by-step tutorial will guide you through the entire process, ensuring that your beloved companion looks absolutely adorable while staying comfortable.
Crafting custom pet gear has become a massive trend among pet parents worldwide who want their animals to stand out. A floral bandana adds a touch of charm, color, and personality to your pet’s daily wardrobe, making them the star of any park visit or family photo shoot. Fortunately, you do not need to be a professional tailor or own an expensive sewing machine to achieve beautiful, durable results that will last through many walks.
In this comprehensive guide, we will break down the entire process from selecting the right fabric to finishing the final stitches. By focusing on comfort, safety, and aesthetic appeal, you will master the art of creating pet accessories in no time. Let’s dive into the essential tools, materials, and techniques required to master this how to make floral bandana for your pet – tutorial so you can start creating today.
1. Choosing the Perfect Fabric and Tools for Your Pet Bandana
When embarking on this creative journey, selecting the proper materials is the most crucial step for your animal’s ultimate comfort. For a floral bandana, lightweight and breathable cotton fabric is always the absolute best choice because it is soft against the fur and incredibly easy to wash. You want to avoid heavy, stiff, or synthetic materials that might irritate your pet’s skin or cause them to overheat during warm summer days.
Before you begin cutting, you will need to gather a few basic crafting tools to ensure your project goes smoothly. Make sure you have sharp fabric scissors, a reliable measuring tape, sewing pins, an iron, and matching thread. If you do not have a sewing machine, do not worry at all, as this tutorial can easily be completed using a simple needle and hand-stitching technique.
The floral pattern you choose should complement your pet’s size and coat color beautifully. For smaller dogs and cats, look for delicate, mini-floral prints so the pattern doesn’t get lost when the fabric is folded. For larger dog breeds, bold, vibrant, and expansive botanical prints look stunning and make a much bigger fashion statement during your daily walks.
Safety should always be your top priority when designing anything that your precious pet will wear around their neck. Always choose high-quality threads that won’t snap easily, and avoid adding loose plastic beads, sequins, or buttons to the design. These small embellishments can easily become choking hazards if your pet decides to chew on their new accessory when you aren’t looking.
Don’t forget to wash and iron your chosen fabric before you start cutting your pattern pieces. Natural cotton fibers have a tendency to shrink during their first wash, which could ruin your sizing later on. Pre-washing ensures your final product maintains its perfect shape and fits your companion properly for a very long time.
Investing a little time into preparation will make the actual crafting process much more enjoyable and efficient. Once your tools are organized and your beautiful floral cotton fabric is clean, pressed, and ready on your workspace, you can confidently move forward with the construction phases of our how to make floral bandana for your pet – tutorial.
2. Measuring and Cutting the Fabric to Fit Your Pet Perfectly
An accurate measurement is the secret ingredient to creating a comfortable and safe accessory that your pet won’t try to immediately shake off. To start, take your flexible measuring tape and gently wrap it around the thickest part of your pet’s neck, where their collar usually sits. Write this number down carefully, as it will form the baseline for your entire custom pattern.
To ensure the bandana fits comfortably, you must add extra inches to your initial neck measurement for tying. For a classic tie-on style, add about 6 to 8 inches to the total length so you can tie a secure, comfortable knot. If you prefer a slide-over-the-collar style, the measurement should simply match the length of their current collar.
Once you have your final dimensions, it is time to create your template on a piece of paper or directly on the fabric. Fold your fabric in half to ensure perfect symmetry, and draw a right-angled triangle based on your adjusted measurements. The longest side of the triangle will be the top neckline, while the point will hang down beautifully on their chest.
Carefully cut along your drawn lines using your sharp fabric scissors to avoid any frayed edges or uneven lines. If you are making a double-sided bandana, which lasts longer and looks more premium, you will need to cut two identical triangles. You can use the exact same floral print for both sides, or mix things up with a coordinating solid color on the back.
Take your time during the cutting phase because precise cuts lead to much cleaner edges when you begin the assembly process. A well-cut piece of fabric prevents bunching and ensures that the final product sits flat against your pet’s chest. This attention to detail is what separates an amateur DIY project from a professional-looking boutique accessory.
Now that your fabric pieces are perfectly sized and cut, you are officially ready to bring the pieces together. Measuring correctly ensures that your pet can run, play, and nap comfortably without their movement being restricted in any way by their stylish new look.
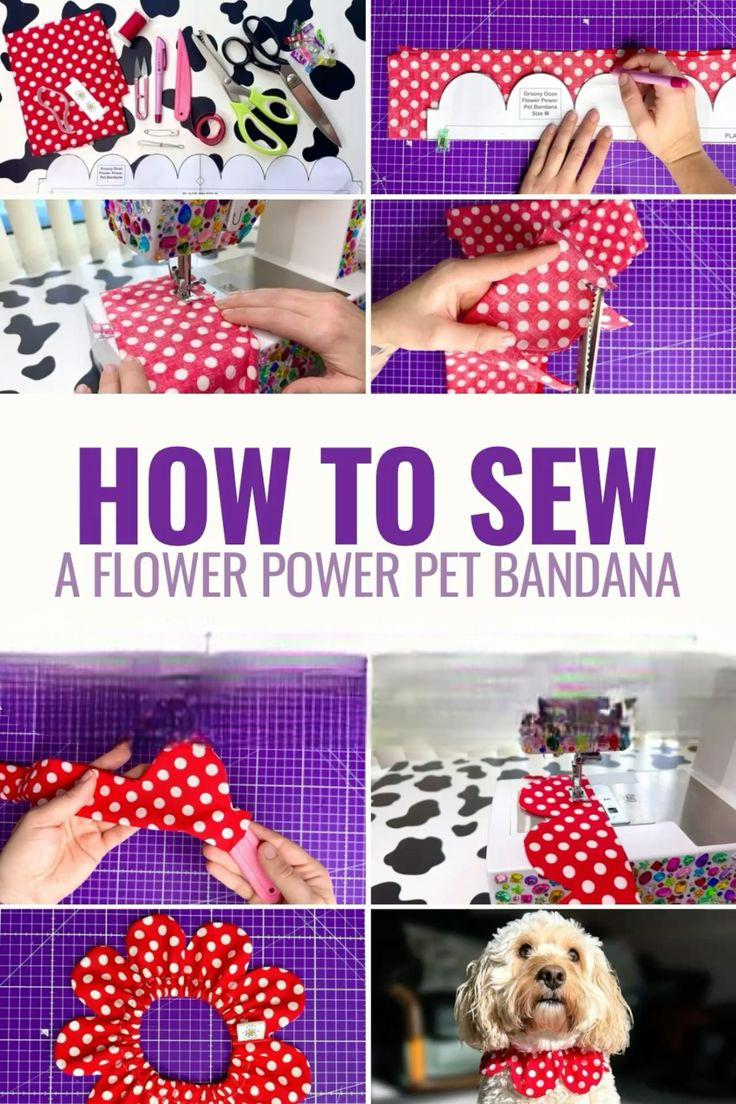
3. Step-by-Step Sewing Guide for Assembling the Bandana
To begin the assembly, place your two fabric triangles together with the “right” sides facing each other. The vibrant floral patterns should be touching on the inside, while the duller underside of the fabric faces outward. Secure the edges together using your sewing pins to keep the pieces from shifting while you sew.
Using a standard half-inch seam allowance, begin sewing along the two diagonal sides of the triangle, moving toward the bottom point. If you are using a sewing machine, use a straight stitch with a medium length for the best durability. If you are sewing by hand, a tight backstitch will provide the strength needed to withstand active pet play.
It is absolutely vital that you leave a small opening of about two inches along the top straight edge of the bandana. This unsewn gap acts as an escape hatch that allows you to turn the fabric right-side out once you are finished. Without this opening, your beautiful floral pattern would remain trapped on the inside of the project.
Before turning the fabric right-side out, carefully clip the excess fabric off the corners and the bottom point of the triangle. Be very careful not to cut through your actual stitches while doing this. Clipping the corners removes internal bulk, allowing you to achieve sharp, crisp points and clean edges when the bandana is turned.
Gently pull the fabric through the opening you left along the top edge until the gorgeous floral print is completely visible on the outside. Use a blunt tool, like a chopstick or a dull pencil, to gently push out the corners and the bottom point. Press the entire bandana flat with a warm iron to create crisp, professional edges.
To finish the assembly, fold the raw edges of your opening inward so they align perfectly with the rest of the top seam. Topstitch around the entire perimeter of the bandana, staying very close to the edge. This final stitch not only closes the opening securely but also adds a beautiful, clean border that reinforces the overall structure.
4. Tips for Styling and Safely Using the Floral Bandana
Now that you have successfully completed the assembly, it is time to dress up your pet and celebrate your hard work. When tying the bandana around your pet’s neck, always use a secure square knot that won’t slip loose during active play. However, you must ensure it is not tied too tightly against their neck.
A good rule of thumb for pet safety is the “two-finger rule.” You should easily be able to slide two fingers comfortably between the bandana and your pet’s neck. If it feels too tight, loosen the knot immediately to ensure your pet can breathe, swallow, and move without any restriction.
Always supervise your pet whenever they are wearing their new accessory, especially during the first few times they wear it. Some pets might find the new sensation unusual and try to chew or scratch at the fabric. If your pet seems stressed, uncomfortable, or unhappy, remove the bandana gently and try again later for shorter periods.
To keep your handmade creation looking fresh, bright, and clean, wash it regularly to remove dirt, mud, and pet dander. Hand washing in cold water with a mild, pet-safe detergent is the best way to preserve the vibrant floral colors. Hang the bandana up to air dry completely, and give it a quick iron to remove wrinkles.
You can easily customize this project for different seasons and holidays by simply changing your fabric choices. Think about bright sunflowers for the summer, spooky leaves for autumn, and beautiful pastel blossoms for spring celebrations. The skills you learned today allow you to create a whole wardrobe of custom accessories.
Sharing your creations with the online community is a fantastic way to connect with fellow pet lovers and DIY enthusiasts. Take some high-quality photos of your pet showing off their new look in bright, natural lighting. Your beautiful work might just inspire someone else to learn how to make floral bandana for your pet using this exact method.
FAQ
What is the best fabric for a pet bandana?
The best fabric is 100% breathable cotton. It is soft, lightweight, hypoallergenic for pets with sensitive skin, and incredibly easy to clean in the washing machine.
Can I make this bandana if I do not own a sewing machine?
Yes, absolutely. This project can be completed using simple hand-stitching techniques like the backstitch, which is highly durable and holds fabric together very well.
How do I know what size to make for my dog or cat?
Measure your pet’s neck with a flexible tape measure where their collar normally sits, then add 6 to 8 inches to that total number so you have enough room to tie a secure knot.
Is it safe for my pet to wear a bandana all day long?
While it is generally safe, it is highly recommended to only dress your pet in accessories under supervision. Remove the bandana when they are sleeping or left home alone.
How do I wash and maintain the handmade bandana?
Hand wash the accessory in cold water using a mild, pet-safe detergent to protect the vibrant colors. Air dry the fabric and iron it on a medium setting to remove wrinkles.
Can I use fabric glue instead of sewing the edges?
While fabric glue can work for temporary projects, sewing is strongly recommended for pet accessories because it withstands running, scratching, and frequent washing much better.
Conclusion
In this tutorial, you discovered exactly how to make floral bandana for your pet using simple, budget-friendly materials and easy sewing techniques.
We covered everything from choosing comfortable cotton fabrics and measuring your pet accurately to executing the perfect topstitch and maintaining safety during wear. By creating this accessory yourself, you have built something unique that perfectly reflects your pet’s personality while ensuring their ultimate comfort.