The Crochet Rooster Pattern is an exciting and rewarding project for those who love to crochet.
This fun design can be used to create charming roosters that add a touch of whimsy and warmth to any space.
Whether you’re looking to make a decorative piece for your kitchen or create a unique gift, the Crochet Rooster Pattern is a perfect choice for crochet enthusiasts at all skill levels.
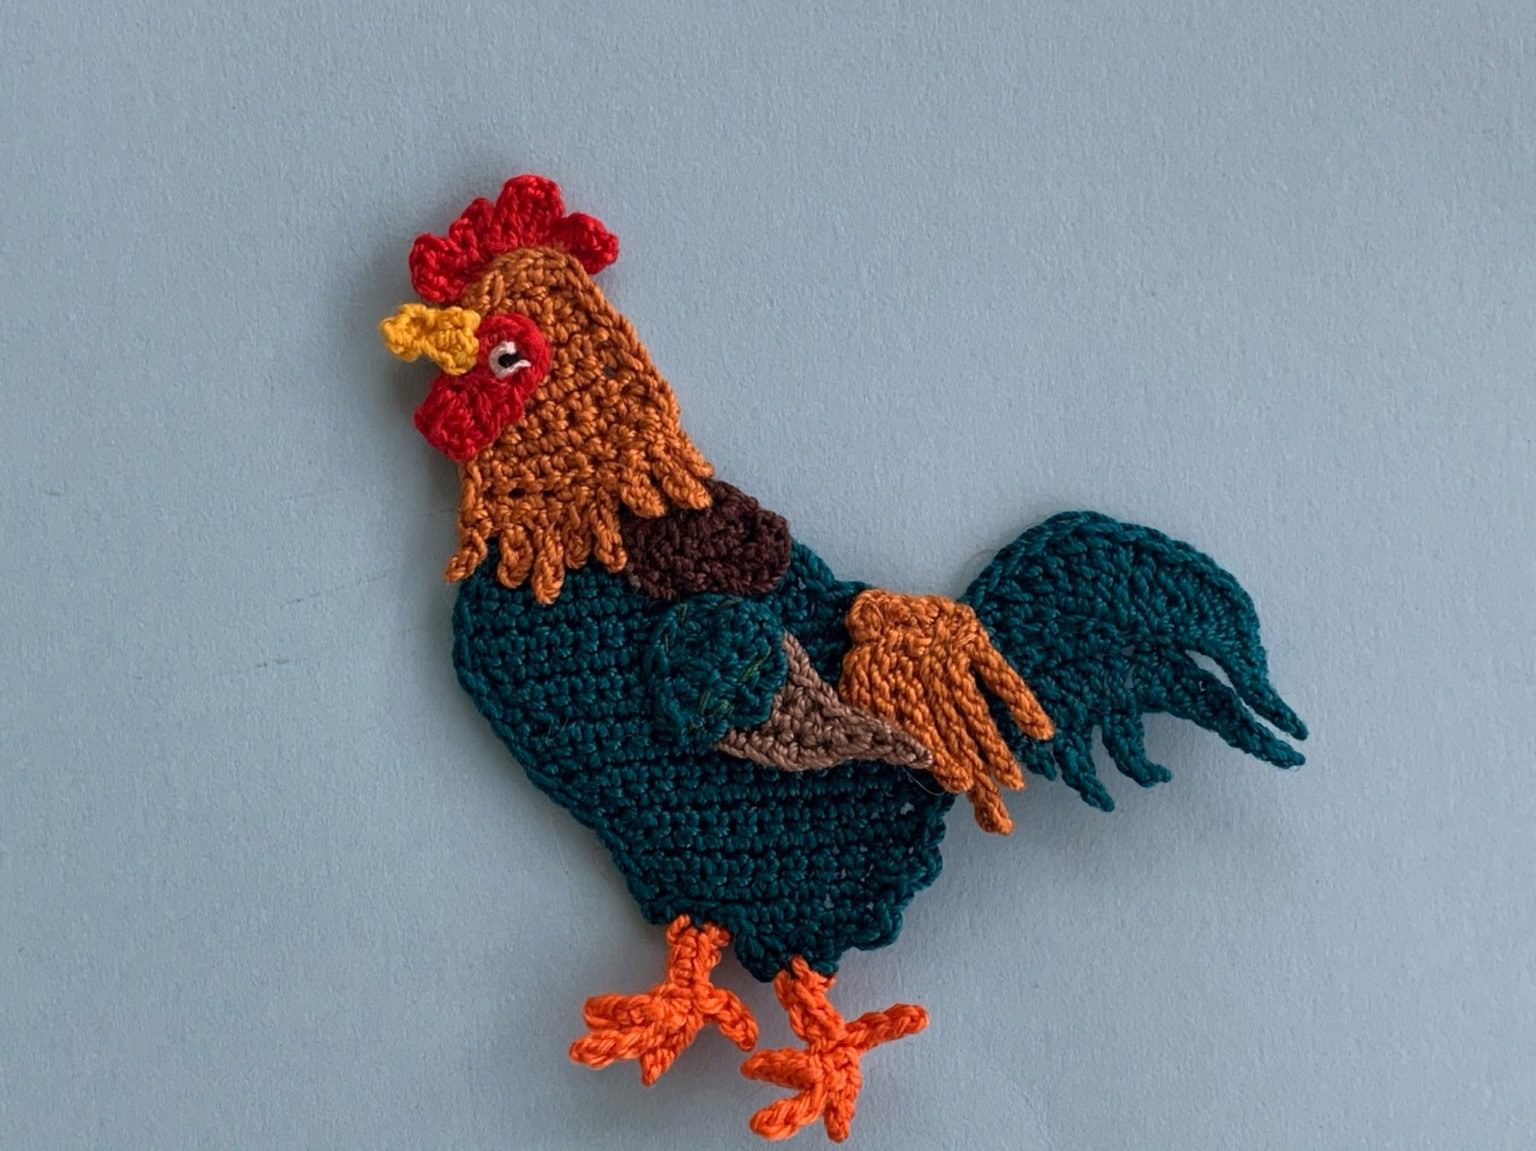
The process of crocheting a rooster involves using a variety of stitches and techniques to build a detailed and vibrant bird. The pattern can be adapted to suit different color schemes, allowing you to customize your rooster to match your style and preferences. From the body and head to the tail feathers and comb, each part of the rooster is crocheted individually and then assembled together to create a finished product that is both eye-catching and fun to make.
In this article, we will guide you through the steps to create a beautiful rooster using the Crochet Rooster Pattern. Whether you’re new to crochet or an experienced crafter, you’ll find useful tips and techniques that will help you complete your rooster with confidence. Let’s dive in and start crafting this adorable crochet rooster!
1. Materials Needed for the Crochet Rooster Pattern
Before starting any crochet project, it’s important to gather all the necessary materials. For the Crochet Rooster Pattern, you will need the following items to get started:
- Yarn: Choose a yarn in the colors of your choice. Traditional rooster colors include reds, oranges, yellows, and browns, but feel free to use any color scheme you like.
- Crochet Hook: The recommended crochet hook size will depend on the yarn thickness you choose. Typically, a medium-weight yarn (such as worsted weight) and a 4mm or 5mm hook work well for this pattern.
- Stuffing: You will need fiberfill or any other stuffing material to give your rooster shape and structure.
- Safety Eyes: For the rooster’s eyes, safety eyes or small buttons can be used to create a cute and expressive face.
- Tapestry Needle: A tapestry needle is essential for weaving in ends and stitching pieces of the rooster together.
- Stitch Markers: These will help keep track of your stitches, especially when working in the round.
Having all the materials prepared ahead of time will make the process of crocheting your rooster much smoother. Now that you have everything ready, let’s move on to the next step: understanding the basic stitches used in the Crochet Rooster Pattern.
2. Basic Stitches Used in the Crochet Rooster Pattern
The Crochet Rooster Pattern requires some fundamental crochet stitches, so it’s essential to have a basic understanding of these techniques before diving into the project. Here are some of the key stitches you’ll be using:
- Chain Stitch (ch): The foundation stitch of most crochet projects. This stitch creates the starting row of your work.
- Slip Stitch (sl st): Used to join stitches or rounds, the slip stitch helps you move around your project without adding height.
- Single Crochet (sc): A basic stitch that is the backbone of many crochet patterns. It’s worked by inserting the hook into the stitch, yarn over, and pulling through two loops.
- Half Double Crochet (hdc): This stitch creates a slightly taller stitch than the single crochet but shorter than the double crochet, adding texture to your rooster.
- Double Crochet (dc): A taller stitch that is used to create height and texture in the body of the rooster.
- Increase Stitches (inc): To create a wider shape, increase by crocheting two stitches into the same stitch.
These stitches will form the foundation of the Crochet Rooster Pattern. By practicing these techniques and getting comfortable with them, you’ll be able to confidently move forward with the pattern and create your rooster. Now let’s move on to the assembly process!
3. Step-by-Step Instructions for Creating the Crochet Rooster
Creating the rooster with the Crochet Rooster Pattern involves several steps, each focusing on different parts of the rooster. Here’s a breakdown of how to crochet each piece:
1. Crocheting the Body
Start by crocheting the body of the rooster. Begin with a magic ring and crochet in a spiral, increasing stitches as needed to shape the body. Use single crochet stitches to create a firm and sturdy base. You can switch to half double crochet or double crochet for additional height and texture in the body.
2. Making the Head
The head is a smaller, rounded section that attaches to the body later. Crochet it similarly to the body, starting with a magic ring and working in rounds. You’ll need to add a few increases to make the head’s shape look more natural. Don’t forget to attach safety eyes to the head once you reach the appropriate size.
3. Crafting the Comb and Wattle
The comb and wattle are important details of the rooster’s face. To crochet these features, create small rows of stitches, shaping them into the familiar comb shape and wattle structure. These parts are usually crocheted separately and sewn onto the head later.
4. Creating the Tail Feathers
The tail feathers are an essential part of the rooster’s look, and they’re created by crocheting individual feathers that are then attached to the back of the body. You can make the tail feathers as long or as short as you like, depending on your design preferences. Use a combination of single and half double crochet to give the feathers a natural appearance.
5. Assembling the Pieces
Once all the parts are crocheted, it’s time to assemble the rooster. Start by attaching the head to the body, ensuring that the stitches are secure. Then, sew the comb and wattle to the head, and attach the tail feathers to the back. Finally, sew any loose ends in place and stuff the rooster with fiberfill to give it shape.
With all the parts assembled, you now have your very own crochet rooster!
4. Tips for Perfecting Your Crochet Rooster
While creating your Crochet Rooster Pattern, keep the following tips in mind to ensure your project turns out beautifully:
1. Tension Matters
Make sure to maintain a consistent tension throughout the project. If your stitches are too tight, the rooster may become stiff, and if they’re too loose, the body may appear floppy. Adjust your tension to achieve a firm and smooth finish.
2. Experiment with Colors
Feel free to get creative with your color choices! While traditional roosters are often red, yellow, and brown, you can use any color combination that appeals to you. Don’t be afraid to experiment with different shades for the body, comb, and tail feathers.
3. Add Texture with Different Stitches
To give your rooster more texture and dimension, consider using a variety of crochet stitches. You can add more intricate details like puff stitches or shell stitches to the feathers, body, or comb.
4. Use a Stiffening Agent
If you want your rooster to hold its shape better, consider using a mild stiffening agent on the comb and wattle. This will help them stand upright and give the rooster a more polished look.
5. Take Your Time
Don’t rush through the process! Crochet is all about patience and precision. Taking your time will ensure that your rooster is well-crafted and looks just the way you want it to.
6. Have Fun!
Lastly, enjoy the process! Crocheting is a creative and relaxing hobby, and the Crochet Rooster Pattern should be a fun and rewarding experience.
FAQ: Frequently Asked Questions About the Crochet Rooster Pattern
1. What type of yarn should I use for the Crochet Rooster Pattern?
It’s best to use a medium-weight yarn (worsted weight), as it provides the right amount of structure and flexibility for the rooster. Choose yarn in vibrant rooster colors like red, yellow, and brown, but feel free to use any colors you prefer.
2. How do I make the rooster’s tail feathers look realistic?
To make the tail feathers look realistic, crochet them with a combination of single and half double crochet stitches. You can make them longer and attach them in a slightly curved shape for added dimension.
3. How do I attach the pieces together?
Sew the pieces together with a tapestry needle using a whip stitch or a ladder stitch. Make sure to secure each piece properly to avoid any parts from coming loose over time.
4. Can I make a smaller or larger rooster?
Yes! You can adjust the size of the rooster by using thinner or thicker yarn and adjusting the stitch count accordingly. Experiment with different yarn types and hook sizes to create the perfect rooster for your project.
5. What can I do if I make a mistake while crocheting?
If you make a mistake, simply undo the stitches and try again. Crocheting is all about practice, and it’s common to make small mistakes. Don’t be discouraged—just keep going!
Conclusion
In this article, we’ve walked you through the process of creating a Crochet Rooster Pattern from start to finish. We covered everything from the materials needed to the basic stitches, step-by-step instructions, and helpful tips for perfecting your rooster. This fun and creative project is a great way to practice your crochet skills while creating a charming piece that adds personality to any space.
We hope you found this guide helpful and inspiring! Feel free to share your thoughts, experiences, and suggestions in the comments below. Happy crocheting!