Creating the perfect Monster Trick or Treat Bag – Pattern is a fun and creative way to get into the Halloween spirit. Whether you’re a beginner or an experienced crafter, making your own Halloween treat bag is a satisfying project that adds a personal touch to your festivities. These bags aren’t just adorable—they’re also functional and reusable, which makes them a great DIY option for kids and adults alike.
A Monster Trick or Treat Bag – Pattern typically involves playful monster faces, vibrant colors, and simple sewing techniques that even children can help with. This article will guide you through choosing the right materials, designing your own spooky characters, and adding practical details like handles and secure seams. Best of all, making your own bag ensures it’s durable enough for a full night of candy collecting.
In this guide, we’ll explore everything you need to know about creating your own Monster Trick or Treat Bag – Pattern from scratch. You’ll find step-by-step tips, ideas for customization, and answers to common questions—all optimized for your Halloween crafting success.
1. Choosing the Right Materials for Your Monster Bag
Picking the best materials for your Monster Trick or Treat Bag – Pattern is the first crucial step. A well-chosen fabric will make your bag both sturdy and eye-catching.
Felt is a popular choice for monster-themed treat bags. It’s easy to cut, doesn’t fray, and comes in bright, bold colors that help your monster design pop. Felt is also safe for kids to work with, making it ideal for family crafting sessions.
Another great option is fleece. Like felt, it has a soft texture and vibrant look. Fleece is slightly more flexible, which makes the bag easier to carry. It also adds a plush feel that kids love.
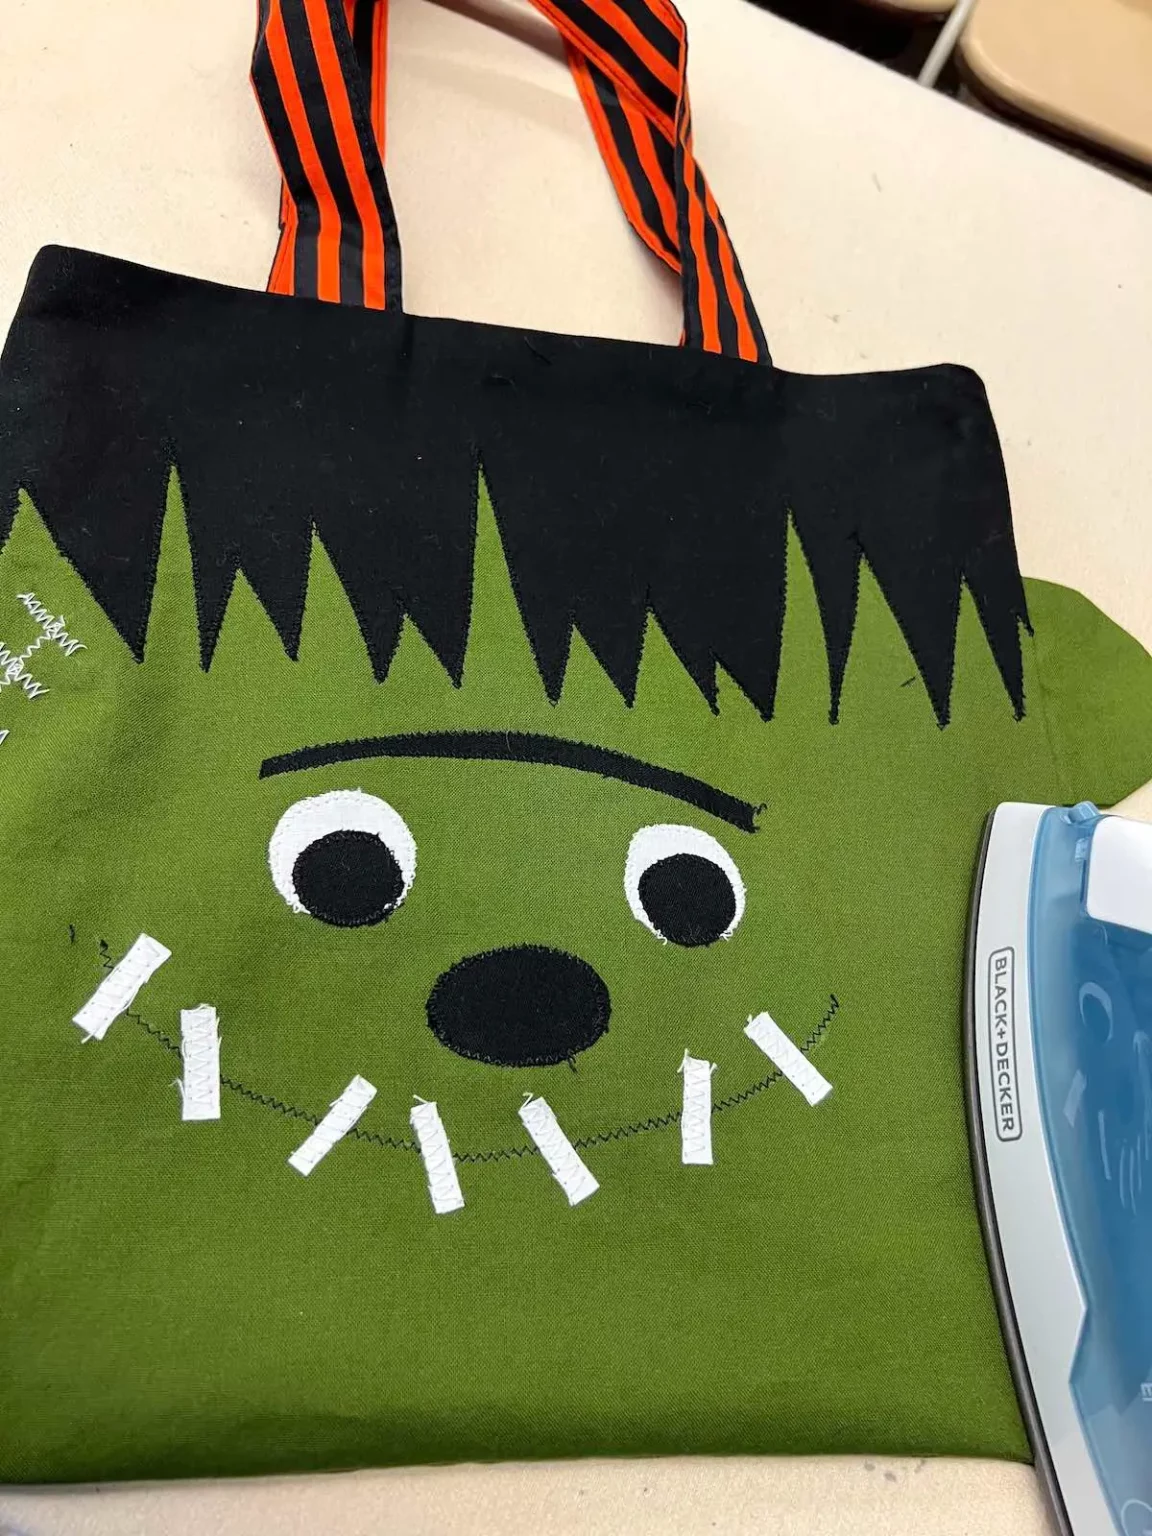
If you’re looking for a more eco-friendly alternative, consider using recycled fabrics or canvas. These options are more durable and sustainable, especially if you plan to reuse the bag year after year.
Don’t forget about the extras—buttons for eyes, zippers for mouths, and Velcro for closures can bring your Monster Trick or Treat Bag – Pattern to life. These little additions add character while serving a practical function.
You’ll also need basic sewing supplies: needles, thread, fabric scissors, and a sewing machine (optional). If you’re not into sewing, hot glue can work in many cases, especially for felt-on-felt applications.
Finally, make sure to prep your workspace. Having everything organized ahead of time will help the process go smoothly and keep your creative energy focused on your spooky masterpiece.
2. Designing Your Monster Character
Designing your monster is one of the most fun parts of making a Monster Trick or Treat Bag – Pattern. This is where you can let your creativity shine and make something truly unique.
Start by deciding the basic shape of your monster. Will it be square, round, or something wildly irregular? Kids usually enjoy friendly monster faces, while older crafters might go for spooky or silly designs.
Think about facial features. Big googly eyes, sharp felt teeth, and exaggerated expressions help define your monster’s personality. Use layered felt to add dimension to the face and body.
Color combinations are key. Choose complementary or contrasting colors that make your monster stand out at night. Neon green and purple, orange and black, or red and grey are all Halloween favorites.
Don’t be afraid to mix textures. You can use furry fabric for wild monster hair or shiny fabric for a scaly monster skin. These details add depth to your Monster Trick or Treat Bag – Pattern and make it more interesting to look at.
Keep the bag’s usability in mind. Make sure the mouth or body opening is large enough to fit plenty of candy. Also, consider reinforcing the bottom and sides so it holds its shape while in use.
Sketch your design on paper before you start cutting fabric. This helps you visualize the final result and catch any mistakes early. Even a rough draft can guide you as you bring your monster to life.
3. Assembling the Bag
Now that you’ve got your materials and design, it’s time to start assembling your Monster Trick or Treat Bag – Pattern. This is where your project starts to take real shape.
Cut out your base shapes: front, back, and side panels if your bag has depth. Make sure all pieces match in size and are symmetrical if needed. Use pins or fabric clips to hold pieces in place.
If you’re sewing, stitch the panels together using a straight or zigzag stitch. Reinforce the corners and bottom for extra strength. For no-sew options, use hot glue or strong fabric glue for bonding.
Attach your monster’s face before closing the bag. This includes eyes, nose, teeth, and any decorative elements. It’s much easier to work on a flat surface before the bag is fully assembled.
Once the face is complete, you can finish constructing the bag. Add handles using fabric strips, ribbon, or pre-made bag handles. Make sure they’re firmly secured so the bag can hold a full night’s haul.
Consider lining the inside with a lightweight fabric to protect the seams and make the bag more durable. This also adds a nice, clean finish to the inside of your Monster Trick or Treat Bag – Pattern.
Finally, inspect all parts of the bag. Make sure seams are secure, decorations are firmly attached, and the handles are comfortable to grip. Your bag is now ready for Halloween adventures.
4. Customization Ideas and Tips
One of the best parts of creating a Monster Trick or Treat Bag – Pattern is how easy it is to personalize. Here are some creative ideas to make your monster bag one-of-a-kind.
Add glow-in-the-dark fabric paint or stickers to help the bag stand out at night. This not only looks cool but also adds an element of safety during nighttime trick-or-treating.
Use embroidery or iron-on letters to add a name to the bag. Personalized bags are great for families with multiple children or Halloween parties where everyone wants a unique look.
Attach a small bell or sound element inside the bag so it jingles when carried. This playful addition can make your Monster Trick or Treat Bag – Pattern even more delightful for kids.
Try creating themed monsters—like a vampire monster, mummy monster, or pumpkin-inspired creature. These variations keep things festive while encouraging imagination.
Decorate with seasonal patterns like bats, spiders, or ghosts alongside your monster design. Layering Halloween imagery can add complexity and excitement to your bag.
Encourage kids to decorate their own bags using safe, kid-friendly supplies. Letting them choose their own monster features builds excitement for Halloween and makes crafting a fun bonding activity.
FAQ: Monster Trick or Treat Bag – Pattern
Q1: What fabric is best for a Monster Trick or Treat Bag – Pattern?
A: Felt is the most recommended due to its sturdiness and ease of use, especially for no-sew projects. Fleece and canvas are also great for durability and comfort.
Q2: Can I make a Monster Trick or Treat Bag without sewing?
A: Yes! Many patterns can be assembled using hot glue or fabric glue, especially when using felt. No-sew methods are ideal for quick crafting or crafting with kids.
Q3: How long does it take to make a bag?
A: Depending on the complexity of your design, it can take anywhere from 1 to 3 hours. Simpler designs are faster, while more detailed bags may require extra time.
Q4: Are these bags reusable?
A: Absolutely. If made with quality materials and good construction, your Monster Trick or Treat Bag – Pattern can be used year after year.
Q5: What age group is this craft suitable for?
A: Children as young as 5 can participate with supervision. Teens and adults can handle more complex designs. It’s a great project for family crafting.
Q6: Where can I find free patterns or templates?
A: Many websites and crafting blogs offer free printable patterns. Search using terms like “free Monster Trick or Treat Bag – Pattern PDF” for best results.
Conclusion
Creating your own Monster Trick or Treat Bag – Pattern is not just a fun Halloween craft—it’s a chance to create memories, develop creativity, and bring something handmade into your holiday. From choosing the right materials to customizing your spooky design, this project is rewarding and perfect for crafters of all levels.
We hope this guide helped you feel confident and inspired to make your own monster bag. If you’ve tried this craft, leave a sincere opinion and share your suggestions. We’d love to know how your monster turned out—and what creative spins you added!