The Crochet Squares – Pattern is one of the most timeless and versatile crochet projects you can make. Whether you’re creating a cozy blanket, a stylish cushion cover, or even a decorative wall hanging, crochet squares allow for endless creativity and personalization. Each square is like a small piece of art, simple to make individually but incredibly impressive when joined together into a full project.
One of the best things about the Crochet Squares – Pattern is its flexibility. You can mix colors, textures, and stitch styles to match your home décor or personal taste. From traditional granny squares to modern geometric designs, crochet squares have a universal charm that appeals to both beginners and advanced crocheters. They’re also portable projects—perfect for working on anywhere and anytime.
In this comprehensive guide, we’ll explore how to make beautiful Crochet Squares – Pattern, including choosing the best materials, following easy step-by-step instructions, experimenting with creative variations, and maintaining your finished creations. Whether you’re crocheting for relaxation, decoration, or gifting, this tutorial will inspire you to turn yarn into something truly special.
1. Choosing the Right Materials for Crochet Squares
Before starting your Crochet Squares – Pattern, it’s essential to gather the right materials. Quality supplies will make your project more enjoyable and ensure your final piece is durable and beautiful.
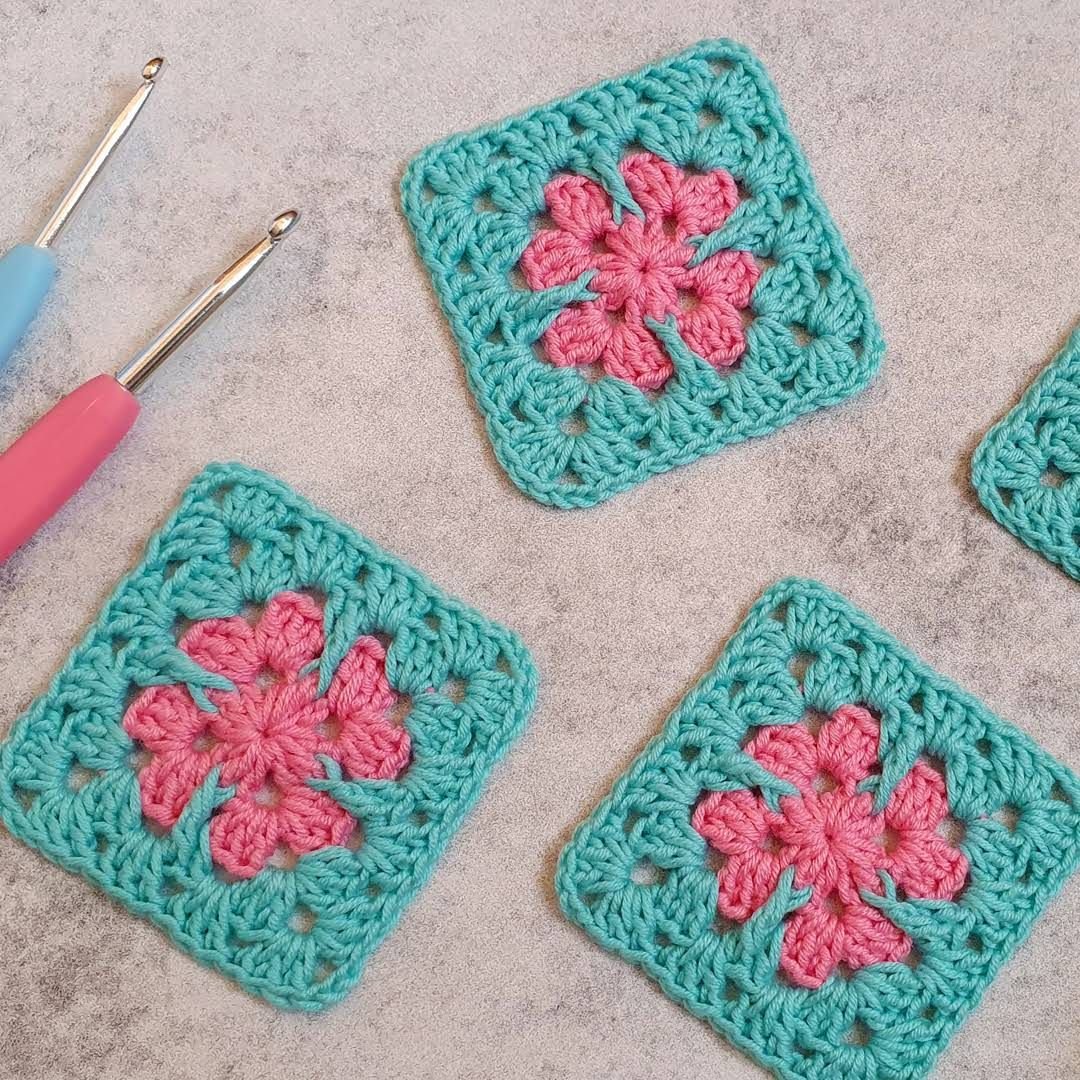
The first step is selecting your yarn. Medium-weight yarns, such as acrylic or cotton, are excellent choices for crochet squares. Cotton yarn creates crisp, defined stitches, making it ideal for decorative items like coasters or placemats. Acrylic yarn, on the other hand, offers softness and warmth—perfect for blankets and cushions.
When it comes to color selection, this is where your creativity shines. Crochet squares look stunning when you combine different shades. You can choose a monochromatic palette for a minimalist aesthetic or go bold with contrasting hues for a vibrant look. Gradient and variegated yarns also add a beautiful flow of color without frequent yarn changes.
The hook size you use will depend on your yarn. Typically, a 4.0 mm to 5.0 mm crochet hook works well for most medium-weight yarns. Using a smaller hook creates tighter stitches, while a larger hook gives a looser, more flexible texture. It’s always best to test a small swatch to see which combination produces your desired effect.
You’ll also need a pair of scissors, a tapestry needle for weaving in ends, and stitch markers if you want to keep track of rounds or color changes. Keeping your materials organized in a project bag helps prevent tangles and keeps your workspace tidy.
Finally, consider blocking your finished squares. Blocking helps even out stitches and shapes your squares perfectly, especially if you plan to join several of them together into one large project.
2. Step-by-Step Instructions for Crochet Squares – Pattern
Now that you have your materials ready, it’s time to start working on your Crochet Squares – Pattern. Crochet squares can be made in many styles, but the classic granny square remains the most popular for its simplicity and elegance.
To begin, make a slip knot and chain four stitches. Join the last chain to the first with a slip stitch to create a small ring. This will be the center of your square.
Next, chain three (which counts as your first double crochet), then work two more double crochets into the ring. Chain two, then work three double crochets again. Repeat this sequence—three double crochets followed by two chains—until you have four clusters. Finish the round by joining with a slip stitch to the top of the beginning chain.
In the second round, you’ll begin forming corners. Chain three again, then work two double crochets in the same corner space. Chain two, then make three more double crochets in the next corner. Continue this pattern around, creating a neat square shape.
As you continue building rounds, your Crochet Squares – Pattern will start to grow. Each new round repeats the same formula, with clusters of double crochets separated by chain spaces. The more rounds you add, the larger your square will become.
You can change yarn colors at the start of any round for a multi-colored effect. Simply fasten off your old yarn and join a new color in a corner space. This technique creates beautiful layered squares with striking color transitions.
Once your square reaches the desired size, fasten off your yarn, weave in the loose ends with your tapestry needle, and block it if necessary. You’ve just completed your first crochet square!
3. Creative Variations and Design Ideas
The Crochet Squares – Pattern offers unlimited design possibilities. Once you’ve mastered the basic pattern, you can experiment with different stitch types, colors, and layouts to make your project truly unique.
Try using textured stitches like puff stitches, bobble stitches, or popcorn stitches to give your squares more dimension. These stitches add a tactile, cozy feel and make your crochet work stand out visually.
Color combinations also play a major role in the overall effect. Traditional granny squares often feature bright, contrasting colors, while modern designs tend to use muted tones and monochrome palettes. You can also arrange colors to form patterns like stripes, diagonals, or checkerboards.
For a festive touch, make themed squares. For example, Christmas-themed crochet squares can feature red, green, and gold yarns, while pastel tones are perfect for spring and Easter projects.
Another fun idea is to join your crochet squares in creative ways. Instead of the traditional join-as-you-go or whip stitch methods, try the flat braid join or slip-stitch join for decorative seams. These techniques can add personality and texture to your finished piece.
You can use your completed squares to make a variety of projects. Blankets and throws are the most popular, but you can also create scarves, tote bags, coasters, cushion covers, or even clothing like vests and cardigans. The modular nature of crochet squares makes them perfect for both large and small crafts.
Lastly, mix materials for a unique finish. Try incorporating metallic yarns, velvet threads, or recycled fibers for an eco-friendly, artistic touch. The Crochet Squares – Pattern is your canvas—there are no limits to what you can design!
4. Joining, Finishing, and Caring for Crochet Squares
After completing several squares using your Crochet Squares – Pattern, it’s time to assemble and care for them properly. Finishing your project neatly will enhance its appearance and longevity.
Before joining, lay out your squares on a flat surface to plan your layout. Play with color placement until you find a combination that looks balanced and visually appealing.
There are several ways to join crochet squares. The whip stitch is simple and nearly invisible, while the single crochet join creates a visible raised ridge that adds texture. If you prefer a seamless look, the join-as-you-go method is ideal—it connects each square as you crochet the final round.
Once all your squares are joined, add a border around your finished piece. This step ties the design together and gives your project a professional touch. A simple border of single crochet stitches works well, or you can add a decorative scalloped or picot edge for extra flair.
To care for your crochet squares, always follow the yarn manufacturer’s washing instructions. Most acrylic yarns can be machine washed on a gentle cycle, while cotton pieces should be hand washed to maintain shape and texture.
If your crochet item becomes wrinkled or misshapen, re-block it. Pin it to a flat surface and lightly mist it with water, then let it dry naturally. This will restore its structure and smooth appearance.
Proper storage also helps preserve your work. Fold your crochet blankets neatly, or roll smaller items like scarves. Keep them in a dry, cool place away from direct sunlight to prevent fading and stretching. With these care tips, your Crochet Squares – Pattern creations will remain beautiful for years to come.
FAQ – Crochet Squares – Pattern
Q: Are crochet squares suitable for beginners?
Yes! The Crochet Squares – Pattern is perfect for beginners since it uses simple stitches and small sections, allowing you to practice and improve your skills.
Q: How long does it take to make one crochet square?
It depends on your experience and the size of the square, but most small squares take between 20 minutes to an hour.
Q: What is the best yarn for crochet squares?
Medium-weight cotton or acrylic yarns are ideal because they hold their shape well and are easy to work with.
Q: Can I make different-sized squares?
Absolutely! You can add more rounds for larger squares or use finer yarn and smaller hooks for delicate, miniature designs.
Q: How do I join crochet squares together?
You can use several methods, including the whip stitch, slip stitch, or the join-as-you-go technique, depending on your preferred look.
Q: Do crochet squares need to be blocked?
Yes, blocking helps even out stitches and ensures that each square is the same size, making joining easier and the final project look more polished.
Conclusion
The Crochet Squares – Pattern is a classic, creative, and endlessly customizable crochet project. With simple stitches and a bit of imagination, you can create everything from cozy blankets to stunning home décor pieces. It’s a relaxing and rewarding craft that allows you to express your style one square at a time.
We hope this article has inspired you to start your own crochet square project. Please share your honest opinion and suggestions below—your feedback helps us create even better guides for passionate crocheters like you. Happy crocheting and enjoy every colorful stitch!