Circle Quilt – Pattern is one of the most captivating quilting designs that combines geometry, creativity, and craftsmanship. Working with a Circle Quilt – Pattern allows you to explore curves, textures, and colors in ways that bring dynamic movement to your quilts. Unlike traditional square or rectangular blocks, circle quilts challenge quilters to think outside the box—literally—while still offering a rewarding and achievable project for both beginners and experienced makers. The results are visually striking, making these quilts stand out in any home or exhibition.
Creating a Circle Quilt – Pattern can be an inspiring journey in textile art. The circular shapes add fluidity and softness to your design, breaking away from rigid grid layouts. Depending on the fabrics, color palette, and size of your circles, the quilt can look modern, minimalist, vintage, or whimsical. It’s a versatile pattern that adapts to your style and purpose, whether you want a cozy throw, a decorative wall hanging, or a full-sized bedspread.
One of the best things about the Circle Quilt – Pattern is its flexibility in design. You can create overlapping circles, concentric circles, or scattered circle motifs. You can also mix techniques—such as appliqué, piecing, and quilting—to achieve depth and texture. The project encourages experimentation while providing a framework that ensures beautiful results. With the right tools and techniques, anyone can make a professional-looking circle quilt from scratch.
1. Understanding the Circle Quilt – Pattern
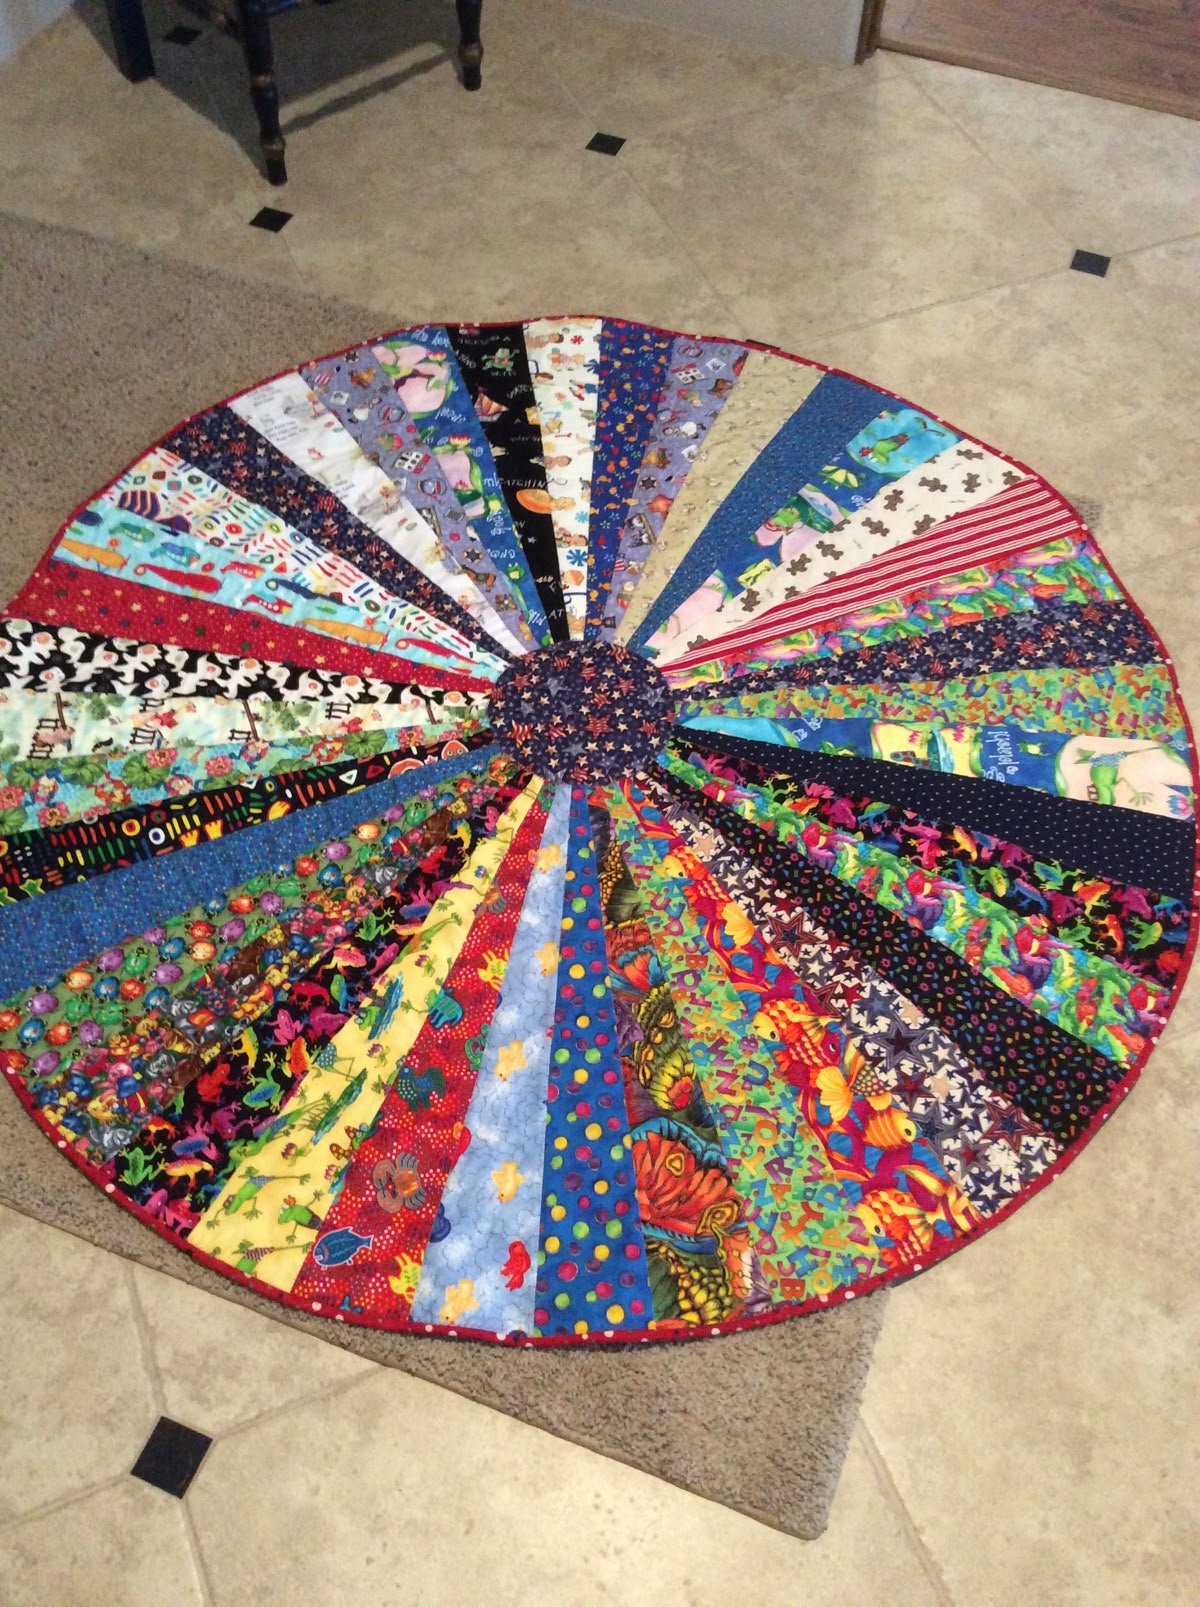
The Circle Quilt – Pattern is built on a simple yet elegant idea—incorporating circular shapes into a quilt design. Instead of relying solely on squares and rectangles, the pattern focuses on curves that bring flow and harmony to the composition. The circles can be uniform or varied in size, aligned symmetrically or scattered freely across the surface.
One of the most common approaches is using appliqué, where circles are sewn onto a background fabric. This technique is especially beginner-friendly, as it allows precise control over placement and avoids the complexity of curved piecing. The edges of the circles can be raw, turned under, or finished with decorative stitches to match your preferred style.
For more advanced quilters, pieced circles—where curved seams connect different fabrics—offer a stunning, seamless finish. Though it requires patience and precision, the effect is well worth the effort. Pieced circle quilts often have a modern aesthetic and highlight craftsmanship through smooth, continuous shapes.
The Circle Quilt – Pattern can be designed digitally or sketched on paper before cutting the fabric. Many quilters use templates or circle rulers to trace consistent shapes. Transparent templates are especially useful for positioning circles on patterned fabrics, helping you choose the best section of print for visual balance.
Color selection plays a crucial role in the success of a circle quilt. Contrasting colors make the circles pop, while tonal variations create a subtle, elegant effect. Layering circles of different colors or fabrics can also add depth and interest to the quilt.
Ultimately, this pattern’s charm lies in its ability to combine precision and creativity. The Circle Quilt – Pattern is a canvas for artistic expression that turns basic materials into something extraordinary.
2. Materials and Preparation
Before starting your Circle Quilt – Pattern, gathering the right materials is essential. You will need fabric for both the background and the circles, a cutting mat, rotary cutter, circle templates, fabric scissors, pins, an iron, and a sewing machine or hand-stitching tools. For added structure, use lightweight fusible interfacing or stabilizer to help manage curves more easily.
Choose fabrics that complement one another in color and texture. Cotton is the most common choice because it’s easy to handle and holds its shape well. If you’re going for a modern aesthetic, consider using solids or monochromatic tones. For a more traditional or playful look, mix florals, stripes, and polka dots.
Before cutting, wash and press your fabrics to prevent shrinkage later. Then, use your templates to trace circles onto the wrong side of your chosen fabrics. You can vary the circle sizes for a more dynamic layout or keep them uniform for a clean, minimalist design.
Next, decide on the quilt layout. Lay the background fabric flat and experiment with different circle placements. You might prefer a symmetrical pattern or a random scattering that feels organic. Taking a photo of your chosen layout can help you remember the arrangement before sewing.
If you’re using appliqué, apply fusible interfacing to the back of each circle to make it easier to handle. Press the circles onto the background with an iron, following the manufacturer’s instructions. Then, secure them using your preferred stitch—zigzag, blanket, or straight.
For pieced circles, cut both the background and circle fabrics using curved templates. Align and sew the curved edges carefully, pressing seams open for a smooth result. Practice on scrap fabric first if you’re new to curved piecing—it’s a skill that improves quickly with experience.
3. Assembling and Quilting the Circle Quilt – Pattern
Once your circles are securely attached to the background, it’s time to assemble your Circle Quilt – Pattern. Start by sewing together the quilt blocks, aligning seams carefully to ensure the design remains cohesive. Trim any excess fabric for a clean finish before proceeding to the quilting stage.
Adding batting and a backing fabric transforms your patchwork top into a finished quilt. Smooth out all layers carefully and baste them together with safety pins or temporary spray adhesive. This step is crucial to prevent shifting during quilting.
When it comes to quilting, you have many options to complement your circular design. Free-motion quilting works beautifully with this pattern, allowing you to echo the shapes of the circles or create flowing patterns that emphasize movement. Alternatively, straight-line quilting offers a striking contrast to the curved motifs, balancing structure and softness.
Choose thread colors that enhance your design. Contrasting thread can highlight your circles, while matching thread offers a subtle, cohesive appearance. If you’ve layered multiple circle fabrics, you can quilt around each layer for a dimensional effect.
Binding the quilt edges gives it a polished, professional look. Use a binding fabric that complements the main color scheme and attach it carefully, mitering the corners neatly. Press the quilt one final time to smooth out any wrinkles.
After finishing, your Circle Quilt – Pattern will be a beautiful piece of textile art—perfect for displaying, gifting, or adding warmth and charm to your home. Every circle you stitch contributes to a sense of rhythm and harmony that makes this pattern so special.
4. Creative Variations and Design Ideas
The Circle Quilt – Pattern opens the door to endless design possibilities. One idea is to experiment with overlapping circles, creating a layered look reminiscent of bubbles or celestial orbits. This technique adds depth and movement to the quilt while maintaining a cohesive aesthetic.
Another creative option is to play with transparency effects by using sheer fabrics for some of the circles. Organza or voile can create subtle layering that gives your quilt a delicate, airy feel.
You can also mix techniques—combining appliqué with pieced circles—to create visual contrast. For instance, appliquéd circles can float across a quilt made of pieced backgrounds. This hybrid approach adds texture and storytelling to your design.
For a modern minimalist look, consider using large, bold circles on a neutral background. The simplicity of the layout emphasizes the beauty of the shapes and the craftsmanship of your stitching.
If you prefer a traditional or vintage aesthetic, smaller circles in repeating patterns, made from floral or calico prints, evoke a classic charm. Adding hand quilting with perle cotton or embroidery thread can further enhance this nostalgic style.
Finally, color gradients are a stunning way to showcase the Circle Quilt – Pattern. Arranging circles in a spectrum—from light to dark or cool to warm tones—creates a visually striking ombré effect that’s both modern and timeless.
FAQ
Q: What is a Circle Quilt – Pattern?
A: It’s a quilt design that incorporates circular shapes using techniques like appliqué or curved piecing to create movement and visual interest.
Q: Is the Circle Quilt – Pattern suitable for beginners?
A: Yes, especially if you start with appliqué circles. More advanced quilters can explore curved piecing for a seamless effect.
Q: What fabrics work best for circle quilts?
A: Cotton and quilting-weight fabrics are ideal because they hold their shape and are easy to sew.
Q: How do I make perfect circles for quilting?
A: Use circle templates, rulers, or even household items like plates and bowls to trace clean, even shapes.
Q: Can I quilt circles by hand?
A: Absolutely. Hand quilting adds a charming, artisanal touch and is ideal for smaller projects or accent stitching.
Q: What are creative ways to design a Circle Quilt – Pattern?
A: Try using overlapping circles, color gradients, mixed techniques, or textured fabrics to make your design unique.
Conclusion
The Circle Quilt – Pattern is a celebration of color, form, and creativity. From selecting fabrics to stitching each curve, this project allows quilters to express individuality through design and craftsmanship. Whether you’re drawn to bold, modern circles or delicate, traditional motifs, the process is both relaxing and rewarding.
By mastering circle techniques, you can elevate your quilting skills and produce truly eye-catching pieces. I’d love to hear your experiences—how did your circle quilt turn out? Share your thoughts, suggestions, and creative tips to inspire other quilting enthusiasts to try this timeless and artistic pattern!