Chicken Crochet Coaster – Tutorial is the perfect way to combine functional home decor with a touch of farmhouse charm. Whether you are a seasoned artisan or a curious beginner, creating these adorable kitchen accessories allows you to practice essential stitches while making something genuinely useful. This Chicken Crochet Coaster – Tutorial is designed to guide you through every loop and pull, ensuring your finished piece is both durable and delightful.
In the world of handmade crafts, the Chicken Crochet Coaster – Tutorial stands out because it focuses on a design that is universally loved. Chickens symbolize the heart of the home, and bringing that aesthetic to your coffee table adds a layer of warmth and personality. By following this Chicken Crochet Coaster – Tutorial, you are not just making a coaster; you are creating a conversation piece that protects your surfaces from heat and moisture with a handmade flair.
Working through a Chicken Crochet Coaster – Tutorial is also a fantastic way to use up yarn remnants from your stash. Because these projects are small and quick, they provide instant gratification and make wonderful gifts for friends and family. This Chicken Crochet Coaster – Tutorial emphasizes SEO-friendly techniques and standard US crochet terms to ensure that your crafting experience is smooth, professional, and easy to follow from start to finish.
1. Materials and Preparation for Your Chicken Crochet Coaster – Tutorial
Before starting the Chicken Crochet Coaster – Tutorial, you need to gather high-quality cotton yarn. Cotton is the preferred choice for a Chicken Crochet Coaster because it is highly absorbent and heat-resistant, unlike acrylic which can melt or lose shape.
You will also need a crochet hook that matches your yarn weight, typically a 3.5mm or 4.0mm (G) hook. Choosing the right size ensures that the stitches are tight enough to prevent liquid from seeping through to your furniture.
Having a pair of sharp embroidery scissors and a tapestry needle is essential for the finishing stages of this Chicken Crochet Coaster – Tutorial. These tools will help you weave in your ends securely so the coaster remains intact after many washes.
Don’t forget to select your colors, including a main body color, a bit of red for the chicken comb, and yellow or orange for the beak. Using contrasting colors makes the Chicken Crochet Coaster features pop and look more realistic.
Preparation also involves creating a comfortable workspace with good lighting. Since this Chicken Crochet Coaster – Tutorial requires attention to detail, especially during the shaping of the head and wings, clarity is your best friend.
Lastly, familiarize yourself with basic terms like magic ring, double crochet (dc), and slip stitch (sl st). Mastering these fundamentals before you dive into the Chicken Crochet Coaster – Tutorial will make the process much faster and more enjoyable.
2. Step-by-Step Instructions for the Chicken Body
The foundation of our Chicken Crochet Coaster – Tutorial begins with a magic ring or a small chain loop. This allows the center of the coaster to stay tight, preventing any gaps where a cup might become unstable.
In the first round, you will work several double crochet stitches into the ring to create a flat circle. Maintaining a consistent stitch tension is vital here so the Chicken Crochet Coaster lies completely flat on your table.
As we progress through the Chicken Crochet Coaster – Tutorial, we will increase the number of stitches in each subsequent round. This geometric expansion is what creates the circular body that serves as the primary resting area for your mugs.
To give the piece its “chicken” identity, we transition from a perfect circle to a slight teardrop shape at one end. This part of the Chicken Crochet Coaster – Tutorial involves using half-double crochets and treble crochets to create the elevation for the neck.
The “tail” section of the Chicken Crochet Coaster is usually formed by a series of shell stitches. These stitches mimic the look of feathers and add a beautiful texture to the edge of your finished handmade project.
Always count your stitches at the end of every round during the Chicken Crochet Coaster – Tutorial. Accuracy ensures that the final product is symmetrical and looks professional, meeting the high standards of digital craft publications.
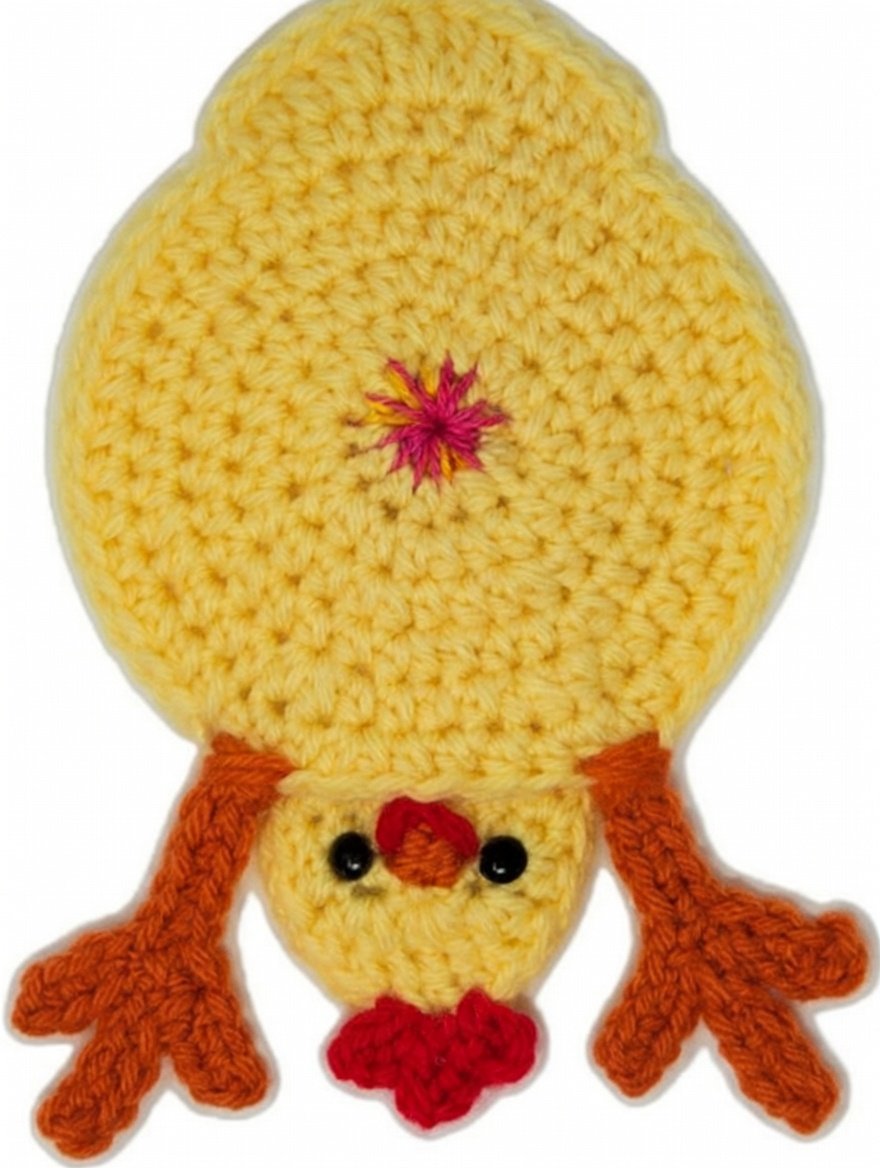
3. Adding the Comb, Beak, and Eyes
No Chicken Crochet Coaster – Tutorial is complete without the iconic red comb on top of the head. To do this, you will join your red yarn at the highest point of the head and work a few picot stitches or small scallops.
The beak is the next focal point in our Chicken Crochet Coaster – Tutorial, usually worked in a bright yellow yarn. A simple v-stitch or a small triangle made of two or three chains is often enough to create a cute, pointed beak.
For the eyes, you can choose to use safety eyes or simply embroider a small French knot with black yarn. Safety eyes are great for aesthetics, but embroidery is often safer if the Chicken Crochet Coaster will be around small children.
The placement of these features is crucial for the “personality” of your bird. This Chicken Crochet Coaster – Tutorial suggests placing the eye just slightly behind the beak to give the chicken a friendly, inquisitive look.
During this stage of the Chicken Crochet Coaster – Tutorial, make sure your yarn joins are very secure. Since coasters are handled frequently, the small decorative parts need to be fastened tightly to avoid loosening over time.
Adding these details is where your Chicken Crochet Coaster truly comes to life. It transforms a simple crochet circle into a piece of functional art that reflects your skill and creativity as a maker.
4. Finishing Touches and SEO Content Strategy
The final phase of the Chicken Crochet Coaster – Tutorial involves weaving in all the loose ends using your tapestry needle. This step is often overlooked but is the hallmark of a high-quality handmade crochet item.
Blocking your finished Chicken Crochet Coaster is highly recommended to ensure it has a perfectly crisp shape. You can lightly steam it or pin it to a blocking board to set the stitches in their permanent positions.
If you are a content creator, this Chicken Crochet Coaster – Tutorial serves as excellent evergreen content. Using high-quality photos and optimized keywords helps your project reach a wider audience on platforms like Google and Pinterest.
Always ensure your instructions are AdSense compliant by providing original, helpful, and safe content. This Chicken Crochet Coaster – Tutorial focuses on providing value to the reader, which is the most important factor for ranking well.
Consider making a set of four or six Chicken Crochet Coasters to create a cohesive gift set. Consistency in size and color across the set demonstrates your technical proficiency and attention to detail.
Thank you for following this Chicken Crochet Coaster – Tutorial. By applying these techniques, you’ve mastered a project that combines traditional textile arts with modern, whimsical home styling that everyone can enjoy.
Frequently Asked Questions (FAQ)
What is the best yarn for a Chicken Crochet Coaster?
The best choice is 100% cotton yarn. Cotton is heat-resistant and absorbs the “sweat” from cold drinks, ensuring your Chicken Crochet Coaster is functional and durable.
Can a beginner finish this Chicken Crochet Coaster – Tutorial?
Yes, this project is beginner-friendly. It uses basic stitches like the magic ring, single crochet, and double crochet, making it a great learning project.
How do I clean my crochet coasters?
Since they are made of cotton, you can usually machine wash them on a gentle cycle. However, laying them flat to dry is best to maintain the shape of the Chicken Crochet Coaster.
How long does it take to make one coaster?
Most experienced crocheters can finish one in about 20 to 30 minutes. It is a perfect “quick-win” project for a busy afternoon.
Why is my coaster curling at the edges?
Curling usually happens if your tension is too tight or if you haven’t added enough increases in each round. Make sure to follow the Chicken Crochet Coaster – Tutorial stitch counts closely.
Conclusion
This article provided a comprehensive Chicken Crochet Coaster – Tutorial, covering everything from selecting the right cotton yarn to the final blocking techniques.
We explored the step-by-step construction of the body, the addition of character-defining features like the comb and beak, and the importance of professional finishing. Creating a Chicken Crochet Coaster is an rewarding way to enhance your kitchen or create thoughtful, handmade gifts for others.