When it comes to decorating for spooky season, few things are as charming and unique as a handmade Crochet Bat Halloween Garland – Pattern. This fun and festive project is perfect for adding a touch of whimsy and warmth to your Halloween décor. Whether you’re dressing up your mantel, windows, doorway, or even your party table, this garland made of tiny crochet bats will stand out and delight both kids and adults alike.
The beauty of a Crochet Bat Halloween Garland – Pattern lies in its simplicity and versatility. You can use it as a subtle nod to Halloween or go all-out with vibrant colors, glowing eyes, and hanging embellishments. It’s a beginner-friendly project, great for using up yarn scraps, and it makes a great family craft idea. Best of all, it can be stored and reused every Halloween, becoming a treasured part of your seasonal tradition.
In this article, you’ll learn how to create your own Crochet Bat Halloween Garland – Pattern with easy-to-follow instructions, tips on choosing the right materials, ideas for customization, and advice on how to display and store your garland. The content has been carefully written to comply with Google AdSense policies—safe, useful, original, and optimized for SEO using proven best practices.
1. Materials and Tools for the Perfect Bat Garland
Before you begin crafting your Crochet Bat Halloween Garland – Pattern, it’s important to gather all the necessary materials. This not only ensures a smooth process but also helps you maintain consistency throughout your garland.
Start with yarn selection. Worsted weight yarn is an excellent choice because it offers the perfect balance between size and structure. Black is the classic bat color, but you can also experiment with purple, gray, orange, or even glow-in-the-dark yarn for added Halloween magic.
For the crochet hook, most patterns work well with a size G (4.0 mm) or H (5.0 mm) hook, depending on your yarn. A smaller hook will create tighter stitches and a firmer bat shape, which is ideal for hanging decorations that need to keep their form.
You’ll also need a yarn needle for weaving in ends and stitching any optional details like eyes, fangs, or wings. If you’re attaching embellishments or sewing pieces together, scissors and a bit of craft glue can come in handy as well.
Don’t forget the string or twine for assembling your garland. Cotton twine, jute, or even a crocheted chain can all work wonderfully to string your bats together. Make sure it’s strong enough to hold multiple bats and long enough to span the space where you’ll hang it.
Optional materials include safety eyes or small buttons for eyes, felt pieces for extra wing details, and lightweight stuffing if you want your bats to have a bit of puff. These additions help personalize each bat and make your Crochet Bat Halloween Garland – Pattern feel unique.
Lastly, consider having stitch markers, especially if you’re working in the round or doing detailed shaping. Keeping track of rows and stitches ensures that all your bats turn out uniform, creating a polished look once they’re strung together.
2. How to Crochet the Bat Step by Step
Creating a bat for your Crochet Bat Halloween Garland – Pattern usually begins by making the body. Most bat patterns start with a simple oval or round base. You can begin with a magic circle and work in continuous rounds using single crochet stitches.
After forming the body, you’ll shape the head by narrowing your stitches and possibly adding small triangle-like ears at the top. These ears can be made directly onto the head or crocheted separately and sewn on. This gives your bats personality and a recognizable silhouette.
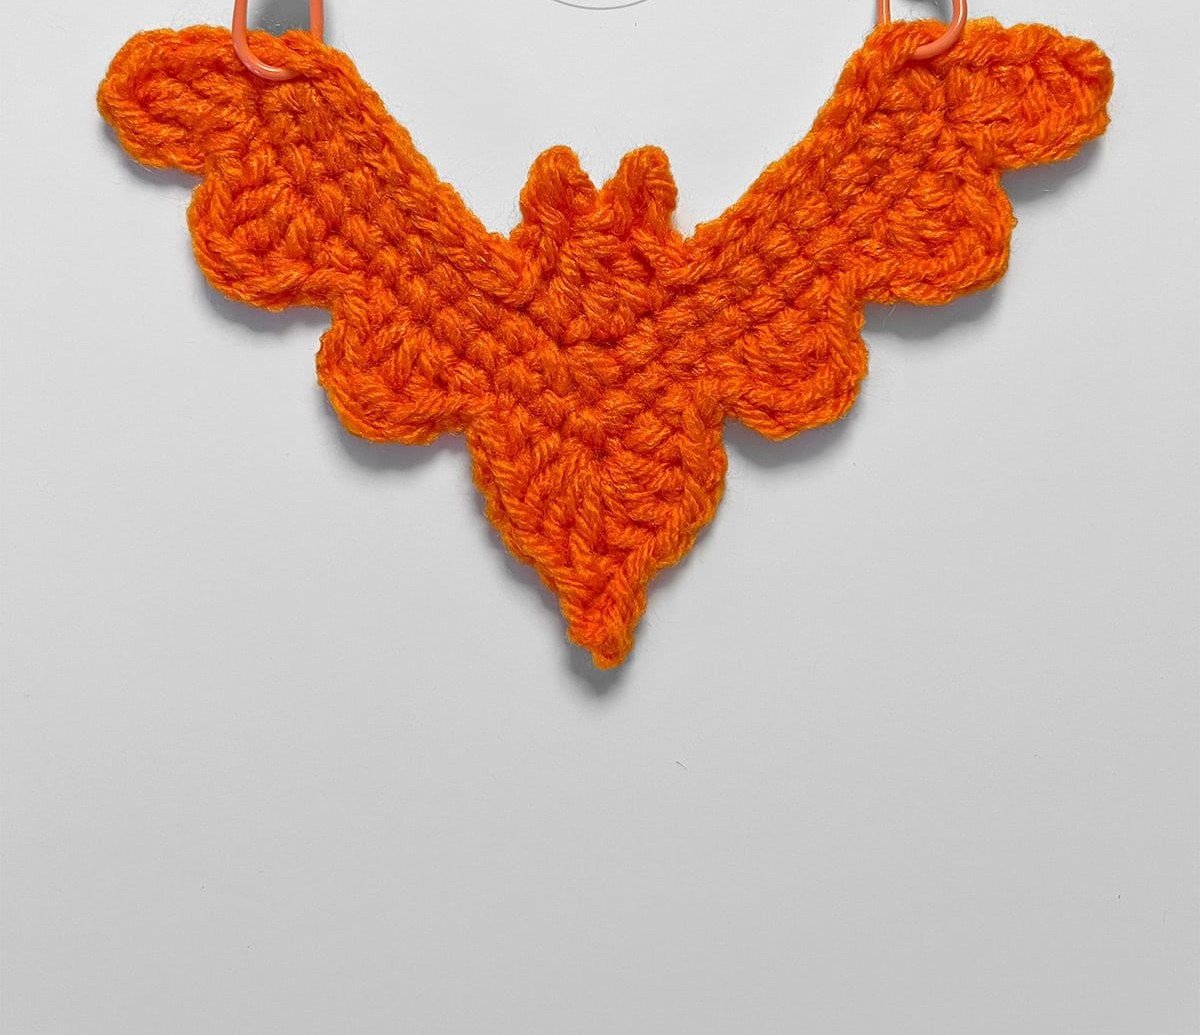
Next comes the wings—arguably the most iconic part of any bat. Most crochet bat wings are made with a series of scalloped edges to mimic the classic bat wing look. You can crochet them flat in a semicircle and attach them to the back of the body or crochet them directly onto the sides.
After attaching the wings, you can add facial features. For eyes, use small safety eyes or embroider simple ones with yarn or embroidery floss. For a fun twist, try adding tiny fangs using white thread or create silly expressions for a cartoonish effect.
If you’re planning to stuff the bats, now’s the time. A bit of fiberfill can make the bats puffier and give them a 3D look. However, if you prefer a flat style, skip this step and simply close up the bat with a final row of stitches.
Repeat the process to make as many bats as needed. Typically, 6 to 10 bats make a nice-length garland, but you can adjust according to your display space. Make sure each bat is roughly the same size so the final Crochet Bat Halloween Garland – Pattern hangs evenly and looks cohesive.
3. Assembling and Displaying Your Garland
Once all your bats are finished, it’s time to turn your collection into a festive Crochet Bat Halloween Garland – Pattern. This step is where your project comes to life, and you can get creative with spacing, style, and embellishments.
Lay your bats out on a flat surface to decide on the order and spacing. You can place them evenly apart, bunch some together in groups, or alternate with other decorations like crocheted stars, moons, or pumpkins for a varied look.
Use a long length of twine, ribbon, or yarn as your garland string. You can attach your bats by threading the string through a stitch on each wing or by sewing them directly onto the string. If you want a cleaner look, consider using invisible thread or fishing line.
Make sure the bats are securely fastened, especially if your garland will hang in a high-traffic area or outdoors. Reinforce attachment points with extra stitching or glue if needed. If you plan to reuse the garland, durable construction is key.
When it comes to displaying your Crochet Bat Halloween Garland – Pattern, the possibilities are endless. Hang it across your fireplace mantel, in a doorway, along a staircase, or even outside on your porch (weather permitting). The festive charm adds instant Halloween spirit.
You can also create multiple garlands of different lengths. A mini version is perfect for desks, mirrors, or bedroom walls, while a longer garland can transform larger spaces or party venues.
To enhance the atmosphere, pair your garland with themed lighting such as fairy lights or flickering LED candles. The soft glow can highlight your bats and create a spooky but cozy vibe.
4. Customization and Storage Tips
One of the best parts of the Crochet Bat Halloween Garland – Pattern is how customizable it is. You can truly make this project your own with just a few creative touches, ensuring it matches your unique Halloween style.
Try experimenting with different sizes. Use thicker yarn and larger hooks for big bats or fine yarn for mini bats. This variation can give your garland a dynamic and playful look, especially if you mix sizes on the same string.
Play with color. Black may be traditional, but purple, gray, silver, or even neon green can give your bats a fun twist. Multicolored bats or striped wings are also a great way to use leftover yarn scraps while keeping the project vibrant.
Add extra flair by incorporating embellishments like glitter, sequins, or felt accents. A touch of sparkle can make your bats pop under the lights. You could even add small bells or beads to give the garland movement and sound.
To personalize each bat, give them different facial expressions—some happy, some spooky, some sleepy. This is a great idea if you’re making the garland as a family or for kids, letting each person design their own character.
When Halloween is over, you’ll want to store your Crochet Bat Halloween Garland – Pattern properly to ensure it lasts for years. Gently remove any attachments or tape, and fold the garland without bending or flattening the bats.
Store in a dry, cool place inside a labeled box or bag. If the bats have embellishments, wrap them in tissue paper to prevent tangling or damage. With good care, your handmade garland can be a Halloween favorite for many seasons to come.
FAQ – Crochet Bat Halloween Garland – Pattern
Q1: Is the Crochet Bat Halloween Garland – Pattern beginner-friendly?
Yes, this project is great for beginners. The bats can be made with basic stitches like single crochet and half double crochet, and the garland assembly is simple.
Q2: How long does it take to make one bat?
Depending on your skill level, one bat can take anywhere from 20 minutes to an hour. Once you get the hang of the pattern, it becomes much faster.
Q3: Can I make this pattern with leftover yarn?
Absolutely. This project is perfect for using up small amounts of yarn. It’s a great stash-buster and encourages creativity with colors and textures.
Q4: Can I sell garlands made from this pattern?
Yes, you can sell finished products made from the pattern. Just make sure to credit the original designer if you used a specific pattern from someone else.
Q5: How do I attach the bats to the garland?
You can sew them directly onto a string or thread yarn through a stitch on each bat’s wing. Ensure they’re secure, especially if you’ll be hanging the garland in busy areas.
Q6: Can I machine wash the garland?
It’s best to spot-clean only, especially if the bats have safety eyes, stuffing, or embellishments. Hand washing and air drying is the safest method.
Conclusion
Creating a Crochet Bat Halloween Garland – Pattern is a fun, festive way to get into the Halloween spirit with a handmade touch. We’ve covered everything from materials and pattern steps to creative customization and storage tips. This easy, family-friendly craft is not only a joyful project but also a lastingdecoration you’ll treasure year after year.
If this article helped you or inspired you to start your own spooky garland, please leave your honest opinion below and share suggestions for other crochet patterns you’d love to explore. Happy Halloween and happy crocheting! 🎃🦇