Creating a Crochet Christmas Tree Ornament – Pattern is one of the most delightful ways to add a personal, handmade touch to your holiday decorations. These charming ornaments are not only fun and easy to make but also bring warmth, character, and nostalgia to your Christmas tree. Whether you’re a beginner or a seasoned crocheter, designing your own ornaments lets you explore creativity while celebrating the most magical time of the year.
The great thing about crocheting ornaments is their versatility. You can use leftover yarn, experiment with shapes, and personalize each piece to reflect your holiday spirit. From classic stars and balls to mini trees and snowflakes, a Crochet Christmas Tree Ornament – Pattern can be as simple or intricate as you want. They also make thoughtful, budget-friendly gifts for family and friends.
This article will guide you through the process of selecting materials, following the pattern, adding your own creative flair, and caring for your ornaments. Each section has been carefully written with SEO best practices and Google AdSense policies in mind, ensuring that this content is valuable, accessible, and family-friendly.
1. Choosing Materials for Your Crochet Christmas Tree Ornament – Pattern
To begin your Crochet Christmas Tree Ornament – Pattern, you’ll need to gather a few basic materials. Choosing the right yarn, hook, and accessories is key to creating ornaments that are both beautiful and durable.
Start with yarn selection. Light- or medium-weight yarns such as cotton or acrylic are commonly used for ornaments. Cotton yarn offers a crisp, clean finish that’s perfect for fine detailing, while acrylic is soft, colorful, and budget-friendly. You can also use metallic or glitter yarns to add a touch of sparkle.
Next, consider your crochet hook. A smaller hook size than usual is ideal for ornaments, as it creates tighter stitches and helps the ornament hold its shape. A 2.5mm to 4mm hook is typically suitable, depending on the yarn you’re using and the desired firmness of your ornament.
You’ll also need a yarn needle to weave in ends, some stitch markers to keep your place (especially with circular designs), and optionally some fiberfill stuffing if your ornament is meant to be three-dimensional. Lightweight stuffing adds volume without making your ornament too heavy.
Other fun materials include beads, sequins, buttons, or small charms that can be sewn onto the surface of your ornament. These decorative touches give your Crochet Christmas Tree Ornament – Pattern a festive flair and make each piece unique.
Finally, have a ribbon or string ready for hanging. You can crochet a small loop or attach a pre-made ribbon to the top of the ornament so it’s ready to hang on your Christmas tree the moment it’s finished.
Once you have all your supplies organized, you’re ready to move on to the fun part – crocheting your ornament!
2. Step-by-Step Instructions to Crochet Your Ornament
There are many ways to create a Crochet Christmas Tree Ornament – Pattern, but the process typically involves working in the round and using basic stitches. Let’s walk through a classic round ornament with step-by-step guidance.
Start by making a magic ring or chain 4 and join with a slip stitch to form a ring. This will be the center of your ornament. Then, crochet several rounds of increasing stitches to form the base of your ornament, usually with single or double crochet stitches depending on the pattern you’re following.
After you’ve reached the desired width of the ornament (usually around 6–10 rounds), begin decreasing stitches to shape the top of the ornament. If you’re stuffing it, add fiberfill just before you close it up. This will help it hold a nice, full shape.
To create a neat hanging loop, chain 10–15 stitches and attach it to the top of the ornament with a slip stitch. Alternatively, you can sew a ribbon or metallic string to the top. Some crocheters like to add a bead to the base of the loop for a polished look.
Want to add texture? You can incorporate bobble stitches, popcorn stitches, or surface slip stitches to create fun textures like stripes or snowflake patterns. Embellish further with small sewn-on sequins or embroidery to represent stars, snow, or holly.
If you’d prefer a flat ornament, work two identical circles or shapes (like a tree or snowflake), sew or crochet them together, and lightly stuff them. These are perfect for mailing as gifts or hanging as garlands and are quicker to make in bulk.
With just these steps, you’ll have a beautiful handmade Crochet Christmas Tree Ornament – Pattern that’s ready to decorate your tree or gift to someone special.
3. Creative Ways to Customize Your Ornament
One of the most enjoyable parts of using a Crochet Christmas Tree Ornament – Pattern is customizing it to match your style or theme. With a little imagination, you can create ornaments that are entirely one-of-a-kind.
Color is the easiest way to personalize your ornament. Use classic holiday colors like red, green, white, gold, or silver. Or try non-traditional palettes such as pastels, earth tones, or icy blues for a winter wonderland effect. Variegated yarns can also add visual interest with minimal effort.
Add embellishments to give your ornament personality. Sew on small beads to mimic snowflakes or lights. Attach tiny bows, buttons, or miniature charms. You could even embroider initials or the year to commemorate a special occasion or create a keepsake.
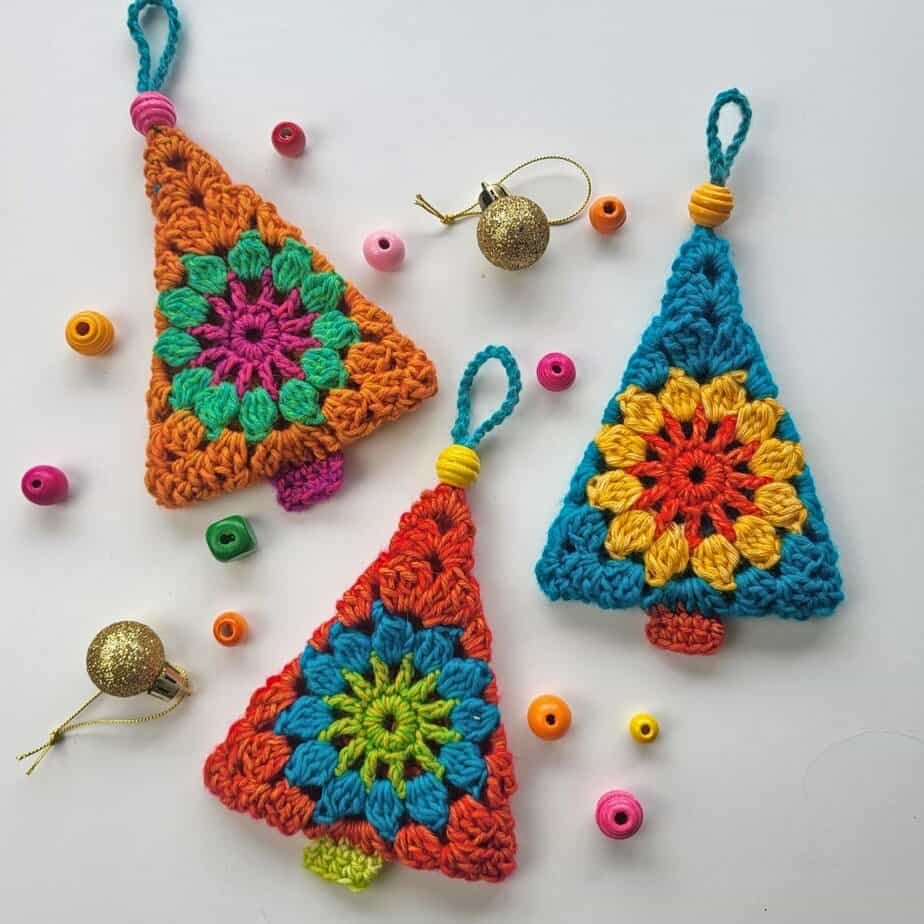
Play with shapes beyond circles. You can find or create patterns for stars, bells, stockings, gingerbread men, angels, or tiny Christmas trees. Use felt or fabric appliqué to add faces or additional layers, especially for character-based designs.
Try mixing materials. Use fabric scraps, lace, or tulle along with your crocheted base to add contrast and depth. A crochet ornament with a lace overlay or a tulle bow creates a charming blend of textures that stands out on any tree.
Make themed sets for gifting. For example, a set of three ornaments in coordinating colors can be boxed together and given as a thoughtful handmade gift. This works especially well for housewarmings, teacher gifts, or secret Santa exchanges.
If you’re part of a crafting community or social group, consider organizing an ornament exchange. Everyone follows the same Crochet Christmas Tree Ornament – Pattern but personalizes it in their own way. It’s a great way to see different styles and celebrate creativity.
4. Caring for and Storing Your Crochet Ornaments
After crafting your Crochet Christmas Tree Ornament – Pattern, you’ll want to keep it looking great year after year. Proper care and storage will ensure your handmade decorations stay in excellent condition through many holiday seasons.
To clean crochet ornaments, gently dust them with a soft brush or cloth. If necessary, you can lightly spot-clean with a damp cloth, but avoid soaking or machine washing unless the yarn label specifically says it’s safe. Be careful with any embellishments like beads or sequins during cleaning.
If your ornaments become misshapen in storage, try lightly steaming or blocking them to restore their shape. Use pins and a soft surface like a towel to help mold flat ornaments back into form.
When storing, wrap ornaments in tissue paper or place them in individual bags. This helps prevent tangling, snagging, or crushing. For more delicate or embellished ornaments, consider using padded storage boxes or ornament organizers with compartments.
Avoid storing them in damp or hot environments, as moisture can damage the fibers and extreme temperatures can affect any glued or stiffened elements. A cool, dry closet or plastic container with a lid is ideal.
Label your containers clearly so you can find your ornaments easily next year. Consider organizing by type, color, or who they’re meant for if you’ve made a variety of different ornaments.
With just a little attention, your Crochet Christmas Tree Ornament – Pattern creations will be part of your holiday décor for years to come, preserving memories and handmade joy.
FAQ – Crochet Christmas Tree Ornament – Pattern
Q1: What is the best yarn for crocheting Christmas tree ornaments?
A1: Cotton yarn is preferred for its crisp texture, but acrylic and metallic yarns are also great choices for festive sparkle and color variety.
Q2: Are these patterns suitable for beginners?
A2: Yes! Many ornament patterns are beginner-friendly. Look for patterns using basic stitches like single and double crochet to start.
Q3: How long does it take to make one ornament?
A3: A simple ornament can take 30 minutes to an hour. More detailed or embellished designs may take longer depending on your experience.
Q4: Can I wash crochet ornaments?
A4: Spot cleaning is best. Avoid machine washing unless the yarn is machine-safe. Hand washing and air drying are safest for preserving shape and details.
Q5: Can I sell ornaments made with these patterns?
A5: Yes, as long as the pattern’s terms of use allow for commercial use. Always credit the original designer if required.
Q6: What are some popular ornament shapes?
A6: Stars, trees, snowflakes, baubles, stockings, and gingerbread men are all popular shapes for crochet ornaments.
Conclusion
Making a Crochet Christmas Tree Ornament – Pattern is a wonderful way to infuse your holiday with creativity, warmth, and personal touch. From selecting the perfect yarn to adding meaningful details, each ornament becomes a tiny treasure full of love and tradition.
Whether you’re a beginner or an experienced crocheter, these patterns are a joy to make and share. If you enjoyed this guide, please leave your honest opinion in the comments below and feel free to share suggestions for future crochet projects you’d love to see.
Happy crocheting and happy holidays! 🎄🧶