A handmade holiday brings warmth, charm, and a sense of tradition to any home. One delightful way to add a personal touch to your festive décor is by using a Crochet Christmas Tree – Pattern. Whether you’re looking to create mini trees for your mantel, tabletop decorations, or thoughtful gifts, crocheting a Christmas tree is a fun, creative, and heartwarming project that crafters of all skill levels can enjoy.
Using a Crochet Christmas Tree – Pattern, you can customize your tree’s size, color, and texture, making each piece truly one-of-a-kind. From elegant minimalist styles to playful trees adorned with colorful baubles and stars, the possibilities are endless. Plus, these crochet trees are eco-friendly, reusable, and make wonderful keepsakes.
In this article, you’ll learn how to crochet a beautiful Christmas tree from start to finish, with helpful tips, creative variations, and answers to the most frequently asked questions. Let’s dive into the joy of crafting your own Crochet Christmas Tree – Pattern, and bring a little more magic into your holiday season.
1. Getting Started with Materials and Planning
Before you begin your Crochet Christmas Tree – Pattern, it’s important to gather all the materials you’ll need and understand the overall structure of the project.
Most crochet Christmas trees are made using worsted-weight yarn in classic green tones, but feel free to get creative. You can use white yarn for a snowy tree, metallic threads for a sparkly finish, or even variegated yarn for a whimsical twist.
A size G/6 (4.0 mm) or H/8 (5.0 mm) crochet hook is ideal for most worsted-weight yarns. You’ll also need a tapestry needle for sewing pieces together and weaving in ends, as well as scissors and optional items like stitch markers.
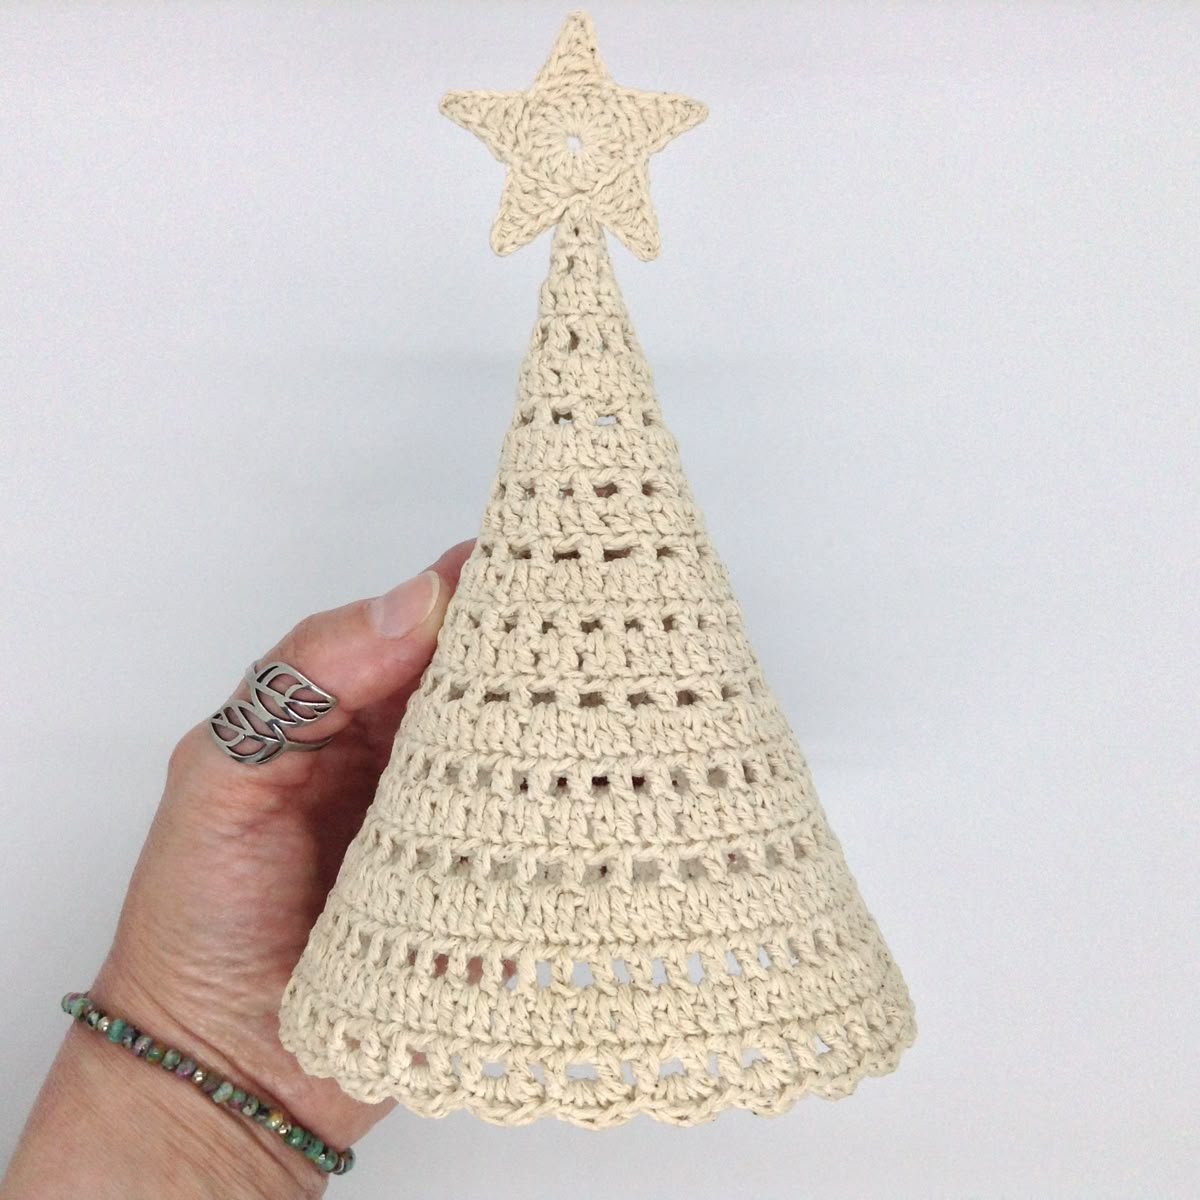
The basic structure of the Crochet Christmas Tree – Pattern typically involves working in rounds or rows to create cone shapes that stack or flare. Some patterns also use flat panels stitched together to create a 3D tree.
Polyfill stuffing may be needed if you’re making a standing tree. Alternatively, cardboard inserts or cones can be used as a base to give structure to your tree, especially for taller designs.
Don’t forget embellishments! You can decorate your tree with miniature crocheted ornaments, beads, buttons, bells, or even fairy lights to add extra holiday flair.
Lastly, make sure you have a pattern guide or sketch handy. Even a simple drawing of the tree design you envision can help you stay on track and bring your idea to life.
2. Step-by-Step Instructions for the Crochet Tree
Once your materials are ready, it’s time to start working through the Crochet Christmas Tree – Pattern. This section walks you through the process, from base to top.
Begin by crocheting a magic ring and working single crochet (sc) stitches into it to form the base. You’ll gradually increase the number of stitches in each round to create a widening cone.
Continue increasing in each round while maintaining the cone shape. This forms the body of the tree. Keep your stitches tight to ensure the tree holds its shape well, especially if it will stand on its own.
Once the base cone is tall enough, you can begin shaping the branches or tiers. This is usually done by alternating increases and decreases, or by creating small ruffled layers using shell stitches.
For a tree with separate layers, crochet individual cones in graduated sizes, then stack and sew them together. This gives the tree a more realistic and textured appearance.
After finishing the tree body, you can stuff it with polyfill or slide it over a cardboard cone. If it needs a sturdy base, crochet a flat circle and attach it to the bottom.
Now it’s time to decorate! Use contrasting yarn to crochet tiny stars, ornaments, or garlands. Sew them onto the tree or attach them with glue for ease. Add a loop to the top if you plan to hang the tree as an ornament.
3. Creative Variations for Personal Touches
One of the best things about using a Crochet Christmas Tree – Pattern is the ability to personalize it. Whether you’re making a gift or decorating your own home, adding unique elements makes the project more special.
Change the size of your tree by adjusting the number of stitches and rounds. Make a small version for ornaments or larger trees to decorate a tabletop or shelf.
Add sparkle by using metallic yarns or threads. These add a festive shimmer without the need for additional embellishments. They’re perfect for elegant or modern holiday themes.
Use multiple shades of green to give the tree more dimension. For example, start with dark green at the base and gradually transition to a lighter green at the top, mimicking real pine trees.
Instead of using traditional round ornaments, crochet mini items like gifts, snowflakes, gingerbread men, or candy canes. These can be stitched onto the tree or hung from loops for a playful look.
Consider making a set of crochet trees in different sizes for a charming Christmas display. Add faux snow or LED lights around them to complete the scene.
You can also create themed trees — such as a “Winter Wonderland” white tree, a rainbow tree for fun, or even a tree with personalized initials for each family member.
4. Tips for Displaying, Storing, and Gifting
After completing your Crochet Christmas Tree – Pattern, there are several ways to enjoy and share your beautiful handmade creation.
Use your tree as a centerpiece for your holiday table. Add candles, pinecones, or garlands around it to complete the arrangement. The crochet texture adds warmth and coziness.
Display the tree on a windowsill, bookshelf, or fireplace mantel. If you’ve added lights or sparkly yarn, it will catch the glow from nearby bulbs or daylight, enhancing its charm.
To give the tree as a gift, place it in a decorative box or clear bag with tissue paper. You can also include a handwritten note or tag explaining that it’s handmade, which adds a thoughtful touch.
If you make several trees, you can host a small holiday market stall or give them as party favors for guests at Christmas gatherings. These small handmade gifts are always appreciated.
When the season is over, store your tree in a cool, dry place. Keep it away from direct sunlight to prevent fading, and avoid crushing it by placing it in a sturdy container.
For long-term use, you can reinforce the shape by inserting light wire or adding a layer of starch to the yarn. This is especially useful for delicate or lace-like designs.
FAQ – Crochet Christmas Tree – Pattern
Q1: Is this pattern beginner-friendly?
Yes, most Crochet Christmas Tree – Pattern designs are suitable for beginners. Basic stitches like single crochet and simple increases are commonly used. You can start simple and explore more advanced designs over time.
Q2: How much yarn is needed for one crochet Christmas tree?
It depends on the size, but small trees usually require less than one skein of yarn. Larger trees may use 1–2 skeins, especially if you’re adding layers or extra decorations.
Q3: Can I make the tree flat instead of 3D?
Absolutely. Flat crochet trees are great for hanging ornaments, greeting cards, or wall décor. You can make two panels and stitch them together or leave them single-sided.
Q4: What yarn is best for this project?
Worsted weight cotton or acrylic yarn is ideal for structure and durability. You can also use metallic, glitter, or boucle yarns for texture and festive flair.
Q5: Can I wash my crochet Christmas tree?
Yes, if needed. Handwashing in cold water and laying flat to dry is the safest method, especially for stuffed or decorated trees. Avoid machine washing if it has embellishments.
Q6: Can I sell items made with this pattern?
Yes, finished items made using a Crochet Christmas Tree – Pattern can typically be sold. Just ensure you’re not selling the original written pattern unless it’s your own design.
Conclusion
The Crochet Christmas Tree – Pattern is more than just a holiday project—it’s a heartfelt way to celebrate the season, share creativity, and create lasting memories. With just some yarn, a hook, and a bit of imagination, you can make festive decorations that are full of personality and charm.
Whether you’re crafting a single tree or a whole forest of them, the joy of making and gifting handmade items never gets old. We hope this guide has inspired you to try your own version of the Crochet Christmas Tree – Pattern this year.
If you’ve completed your own crochet tree, we’d love to hear about it! Please leave a sincere comment below sharing your experience, suggestions, or photos of your creations. Happy crocheting and Merry Christmas!