Creating handmade crafts brings joy, creativity, and a personal touch to any project. One of the most delightful and versatile DIY ideas is using a Crochet Letters – Pattern to make customized names, messages, or decorations. Whether you’re crafting for a child’s room, a special gift, or festive home décor, crocheting letters adds a warm and unique charm to your work.
The beauty of crocheting letters lies in its endless possibilities. You can make individual letters to spell out names, crochet entire words for banners or wall hangings, or even turn letters into keychains, appliqués, or baby mobiles. Plus, the Crochet Letters – Pattern is suitable for all skill levels—from beginners looking for quick wins to experts seeking new creative outlets.
In this article, we’ll guide you through everything you need to know to create your own crochet alphabet. From choosing the right yarn and hooks to crafting each letter with precision, you’ll learn how to personalize any project using the Crochet Letters – Pattern in an easy and enjoyable way.
1. Why Choose Crochet Letters for Your Projects
Crocheting letters opens up a world of creative opportunities. Whether you want to personalize gifts, label items, or make decorations for special occasions, a Crochet Letters – Pattern is a flexible and expressive option.
First, crochet letters are timeless. They can be customized to match any theme or occasion—birthdays, baby showers, weddings, or holidays. You can even coordinate the colors and styles to blend seamlessly with your room décor.
Second, they are highly adaptable. Once you learn the Crochet Letters – Pattern, you can adjust the size, texture, and color of the letters to suit your project. Make bold and chunky letters for wall hangings, or delicate and small ones for appliqués.
Another reason to love crocheting letters is their giftability. Handmade name banners or monogrammed pillows make thoughtful, personal presents that are both meaningful and beautiful. They’re perfect for baby showers, birthdays, or housewarming gifts.
It’s also a great way to use up yarn scraps. Letters typically require only a small amount of yarn, making them ideal for those leftover skeins you’ve been saving in your stash.
Additionally, crochet letters are a fun and educational project for kids. They can help children learn their alphabet or practice spelling their name while participating in a creative activity.
Lastly, the satisfaction of seeing your words come to life in yarn is incredibly rewarding. Whether for personal use or as part of your crafting business, Crochet Letters – Pattern gives you the tools to create something memorable and lasting.
2. Materials and Tools Needed for Crochet Letters
Before starting your Crochet Letters – Pattern, it’s essential to gather the right tools and materials. Using quality supplies ensures your letters come out crisp, uniform, and ready to be displayed or gifted.
Start with yarn. Worsted weight cotton yarn is ideal for most crochet letters because it provides structure and holds its shape well. Acrylic yarns also work fine and offer a wide range of color choices. Use vibrant shades for children’s names or more muted tones for elegant home décor.
Choose a crochet hook that corresponds with your yarn weight. Typically, a 4.0 mm to 5.5 mm hook works well for worsted weight yarn. If you want smaller, tighter stitches for firmer letters, go down a hook size.
Stitch markers can be useful for tracking your place, especially if you’re working on intricate letters like “S” or “K” that involve multiple turns and curves. They help maintain consistency and reduce the chance of mistakes.
A tapestry needle is essential for weaving in ends and sewing pieces together if your Crochet Letters – Pattern involves multiple segments or layered elements.
You may also want stuffing if you’re making 3D crochet letters. Fiberfill or polyfill can turn flat letters into plush, stuffed shapes that stand on their own or serve as soft toys or cushions.
Finally, keep your Crochet Letters – Pattern printed or displayed nearby as a reference. Having the instructions visible helps ensure you stay on track and follow the correct sequence for each letter.
3. Step-by-Step Guide to Crocheting Letters
Once your materials are ready, it’s time to follow your Crochet Letters – Pattern and bring each letter to life. Below is a general guide to help you understand the structure of most crochet letters.
Start with the foundation chain. Each letter typically begins with a chain of a specific length, depending on the letter’s design. Keep your tension even, and count your stitches to maintain accuracy.
For straight-line letters like “I,” “L,” or “T,” basic stitches like single crochet (sc), half double crochet (hdc), or double crochet (dc) are used in rows. These are beginner-friendly and come together quickly.
Curved letters like “C,” “S,” or “O” often involve working in rounds or using short rows. Increases and decreases help form the curves. Take your time with these—use stitch markers if needed, and count every row carefully.
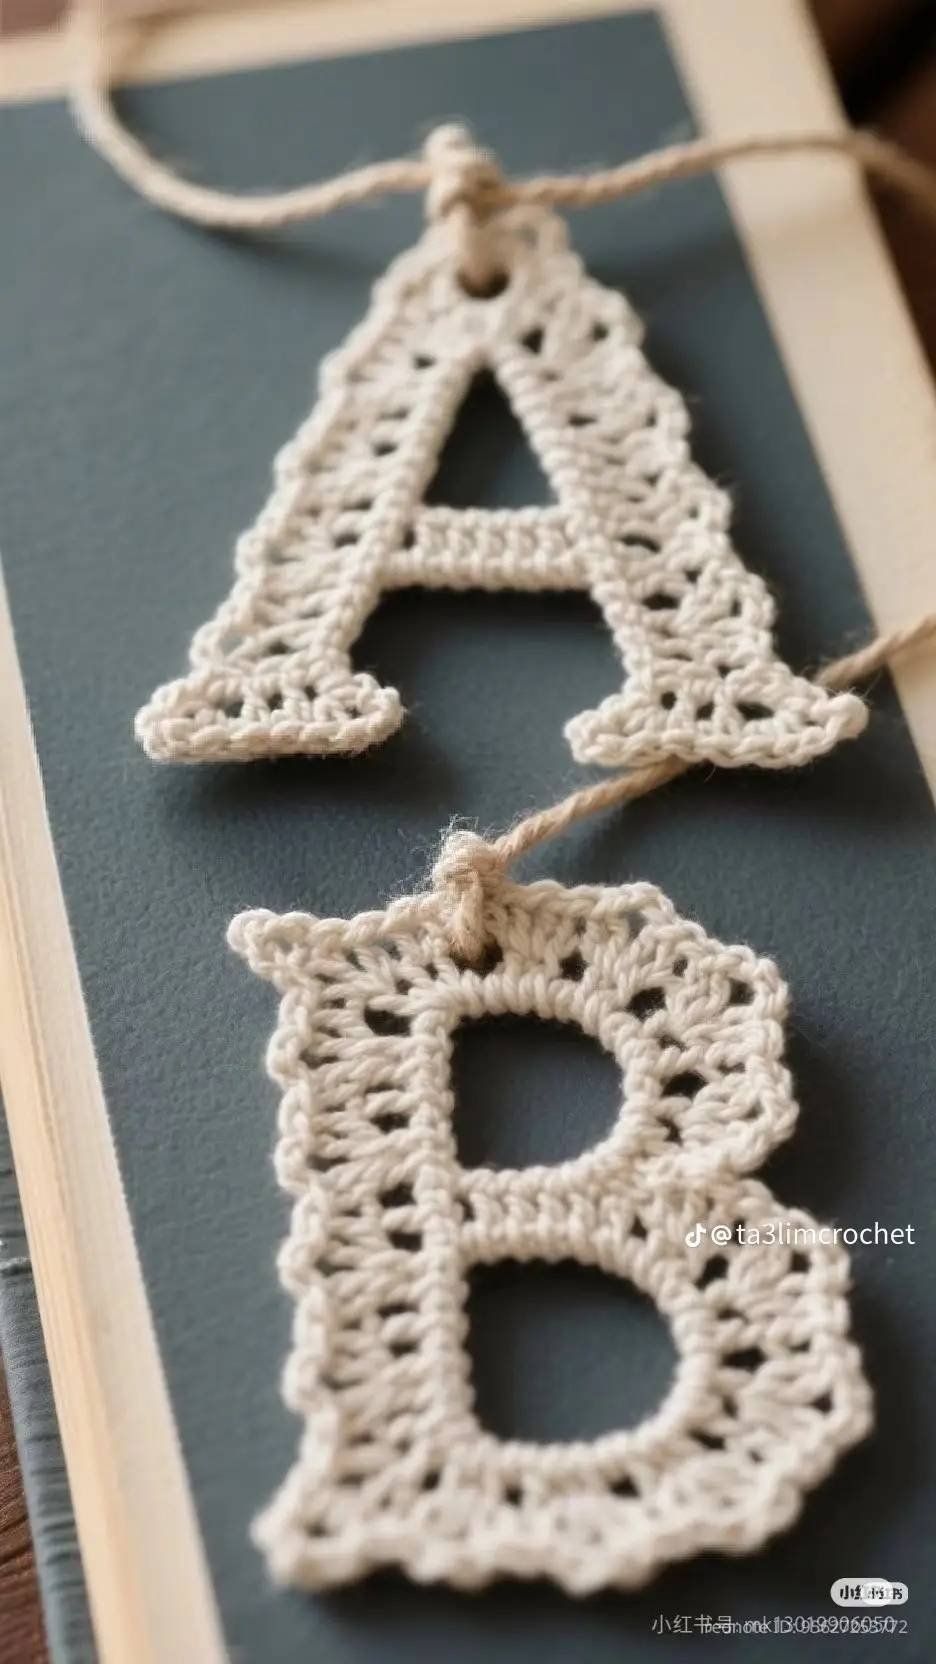
Some patterns break complex letters into smaller parts. For instance, a “B” may be worked as a vertical bar and two small loops, later sewn together. This modular approach makes shaping easier and results in neater finishes.
Don’t rush the finishing touches. Weave in all ends securely using a tapestry needle, and block the letters if necessary. Blocking helps them lie flat and improves their overall appearance.
Lastly, assemble your letters into words or phrases by sewing them onto banners, attaching them to blankets, or stringing them with yarn or ribbon. This final step brings your Crochet Letters – Pattern project together beautifully.
4. Creative Ways to Use Crochet Letters
One of the most exciting parts of using a Crochet Letters – Pattern is exploring all the different ways you can use your finished pieces. They are versatile and can add personality to virtually anything.
Create name banners for bedrooms, nurseries, or party decorations. String together the letters and hang them with mini clothespins or crochet a long chain to act as a garland.
Personalize clothing or accessories. Sew crochet letters onto tote bags, hats, scarves, or even denim jackets for a trendy, handmade touch. Monogrammed initials are especially popular and easy to apply.
Use them in educational projects. Teachers and parents can make a full alphabet set to help children recognize letters, practice spelling, or play games. Crochet letters are soft and safe for little hands.
Add them to home décor items. From pillows and wall hangings to wreaths and table runners, crochet letters can turn ordinary objects into custom statement pieces.
Make holiday decorations using themed words like “JOY,” “LOVE,” or “NOEL.” Combine festive colors with sparkly yarn or embellishments for seasonal flair.
You can even use crochet letters in gift wrapping. Spell out the recipient’s name and tie the letters to a gift box or bag for a personalized and reusable gift tag alternative.
FAQ – Frequently Asked Questions
Q1: Are crochet letters suitable for beginners?
Yes, many Crochet Letters – Pattern designs are beginner-friendly. Start with simpler letters like “L” or “T” and gradually work up to more complex shapes.
Q2: What’s the best yarn for crochet letters?
Cotton or acrylic yarns with good structure are ideal. Choose worsted weight for firm and defined shapes that are easy to handle.
Q3: Can crochet letters be washed?
Yes, if you use machine-washable yarn. Hand-washing is usually safer, especially if the letters are sewn onto items like blankets or clothing.
Q4: How do I attach crochet letters to fabric or other items?
Use a tapestry needle and yarn or strong thread to sew the letters on. Fabric glue can also work for lightweight, non-washable items.
Q5: Can I make 3D crochet letters?
Yes! Use a Crochet Letters – Pattern designed for amigurumi-style shapes. These involve stuffing and often work in the round for soft, plush letters.
Q6: Are there patterns for cursive or lowercase crochet letters?
Absolutely. While uppercase block letters are most common, many designers offer patterns for cursive, script, or lowercase styles to suit different projects.
Conclusion
Creating your own letters using a Crochet Letters – Pattern is a rewarding and highly customizable craft project. From choosing your materials to following step-by-step instructions, and finally exploring creative uses, every part of the process is filled with potential and fun.
We’ve explored the reasons to try crocheting letters, what materials you need, how to make them, and where to use them. Whether you’re personalizing a gift, decorating your home, or teaching the alphabet, crochet letters add charm and meaning to any project.
If you enjoyed this guide, please leave a sincere opinion in the comments. Share your ideas, your finished creations, or even improvements for the tutorial. Your feedback helps us grow a creative and helpful crafting community.
Happy crocheting!