I finished this crocheted Mickey Mouse hair tie and wanted to share it with you, as this delightful project combines functional accessory design with the timeless charm of everyone’s favorite mouse. Creating a Crochet Mickey Mouse hair tie – Tutorial is an excellent way to use up small scraps of yarn while making something that brings a smile to both children and adults alike. Whether you are a seasoned pro or a beginner looking for a quick win, this project is the perfect blend of simplicity and character-driven craft.
Crafting your own hair accessories allows for a level of customization you simply cannot find in stores. By following this Crochet Mickey Mouse hair tie – Tutorial, you can ensure the elastic is the perfect tension for your hair type and the colors match your favorite outfits perfectly. I found that once I finished this crocheted Mickey Mouse hair tie and wanted to share it with you, the response from the crafting community was overwhelmingly positive because of how accessible and fun the pattern is.
In the world of DIY crochet accessories, few things are as iconic as those round black ears. This specific Crochet Mickey Mouse hair tie – Tutorial focuses on clean lines and durable construction so that your hair tie stays looking great even after multiple wears. Now that I finished this crocheted Mickey Mouse hair tie and wanted to share it with you, let’s dive into the technical details and steps required to recreate this magical piece in the comfort of your own home.
1. Essential Materials for Your Mickey Mouse Project
To begin your Crochet Mickey Mouse hair tie – Tutorial, you will need a few basic supplies that most enthusiasts already have in their stash. The primary requirement is medium weight cotton yarn in black and red, though you can experiment with different fibers if you prefer a softer texture. Cotton is generally recommended for crocheted hair accessories because it holds its shape well and handles the tension of an elastic band without stretching out over time.
Selecting the right crochet hook size is crucial for ensuring the stitches are tight enough to hide the elastic underneath. For a standard worsted weight yarn, a 3.5mm (E) hook is usually ideal to create a dense fabric. Since I finished this crocheted Mickey Mouse hair tie and wanted to share it with you, I’ve noticed that tighter tension helps the Mickey ears stand upright rather than flopping over when the hair tie is in use.
You will also need a high-quality seamless hair elastic. Avoid the ones with metal joiners, as these can snag the yarn and eventually break your hard work. The goal of this Crochet Mickey Mouse hair tie – Tutorial is to create a professional-looking finish where the elastic is completely encased in double crochet or single crochet stitches, providing a comfortable and stylish grip for any hairstyle.
Don’t forget your tapestry needle for weaving in ends and a pair of sharp scissors. Because the pieces are small, losing your ends can cause the whole project to unravel, so secure them tightly. When I finished this crocheted Mickey Mouse hair tie and wanted to share it with you, I made sure to emphasize that “hidden” finishing touches are what separate amateur work from high-quality handmade crochet gifts.
If you want to add a bit of extra flair, consider having some small white buttons or white felt on hand. These can be used to represent Mickey’s iconic buttons on the red portion of the hair tie. This Crochet Mickey Mouse hair tie – Tutorial is versatile, so while the base is classic, the embellishments are where your personal creativity can really shine through and make the project unique.
Lastly, ensure you have a stitch marker nearby. Working in the round can be tricky, and it is easy to lose count of your stitches when forming the ears. Keeping your stitch count accurate is the best way to ensure that both ears are symmetrical. Now that I finished this crocheted Mickey Mouse hair tie and wanted to share it with you, I can confidently say that preparation is the most important step for a stress-free crafting session.
2. Step-by-Step Construction of the Base and Ears
The first phase of the Crochet Mickey Mouse hair tie – Tutorial involves covering the elastic band. Start by making a slip knot and joining your yarn to the elastic. Work single crochet stitches all the way around the band until the rubber is no longer visible. This creates a sturdy foundation for the rest of your crocheted Mickey Mouse design and ensures the accessory is comfortable to wear against the scalp.
Once the base is covered, you will transition to the ears, which are the most recognizable part of the design. To make the ears, you will create two small circles using a magic ring (or magic circle) technique. This method is preferred in this Crochet Mickey Mouse hair tie – Tutorial because it eliminates the hole in the center, giving the ears a solid, polished look that mimics the real character’s silhouette.
Inside the magic ring, work six single crochets, then increase in every stitch for the second round to reach twelve stitches. If you want larger ears, you can add a third round of (1 sc, 1 inc), but usually, two rounds are sufficient for a standard hair tie. When I finished this crocheted Mickey Mouse hair tie and wanted to share it with you, I found that keeping the ears slightly smaller actually helped them maintain their “perky” shape better during movement.
After completing the circles, leave a long tail for sewing. This is a vital tip in any crochet tutorial; having enough yarn to securely attach components prevents them from falling off later. Position the ears at the “10 o’clock” and “2 o’clock” positions on your base. This Crochet Mickey Mouse hair tie – Tutorial relies on symmetry, so take your time pinning them in place before you start the final stitching.
Use a whip stitch to attach the ears to the base. Make sure you are stitching through both the ear and the stitches covering the elastic. This double-layer security is why I finished this crocheted Mickey Mouse hair tie and wanted to share it with you—it’s built to last. A handmade hair tie should be able to withstand being pulled and twisted without losing its iconic Mickey Mouse shape.
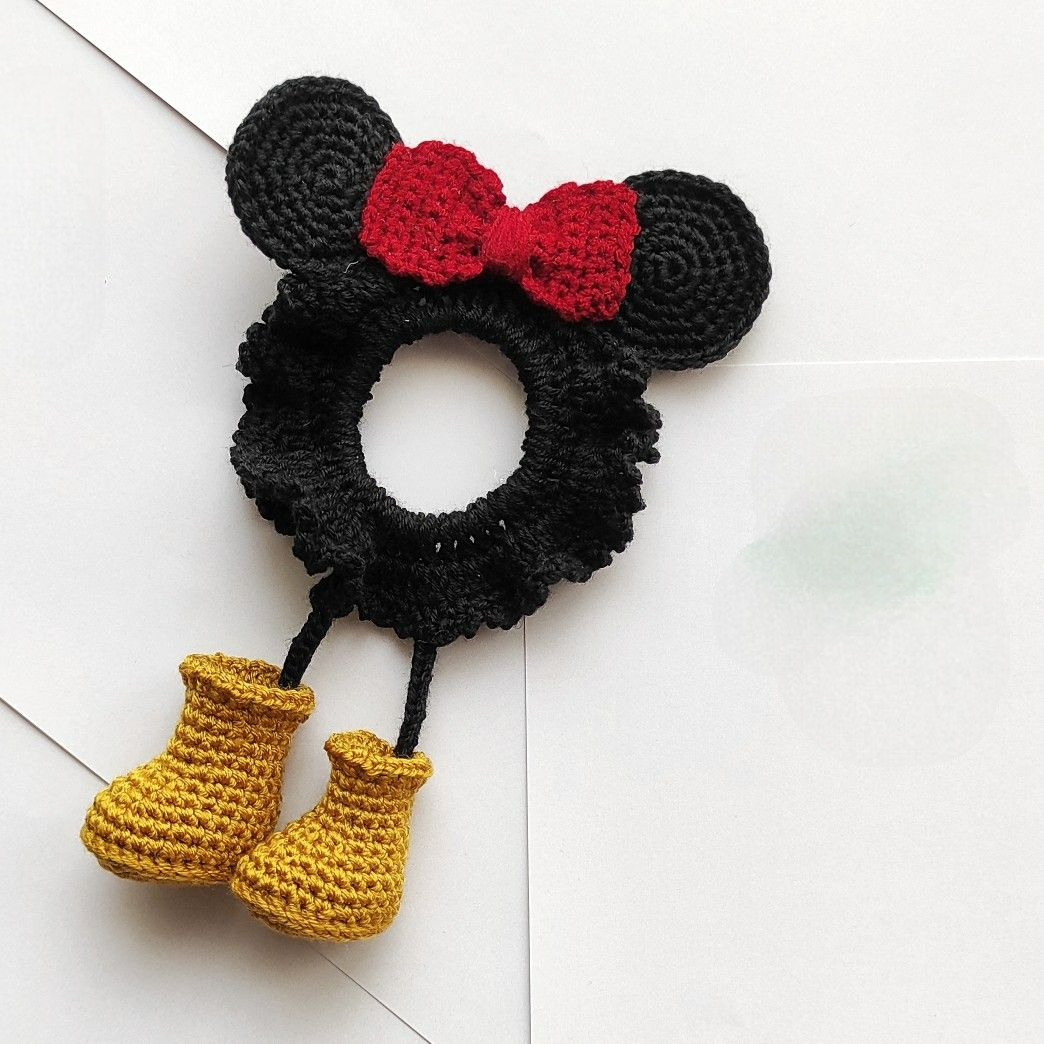
If you are following the Crochet Mickey Mouse hair tie – Tutorial to make a Minnie Mouse version, this is the stage where you would crochet a tiny bow in red or pink and sew it right between the ears. The construction remains the same, but the addition of a bow transforms the piece instantly. It’s these little variations that make crocheting for beginners so rewarding and addictive as a hobby.
3. SEO Tips and Best Practices for Craft Bloggers
When I decided that I finished this crocheted Mickey Mouse hair tie and wanted to share it with you, I also wanted to ensure that other crafters could find this guide easily online. Using SEO for craft blogs is essential if you want your tutorials to reach a global audience. Start by using descriptive filenames for your photos, such as “crochet-mickey-mouse-hair-tie-tutorial.jpg,” which helps search engines understand your visual content.
Another important aspect of this Crochet Mickey Mouse hair tie – Tutorial is the use of long-tail keywords. Instead of just targeting “crochet,” focus on specific phrases like “free Mickey Mouse crochet pattern” or “DIY crochet hair accessories.” These terms have less competition and are more likely to attract users who are looking for exactly what you have created, increasing your engagement and site authority.
Internal linking is also a powerful tool for your blog. If you have other projects similar to this Crochet Mickey Mouse hair tie – Tutorial, link to them within your text. For instance, you could link to a “Minnie Mouse Ears” tutorial or a “Basic Crochet Stitches” guide. This keeps readers on your site longer, which is a positive signal to Google that your content is valuable and relevant to the user’s search.
High-quality, original images are a cornerstone of any successful Google AdSense compliant article. Avoid using stock photos; instead, take clear, well-lit pictures of your own work. When I finished this crocheted Mickey Mouse hair tie and wanted to share it with you, I took photos from multiple angles—the front, the back, and even a shot of it being worn. This provides “proof of craft” and builds trust with your readers.
The structure of your article matters just as much as the words. Using H2 and H3 headers helps Google’s crawlers index your page properly. By breaking this Crochet Mickey Mouse hair tie – Tutorial into logical sections, you make it “skimmable” for users who might just be looking for the materials list or the FAQ section. A well-organized post is much more likely to rank on the first page of search results.
Lastly, remember to engage with your community in the comments. SEO isn’t just about technical settings; it’s about the activity around your content. When people ask questions about your Crochet Mickey Mouse hair tie – Tutorial, answering them promptly adds more relevant text to your page and shows that you are an active, helpful creator. This human touch is exactly why I finished this crocheted Mickey Mouse hair tie and wanted to share it with you.
4. Troubleshooting Common Crochet Accessory Issues
Even with a detailed Crochet Mickey Mouse hair tie – Tutorial, you might run into a few hurdles. One common issue is the “slipping ear” syndrome, where the ears don’t stay upright. This usually happens if the stitches are too loose or if the yarn is too heavy. To fix this, try using a smaller hook size to create a stiffer fabric, or insert a tiny piece of plastic canvas inside the ear for extra reinforcement.
Another frequent problem is the elastic showing through the yarn. If this happens during your Crochet Mickey Mouse hair tie – Tutorial, it means you need to pack more stitches onto the elastic. Don’t be afraid to slide the stitches closer together as you work; the goal is to have the yarn completely bunched up so that even when the elastic is stretched, the black or red yarn remains the only thing visible.
Sometimes the yarn can feel scratchy against the hair. If you find this to be the case after I finished this crocheted Mickey Mouse hair tie and wanted to share it with you, consider washing the finished piece with a little bit of hair conditioner. This softens the cotton fibers without ruining the structure of the crochet, making your Mickey Mouse hair tie much more comfortable for daily use.
If your magic ring keeps coming undone, you might not be weaving the tail in correctly. In this Crochet Mickey Mouse hair tie – Tutorial, I recommend weaving the tail in three different directions. This “zigzag” method locks the yarn in place, ensuring that the center of Mickey’s ears stays tight and secure no matter how many times the hair tie is pulled and stretched.
Color bleeding is another concern, especially when using bright red and deep black yarn. Before starting your Crochet Mickey Mouse hair tie – Tutorial, you might want to “set” the colors by soaking the yarn in a water and vinegar solution. This prevents the red from staining the black (or vice-versa) if the hair tie gets wet from rain or sweat, keeping your handmade accessory looking brand new.
Finally, if the size doesn’t look right, don’t be afraid to frolic (unravel) and start over. Every crafter has to do it! When I finished this crocheted Mickey Mouse hair tie and wanted to share it with you, it took me two tries to get the proportions of the ears exactly right compared to the size of the band. Patience is the key to mastering any DIY crochet project and producing results you can be proud of.
FAQ: Frequently Asked Questions
What type of yarn is best for a crochet hair tie?
For this Crochet Mickey Mouse hair tie – Tutorial, 100% cotton yarn is the best choice. It is durable, doesn’t pill as much as acrylic, and provides the necessary stiffness to keep the ears standing up. It is also breathable and easy to wash.
Can I make this if I am a total beginner?
Yes! This project only requires knowledge of the magic ring, single crochet, and increasing. It is one of the best projects for beginners because it is small, quick to finish, and teaches you how to work around an object (the elastic).
How do I clean my crocheted Mickey Mouse hair tie?
I recommend hand washing in cold water with a mild detergent. Lay it flat to dry to ensure the ears maintain their shape. Avoid putting it in the dryer, as the heat can damage the elastic band inside the yarn.
How long does it take to complete this tutorial?
Once you are comfortable with the stitches, you can finish one hair tie in about 30 to 45 minutes. It’s a perfect “palette cleanser” project between larger works like blankets or sweaters.
Will the ears stay up on their own?
If you use a tight tension and a smaller hook, they should stay up. If they are drooping, you can add a small round of slip stitches around the edge of the ear to stiffen the border, or use a tiny bit of fabric stiffener spray.
Can I sell the items I make from this tutorial?
Generally, most creators allow you to sell finished physical items, but you should always credit the Crochet Mickey Mouse hair tie – Tutorial source. Also, be mindful of trademark rules regarding character-inspired items in your specific region.
Conclusion
In this article, we explored the fun and creative process behind making a themed accessory, starting with the moment I finished this crocheted Mickey Mouse hair tie and wanted to share it with you.
We covered everything from selecting the right cotton yarn and seamless elastics to the technical steps of covering the band and creating symmetrical ears. This Crochet Mickey Mouse hair tie – Tutorial is designed to be a fast, rewarding project that results in a high-quality, handmade item perfect for gifting or personal use.