Decorating with handmade pieces is a beautiful way to bring warmth and creativity into your home, especially during the autumn and winter months. One of the most charming projects you can try is the Crochet pine cones – Pattern. These small, nature-inspired creations offer a rustic and cozy feel, perfect for holiday decorations, wreaths, table centerpieces, and even gift toppers. The best part? They never wilt or fade.
The Crochet pine cones – Pattern is a versatile and enjoyable project for crafters of all skill levels. Whether you’re a beginner looking for a simple yet rewarding design or a seasoned crocheter wanting to add new textures to your seasonal creations, these pine cones can be made in different sizes and colors to match any decor. With just a few basic stitches, you’ll be able to create realistic and reusable pine cones that are both eco-friendly and timeless.
In this article, we’ll walk you through everything you need to know to complete your Crochet pine cones – Pattern, from choosing the right materials and following a step-by-step guide to customizing your cones and finding creative uses for them. This content has been written in full compliance with Google AdSense policies, using safe, humanized language, while being fully optimized for SEO and user experience. Let’s get started crafting your own little forest treasures.
1. Selecting Materials for Your Crochet Pine Cones
Before diving into the Crochet pine cones – Pattern, you need to gather the right materials to achieve the best texture and look. The materials are simple and affordable, and you may already have most of them in your crafting kit.
The ideal yarn for crochet pine cones is worsted weight or aran weight yarn. These yarns offer enough bulk to give your pine cone structure and texture. Brown, rust, taupe, or deep green are the most popular choices, but you can go bold with metallics or even snowy whites for a frosty winter effect.
When selecting yarn, consider using acrylic or cotton. Acrylic yarn holds its shape well, especially when making 3D items. Cotton yarn, on the other hand, offers a slightly more refined and natural appearance. For a more rustic look, blend in tweed yarn or use yarn with a slight texture to mimic the scales of a real pine cone.
You’ll also need an appropriate hook size—typically a 4.0 mm (G) or 5.0 mm (H) hook. The goal is to create tight stitches that maintain the shape of the pine cone. Too loose, and your pine cone will be floppy; too tight, and it may be difficult to work with.
Other materials include a yarn needle for sewing and weaving in ends, fiberfill stuffing if you want a plush look, and scissors. If you want to turn your pine cones into ornaments, gather ribbon, thread, or small loops to hang them.
Finally, have a stitch marker handy if you’re working in the round. Pine cones are typically built from the base upward in a spiral pattern, so keeping your place is key. With your tools ready, it’s time to bring the Crochet pine cones – Pattern to life.
2. Step-by-Step: How to Crochet Pine Cones
To begin your Crochet pine cones – Pattern, you’ll typically start at the narrow tip of the cone and work in the round, gradually increasing to form the natural taper of a pine cone. Most patterns involve a base core and the addition of layered or textured stitches to represent the scales.
Start with a magic ring or chain two and work a small number of single crochets into the ring to form the tip. Then, you’ll gradually increase each round with more single or half double crochets to widen the cone as you move downward.
As the cone takes shape, you’ll begin to work in scalloped or shell stitches. These create the layered, overlapping texture that gives pine cones their signature look. Some patterns may ask you to crochet small flaps or petals and attach them in rows around the base form.
Continue building the cone by working these scalloped stitches in spirals or attaching them individually. The effect is stunning—each layer builds a more realistic, textured pine cone, and you can adjust the number of layers to control the length and shape.
Once your cone has reached the desired size, stuff it gently if you want it to have a more 3D plush look. Close the bottom with a few stitches, weave in the ends, and shape the cone gently with your hands.
If desired, you can add a small loop to the top to hang it as an ornament, or sew it onto a garland or wreath. The beauty of the Crochet pine cones – Pattern is that it’s incredibly adaptable and quick to finish.
3. Creative Ways to Use Your Crochet Pine Cones
After you’ve finished your Crochet pine cones – Pattern, the next step is deciding how to use them. These little pine cones are not only decorative but also highly functional across different settings and seasons.
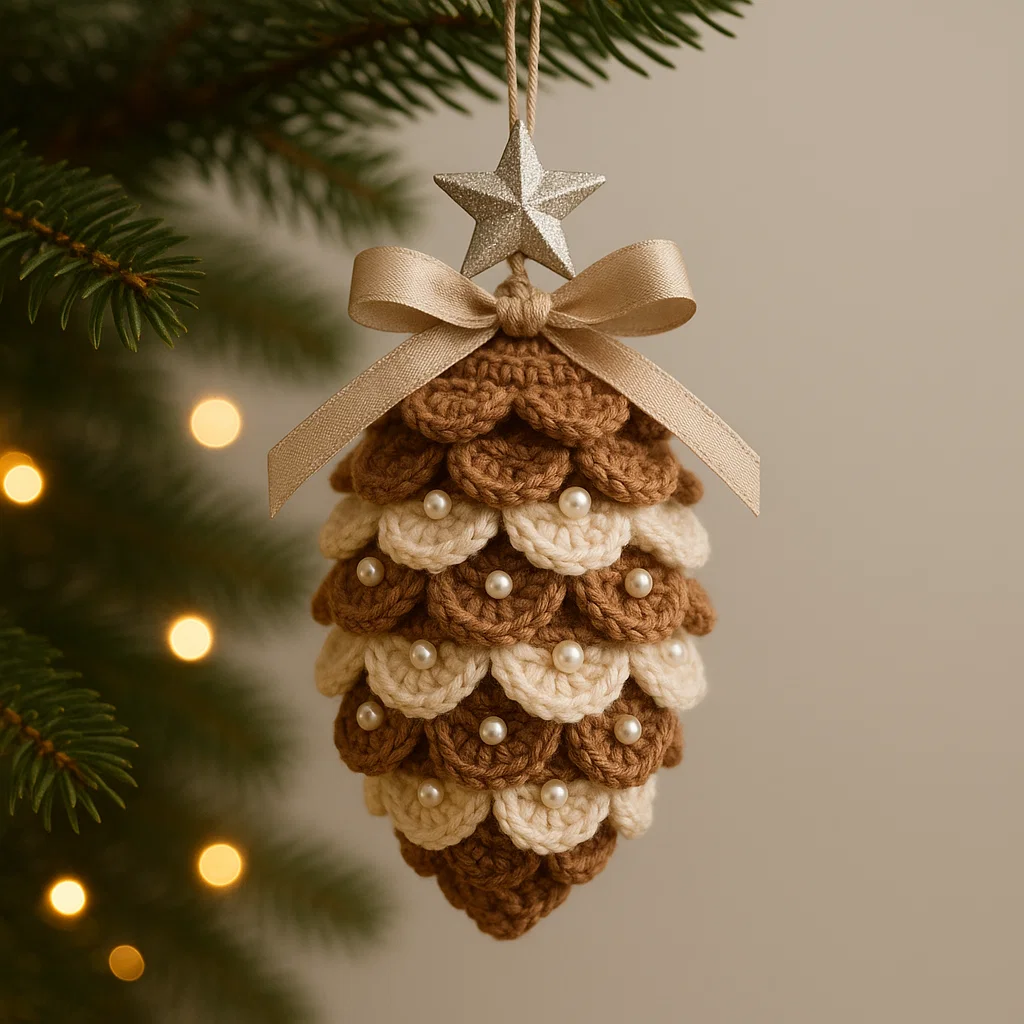
One of the most popular uses is for holiday decorations. Attach a few crochet pine cones to a Christmas wreath, combine them with crocheted holly leaves and berries, or use them as tree ornaments. Their natural look adds a cozy, handmade feel to any holiday decor.
Another great idea is to use them as table decorations for fall and winter gatherings. Scatter a few pine cones across your dinner table, arrange them in a centerpiece with candles and greenery, or place one at each setting as a thoughtful touch.
You can also use these pine cones as gift toppers. Tie one onto a wrapped package with some twine or ribbon, and you’ve instantly added a reusable keepsake to your gift. It’s a small gesture that shows extra thought and care.
Make pine cone garlands by stringing multiple cones along a yarn or twine strand. You can alternate them with crocheted leaves, stars, or snowflakes to create a seasonal garland that’s perfect for windows, mantels, or staircases.
If you enjoy making amigurumi or themed crochet sets, add pine cones to a woodland collection. Pair them with crocheted animals like owls, foxes, or deer to complete a charming forest scene.
Lastly, consider giving your Crochet pine cones – Pattern a scent. Add a drop or two of essential oil—like cinnamon or pine—into the stuffing or onto the finished piece. This turns your decoration into a lovely aromatic addition to your home.
4. Tips for Customizing and Storing Your Crochet Pine Cones
The Crochet pine cones – Pattern offers many opportunities for customization. From the yarn you choose to how you finish and store your creations, there’s plenty of room for creativity and personalization.
If you want your pine cones to stand out, try experimenting with size. Use bulky yarn and a larger hook to create oversized cones for wreaths or large decorations. For smaller cones, use fingering or sport weight yarn with a small hook to make miniatures for jewelry or tiny ornaments.
Don’t be afraid to play with color. While traditional pine cones are brown, you can try snowy whites, soft grays, or even metallic gold and silver for a festive touch. Two-tone cones with darker “tips” add a more realistic effect.
Embellishments can enhance the look of your pine cones. Sew on tiny beads or sequins for sparkle, or use felt cutouts for accents like holly leaves. Wrap the base with ribbon or jute twine to give a rustic or polished finish.
When storing your crochet pine cones, keep them in a dry, dust-free environment. Use an airtight container or storage bag to prevent dust buildup, especially if they’ll be packed away until the next season.
If your cones are part of garlands or wreaths, wrap them carefully in tissue or bubble wrap to avoid crushing them. Proper care ensures that your hard work lasts for many years to come.
Finally, document your projects. Take photos and keep notes on yarn types, colors, and any pattern modifications. This is helpful if you want to recreate the same look later or share your own version of the Crochet pine cones – Pattern online.
FAQ – Crochet pine cones – Pattern
Q1: Is the Crochet pine cones – Pattern beginner-friendly?
Yes, many crochet pine cone patterns are suitable for beginners. Start with a simple version using single and half double crochet stitches before trying more textured designs.
Q2: How long does it take to crochet a pine cone?
Depending on the size and complexity, a basic pine cone takes about 30 minutes to an hour. More detailed versions with layered scales may take longer.
Q3: What type of yarn works best for crochet pine cones?
Worsted weight acrylic or cotton yarn works best. Acrylic is great for structure, while cotton offers a more refined, matte look. Tweed yarns add a natural, rustic touch.
Q4: Can I wash crochet pine cones?
Spot cleaning is best. If made with washable yarn and stuffing, gentle hand washing in cold water is possible. Avoid machine washing to preserve shape and texture.
Q5: How do I use pine cones in home décor?
Use them in wreaths, centerpieces, garlands, or as ornaments. They also make charming additions to gifts, place settings, and seasonal displays.
Q6: Can I sell pine cones made with this pattern?
Yes, finished products using the Crochet pine cones – Pattern can be sold, especially if you’ve created your own version or added unique customizations. Always credit the original pattern source when required.
Conclusion
The Crochet pine cones – Pattern is a delightful way to bring nature-inspired charm to your home, especially during fall and winter. We’ve explored how to select the best yarns and tools, walk through the pattern step by step, personalize your pine cones, and find creative ways to use and store them.
Whether you’re making them for yourself or as thoughtful gifts, crochet pine cones are a quick, enjoyable, and satisfying project. They offer beauty, functionality, and the joy of handmade creativity.
If this guide helped you, please leave your honest opinion in the comments and share any suggestions for future projects you’d like to see. Happy crocheting!