Fall brings the perfect excuse to cozy up with yarn and create festive, homey decor. One of the simplest and most adorable projects you can try this season is the Crochet pumpkin coasters for decoration – pattern. These charming little pieces not only protect your surfaces but also add a delightful seasonal touch to your home. Whether you’re a crochet beginner or a seasoned crafter, this project is fun, quick, and highly customizable.
The great thing about using a Crochet pumpkin coasters for decoration – pattern is that it combines functionality and festive design. Imagine your guests enjoying warm drinks on coasters shaped like cute pumpkins—it instantly sets a welcoming fall mood. And because they’re so easy to make, you can produce a full set in an afternoon and even give them away as thoughtful handmade gifts.
Throughout this article, we’ll explore everything you need to create your own Crochet pumpkin coasters for decoration – pattern. From the materials and techniques required, to customization ideas and common questions, you’ll walk away fully prepared to start stitching your own festive set. Let’s dive into the wonderful world of fall-inspired crochet!
1. Materials and Tools You’ll Need
To start your Crochet pumpkin coasters for decoration – pattern, the first step is gathering the right tools and materials. Choosing the appropriate supplies ensures your finished coasters are both durable and beautiful.
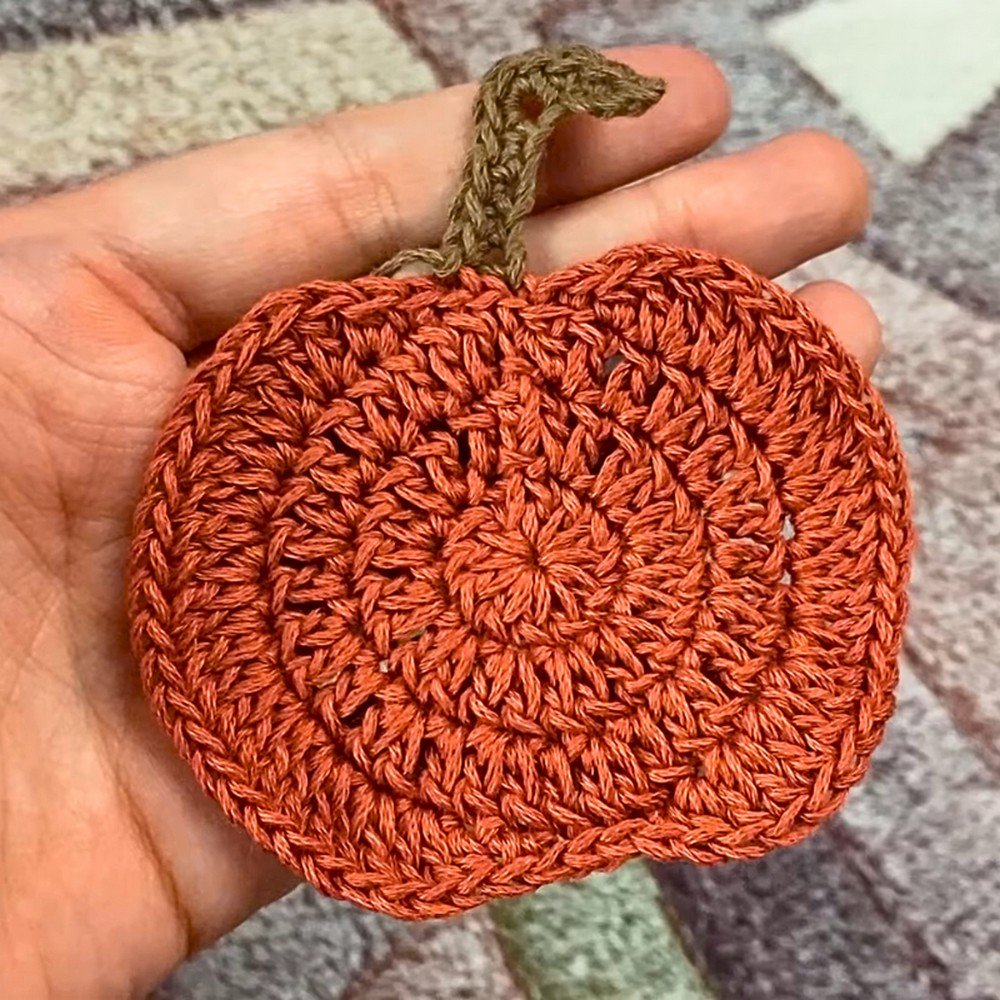
Begin with worsted weight cotton yarn. Cotton is an excellent choice because it’s heat resistant and absorbent, making it perfect for coasters. You’ll need orange for the body of the pumpkin, green for the stem, and optionally brown or yellow for extra decorative elements.
A 4.0 mm to 5.0 mm crochet hook works well for this yarn weight. Using a slightly smaller hook than usual helps keep the stitches tight, ensuring the coaster lies flat and holds its shape over time.
You’ll also want a yarn needle for weaving in ends, and a pair of sharp scissors. Stitch markers aren’t required, but they can be useful if you’re working in rounds or want to keep track of your progress easily.
For added texture or dimension, consider incorporating puff stitches or bobble stitches into your design. These give your pumpkin coasters a plush look that really pops, adding a handmade charm to your fall table setting.
Some crocheters also choose to block their coasters after finishing. Blocking helps them lay perfectly flat and gives a professional finish. Simply dampen the coasters and pin them to shape, letting them dry overnight.
These tools and materials are all you need to begin making your own Crochet pumpkin coasters for decoration – pattern and bring seasonal warmth into your home.
2. Step-by-Step Guide to Creating the Pumpkin Coaster
Once your supplies are ready, it’s time to dive into the fun part—actually crocheting your Crochet pumpkin coasters for decoration – pattern. This step-by-step method uses basic stitches and can be completed quickly, even for those new to crochet.
Start by creating a magic ring. This technique helps eliminate the hole in the center, giving your coaster a clean, polished look. Work 12 double crochets into the ring and join with a slip stitch to form your starting round.
In the second round, work two double crochets into each stitch around. This increases your circle evenly and starts to form the flat base of the coaster. Join with a slip stitch to complete the round.
The third and fourth rounds continue to increase gradually, alternating between single and double increases to keep the shape flat. By the end of round four, your coaster should measure around 4 inches in diameter.
To create the signature pumpkin ridges, you can switch to front post and back post double crochet stitches. These textured stitches give the coaster depth and simulate the natural ribbing of a pumpkin.
For the stem, switch to green yarn. Use a small chain of 4-6 stitches, then single crochet back along the chain. Attach it at the top center of the pumpkin and secure tightly. Some crocheters also add a small leaf or vine detail for extra flair.
Finish off by weaving in all ends securely. If you’d like, block the coaster lightly to ensure it stays flat. And just like that, your first Crochet pumpkin coaster for decoration is ready to use or gift!
3. Customization and Creative Variations
One of the most enjoyable parts of using the Crochet pumpkin coasters for decoration – pattern is the ability to customize each piece. These little pumpkins can be styled in dozens of ways to match your decor, mood, or personality.
Start with color. While classic orange is always a hit, try using pale peach, mustard yellow, or even cream for a neutral aesthetic. This allows the coasters to blend seamlessly into various design styles, from rustic to modern farmhouse.
For Halloween-themed decor, consider making black pumpkins with green or purple stems. Add embroidered faces for a spooky yet cute vibe. This is a great way to involve kids or decorate for a party.
Add texture by incorporating different stitches. The moss stitch, bobble stitch, or puff stitch can give your coaster a unique look and feel. These variations also make each coaster more visually interesting.
Try altering the size slightly. Smaller versions can be used as mug rugs, while larger versions make great trivets or centerpiece mats. This gives you a full matching set for all your fall dining needs.
Personalize your coasters by adding initials, tiny buttons, or embroidery. This turns a simple coaster into a keepsake or thoughtful gift, especially when bundled with a mug or homemade treats.
You can even turn your Crochet pumpkin coasters for decoration into wall art by attaching them to a wooden hoop or frame. With a little creativity, the pattern transforms from simple tableware into multi-purpose seasonal decor.
4. Practical Uses and Gifting Ideas
The Crochet pumpkin coasters for decoration – pattern goes far beyond just being a cute table accessory. These coasters are as functional as they are festive, and they make perfect gifts or market items during the fall season.
Use them throughout your home—in the kitchen, dining room, coffee table, or even on your desk at work. They instantly add a pop of autumn charm while protecting your surfaces from heat and moisture.
Because they’re lightweight and flat, these coasters make great stocking stuffers, party favors, or fall basket fillers. Bundle a set of four or six and tie them with twine for a rustic presentation.
They’re also ideal for craft fairs or online shops. Handmade seasonal decor is in high demand, and pumpkin coasters are both trendy and practical. Plus, they’re quick to make, allowing you to stock up easily.
Consider pairing them with a fall-themed candle, handmade mug, or a pumpkin spice coffee blend to create a cozy autumn gift set. It’s a personal touch that customers and recipients will love.
If you have children or are hosting a fall event, these coasters can double as DIY activity pieces. Pre-make the bases and let kids add their own stems or faces using yarn or felt.
No matter how you use them, Crochet pumpkin coasters for decoration are a delightful, heartwarming way to celebrate the season and share your creativity.
FAQ – Frequently Asked Questions
Q1: Is the Crochet pumpkin coasters for decoration – pattern suitable for beginners?
A: Yes, absolutely. The basic pattern uses simple stitches like double crochet, and more advanced techniques like post stitches are optional.
Q2: What’s the best type of yarn for these coasters?
A: Cotton yarn is recommended because it’s durable, heat-resistant, and absorbent—perfect for use with hot or cold beverages.
Q3: How long does it take to make one pumpkin coaster?
A: Most crocheters can complete one in 30 to 45 minutes, making it a great quick project or last-minute gift idea.
Q4: Can I wash the finished coasters?
A: Yes. Cotton coasters can be hand washed or machine washed on a gentle cycle. Lay flat to dry to maintain their shape.
Q5: Can I sell items made from this pattern?
A: Yes. Handmade coasters are a great item to sell at markets or online. Just be sure to credit the original designer if you’re using a specific published pattern.
Q6: Can I modify the pattern to make other shapes?
A: Definitely. With small changes to the base and stitch types, you can adapt the coaster into apples, acorns, or other fall-themed designs.
Conclusion
Creating your own Crochet pumpkin coasters for decoration – pattern is a joyful, relaxing project that brings warmth and personality into your home. Whether you’re sipping tea on a crisp fall afternoon or preparing your home for a gathering, these coasters set the tone for a cozy, seasonal atmosphere.
In this article, we explored the materials needed, step-by-step instructions, customization ideas, and practical uses for these adorable fall coasters. We also answered common questions to help you feel confident and inspired to get started.
Now it’s your turn! If you’ve tried the Crochet pumpkin coasters for decoration – pattern, please leave a sincere opinion below. Share your color choices, creative tips, or variations. Your feedback not only helps other readers but also inspires new ideas within the crochet community.
Happy crocheting, and may your fall be full of yarn, pumpkins, and warm memories!