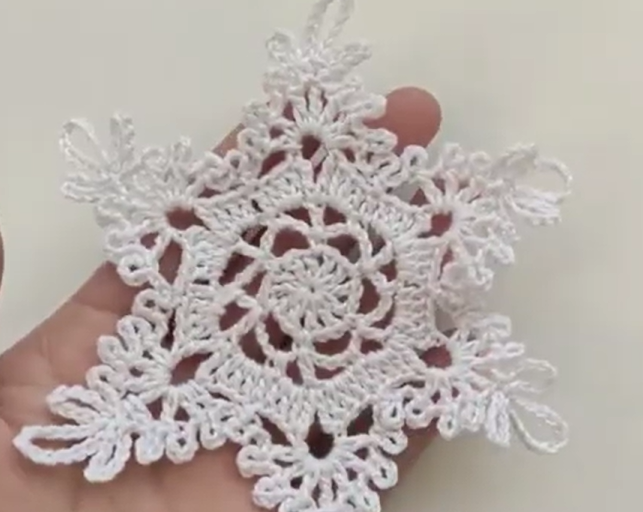
Crocheted scarf – Pattern is one of the most popular and timeless projects for crochet enthusiasts of all skill levels. In this article, you will find a complete and beginner-friendly guide on how to create a beautiful crocheted scarf using a clear and enjoyable pattern that allows you to customize size, color, and texture. Throughout the text, the main keyword Crocheted scarf – Pattern will appear naturally and strategically to enhance SEO performance while keeping the reading smooth and humanized.
Crocheting a scarf is often one of the first projects beginners choose because it teaches essential stitches, techniques, and yarn control. At the same time, advanced crocheters appreciate scarf patterns for their versatility and creativity. A handmade scarf is not only stylish but also practical, warm, and meaningful whether you make it for yourself or as a gift.
Before we explore the detailed steps of the Crocheted scarf – Pattern, it’s important to understand that scarves offer unlimited design possibilities. You can make them lightweight or chunky, simple or decorative, long or short. The flexibility of this craft makes it enjoyable for all ages, styles, and experience levels. The following sections will guide you from preparation to final touches with clarity and inspiration.
1. Materials and Getting Started
To begin your Crocheted scarf – Pattern, the first step is gathering the right materials. Choosing the right yarn makes a huge difference in both appearance and comfort. Soft acrylic, cotton, or wool yarns are great options, depending on whether you want a warm winter scarf or a breathable accessory for mild weather.
Selecting the proper crochet hook is equally important. Most scarf patterns use medium-weight yarn paired with a hook size between 4.0 mm and 6.0 mm. Check the yarn label for recommendations, but feel free to adjust based on your tension. A larger hook will produce a looser, drapier fabric, while a smaller hook creates tighter, more structured stitches.
Having a comfortable workspace is essential for a smooth crafting experience. Good lighting, a comfortable chair, and easy access to your materials will help you follow the Crocheted scarf – Pattern with ease. Keep scissors, a yarn needle, and stitch markers nearby for convenience.
Before starting the actual scarf, consider making a small swatch. This helps you check your tension, test stitch patterns, and ensure that the yarn and hook combination gives you the desired texture. This simple step helps avoid surprises later in the project.
Familiarize yourself with the stitches used in the pattern, especially if you are a beginner. Common scarf stitches include single crochet, half-double crochet, double crochet, and variations like the moss stitch or the shell stitch. Knowing what each stitch looks like will help you follow the pattern confidently.
Decide on the final look of your scarf before starting. Do you want something simple and classic, or something unique and textured? Planning ahead helps you stay focused and makes the Crocheted scarf – Pattern more enjoyable and efficient.
2. Step-by-Step Instructions for the Scarf Body
Begin your Crocheted scarf – Pattern by creating a foundation chain. The number of chains determines the width of your scarf. A shorter chain makes a narrow, elegant scarf, while a longer chain creates a wider, cozy one. Make sure the chain is loose enough to avoid tightening the edge.
Once the foundation chain is ready, work the first row of stitches carefully. Many patterns start with a row of single crochet to create a solid and even base. This step helps stabilize the scarf and ensures an even look throughout the project.
Continue working the chosen stitch pattern across each row. Whether you prefer a simple stitch or a more decorative one, consistency is key. Keep a steady rhythm and check your stitch count regularly to avoid accidental decreases or increases that could distort the scarf’s shape.
If you wish to add stripes or color changes, do so at the end of a row for a clean transition. This allows your Crocheted scarf – Pattern to look neat and intentional. Make sure to weave in loose ends securely to keep the scarf tidy and durable.
As you progress, measure your scarf occasionally. Some people prefer extra-long scarves for wrapping multiple times, while others like shorter neck warmers. The beauty of a handmade scarf is that you can adjust the length exactly to your liking.
When you reach the desired length, complete your final row and prepare to finish the scarf. A clean final row helps maintain shape and prevents curling. Tie off your yarn securely and leave enough length to weave in the end neatly.
3. Adding Decorative Elements and Personal Touches
A great advantage of using a Crocheted scarf – Pattern is the opportunity to personalize it. Adding textures such as bobbles, shells, or ribbing can transform a simple scarf into a fashionable accessory. Experiment with different stitch combinations until you achieve the look you love.
Consider adding fringe to both ends of the scarf. Fringe is an easy and popular finishing touch that gives movement and flair. Cut strands of yarn evenly, fold them in half, and loop them through the edge stitches. Adjust the length depending on how bold you want the fringe to appear.
Crocheted flowers or appliqués can add a fun decorative touch. These small additions can be sewn onto the scarf to give it a unique character. Choose colors that complement your main yarn for a cohesive design.
Another idea is incorporating a gradient or ombré effect by blending yarn colors. Switching yarn shades gradually creates a beautiful fade that enhances the visual appeal of your Crocheted scarf – Pattern.
If you’re making the scarf as a gift, consider adding embroidered initials or a small tag. These elements make the scarf more personal and meaningful. Handmade items often hold sentimental value, and these thoughtful details make them even more special.
Lastly, think about the overall theme or occasion. A lightweight lace scarf works well for spring, while a thick textured scarf is perfect for winter. By keeping the purpose in mind, you can choose the right materials and decorations to match your vision.
4. Final Touches, Care, and Long-Term Use
After finishing the body and decorations of your Crocheted scarf – Pattern, it’s time to complete the final touches. Begin by carefully weaving in all loose ends using a yarn needle. This step is essential for durability and ensures the scarf looks polished.
Blocking is an optional but valuable step. Lightly dampen the scarf, lay it flat on a towel, and shape it by hand. Allow it to dry completely. Blocking helps even out stitches, enhances drape, and gives your scarf a professional finish.
When storing or gifting your scarf, fold it neatly to prevent stretching. If you plan to store it long-term, keep it in a clean, dry place away from direct sunlight. Proper storage keeps the fibers in good condition and protects the scarf’s color.
For washing, always follow the yarn label instructions. Most scarves made from acrylic yarn can be machine washed on gentle cycles, while wool or delicate blends may require hand-washing. Use mild soap and cool water to preserve texture and softness.
Drying the scarf flat is recommended to avoid stretching. Hanging the scarf while wet can distort its shape, so laying it flat on a towel is the best method. Gently reshape it if necessary.
If your scarf becomes worn or stretched over time, you can refresh it by re-blocking or repairing loose stitches. One of the great advantages of crochet is that it can be easily fixed with a bit of patience and a yarn needle.
FAQ – Frequently Asked Questions
1. Is a crocheted scarf suitable for beginners?
Yes. A Crocheted scarf – Pattern is perfect for beginners because it teaches essential stitches and simple techniques.
2. How long does it take to crochet a scarf?
Depending on the stitch pattern and length, it can take a few hours to several evenings to complete.
3. What yarn is best for a scarf?
Soft acrylic, cotton, or wool blends are popular options depending on the desired warmth and texture.
4. Can I customize the scarf length and width?
Absolutely. You can adjust the foundation chain and number of rows to create any size you prefer.
5. Is it difficult to add fringe or decorations?
Not at all. Fringe and simple appliqués are beginner-friendly and add a lovely touch.
6. Do I need to block my finished scarf?
Blocking is optional but helps improve appearance and drape, especially for lace or textured patterns.
Conclusion
Creating a Crocheted scarf – Pattern is a rewarding and relaxing project that suits all skill levels. In this article, you learned how to prepare materials, follow step-by-step instructions, personalize your design, and care for your finished scarf.
I hope this guide inspires you to create your own beautiful handmade accessory.