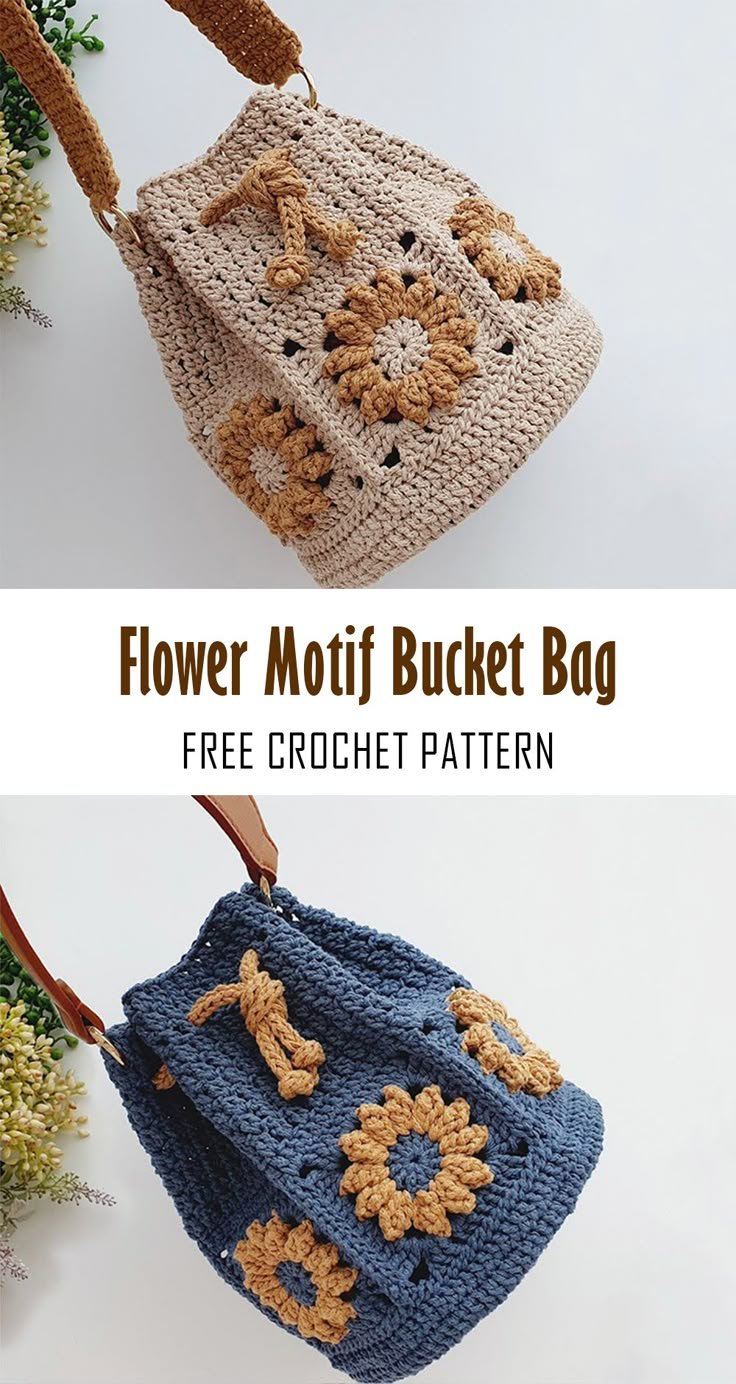
The Flower Motif Bucket Bag Crochet – Pattern is a charming and trendy project for anyone who enjoys turning yarn into stylish, functional pieces.
Perfect for spring and summer fashion, this crochet bag combines floral beauty with practicality, making it a must-try for crocheters of all levels.
Whether you’re an experienced crafter or just beginning your journey with hooks and yarn, this pattern offers the perfect mix of simplicity and style.
The uniqueness of the Flower Motif Bucket Bag Crochet – Pattern lies in its modular design. Instead of building the bag in one piece, you create several flower motifs and join them together. This not only adds visual interest but also makes the project portable and easy to pause and resume. It’s a great way to use up leftover yarn and experiment with color combinations.
Throughout this article, we’ll guide you step-by-step through choosing your materials, crafting the floral motifs, assembling the bag, and caring for your finished product. Our tips are designed to ensure your bucket bag turns out beautiful, sturdy, and ready to accompany you wherever you go.
1. Choosing Materials for the Perfect Flower Motif Bucket Bag
Selecting the right materials is the foundation of a successful Flower Motif Bucket Bag Crochet – Pattern. The ideal yarn should be both strong and flexible to ensure your bag holds its shape while remaining soft to the touch.
Cotton yarn is one of the best options for this type of project. It offers the durability needed for everyday use and shows off the stitches beautifully. For a more textured look, consider using a blend of cotton and acrylic. Always aim for worsted or DK weight yarn for a balanced feel.
As for your crochet hook, match it to your yarn’s recommended size — typically a 4.0 mm to 5.0 mm hook works well. A smaller hook will create tighter stitches, which is helpful when you want your bag to be sturdy and hold its shape.
Color is a major part of the design. Because this pattern is based on floral motifs, you have the creative freedom to mix and match colors that mimic real flowers — think petals in pastel shades and centers in bold contrasts. Or you can go monochrome for a modern minimalist look.
You’ll also need a yarn needle for sewing the motifs together, scissors, and stitch markers. If you want your bag to have a lining, choose a fabric that complements your yarn colors. This will also add strength to your finished product.
Optional hardware includes magnetic snaps, drawstring cords, or even leather handles for an elevated finish. These details make your bag not just handmade, but high-end in appearance.
2. Creating the Flower Motifs
The soul of the Flower Motif Bucket Bag Crochet – Pattern lies in the individual flower motifs that make up the body of the bag. These small but impactful pieces are created separately and later joined together to form the structure.
Start by crocheting a circle with a magic ring, then build outward using a combination of basic stitches like double crochet (dc), half double crochet (hdc), and chains. Each motif typically takes under 10 minutes to complete once you get the hang of the sequence.
Flower motifs are usually worked in the round, with each row adding petals or layers. Use contrasting yarn for different rounds to make each flower pop. Blocking the motifs before joining them can help even out the shapes and make assembly easier.
The number of motifs you’ll need depends on the desired size of your bucket bag. A medium-sized bag generally uses 12–20 motifs arranged in a circle or rectangle and stacked vertically.
When all motifs are finished, weave in the ends neatly. You can either whip stitch or single crochet the motifs together, depending on whether you want visible or invisible joins. Both techniques work well, so it’s a matter of personal preference.
Consider adding a base made of single crochet rounds to give your bag structure. This bottom part can be crocheted separately and attached to the circle of motifs using a slip stitch.
Finally, make sure all your motifs are securely connected to withstand the weight of items you’ll carry in the bag. Reinforce the joins by going over seams if needed.
3. Assembling and Shaping the Bucket Bag
Now comes the most satisfying part of the Flower Motif Bucket Bag Crochet – Pattern — assembling your motifs into a beautiful, wearable bucket bag. This step brings your hard work together into a finished and functional piece.
Start by arranging your motifs on a flat surface. This lets you visualize how the colors and shapes will look when joined. Play around with different arrangements until you’re satisfied with the layout.
Once arranged, begin joining the motifs using a tapestry needle or your hook. Make sure the stitches are consistent and tight, especially on the edges where the bag will take the most strain. Uniform joining helps maintain the bucket shape.
Create the bottom of the bag by crocheting a solid circle or oval using single and double crochet stitches. This base is then stitched to the lower edge of your motif panel to form the bag’s foundation. A reinforced base makes your bag more practical for everyday use.
After assembling the body, create a top edge using single crochet rounds. You can add a drawstring or elastic band here, depending on your closure preference. For a drawstring, chain a long length of yarn and weave it through the upper stitches.
Handles can be crocheted as thick straps and sewn to the inside or outside of the top edge. For a more structured and modern look, use leather straps with metal rivets or buttons. Make sure they are evenly spaced and firmly attached.
If lining the bag, sew the fabric into a cylinder matching the bag’s dimensions, then stitch it inside. This not only gives a cleaner finish but adds strength, preventing the bag from sagging over time.
4. Caring for and Styling Your Crochet Bucket Bag
After completing your Flower Motif Bucket Bag Crochet – Pattern, you’ll want to keep it looking fresh and beautiful for as long as possible. With the right care and styling, your handmade creation can last for years and become a fashion staple.
To clean your bag, always refer to the yarn label. Most cotton yarns are washable, but it’s safest to hand wash the bag in cold water with a mild detergent. Lay flat to dry, reshaping the bag as it dries to maintain its form.
Avoid hanging the bag while wet, as this can stretch out the handles and distort the shape. If your bag has a lining, consider spot cleaning that area to avoid over-washing the entire piece.
When not in use, store your bag in a cool, dry place. Use tissue paper to help retain the shape and keep it in a dust bag or cotton pouch for extra protection. Avoid direct sunlight to prevent fading.
In terms of styling, this bag goes well with casual outfits, beachwear, or even boho-inspired dresses. The floral motifs make it perfect for spring and summer, adding a pop of handmade elegance to your look.
Because of its lightweight structure and spacious interior, this bucket bag is ideal for carrying your essentials — from books and wallets to sunglasses and crochet hooks. It’s stylish and practical all in one.
Add personal touches such as tassels, beads, or pins to make your bag truly yours. Customizing your creation not only reflects your personality but also sets your crochet work apart.
FAQ – Flower Motif Bucket Bag Crochet
1. Is the Flower Motif Bucket Bag Crochet – Pattern suitable for beginners?
Yes! The individual flower motifs are simple and repetitive, making this a great project for beginners who want to learn while making something beautiful.
2. How many motifs do I need to complete the bag?
It depends on the size, but typically between 12 to 20 motifs are needed for a medium-sized bucket bag.
3. Can I use different yarn types in the same bag?
Yes, as long as the yarns are of similar weight. Mixing yarn types can create interesting textures, but it’s important to maintain consistent gauge.
4. Should I line my crochet bucket bag?
Lining is optional but highly recommended. It adds durability, helps the bag keep its shape, and prevents items from snagging on the crochet stitches.
5. What’s the best closure for this kind of bag?
Drawstrings are the most common and easy to add. You can also use magnetic snaps or zippers for a more secure option.
6. How long does it take to make the bag?
Depending on your skill level, it can take anywhere from 8 to 15 hours. It’s a great weekend project that offers both creativity and functionality.
Conclusion
The Flower Motif Bucket Bag Crochet – Pattern is a creative, enjoyable, and practical project that lets you showcase your crochet skills while producing a beautiful accessory. From selecting materials and crafting flower motifs to assembling and caring for your finished bag, every step allows room for creativity and customization.
Whether you’re crocheting for fun, fashion, or gifting, this pattern delivers elegance and utility in one package. If you followed this guide, you’re now well-equipped to create a crochet bucket bag that reflects your unique style.
We’d love to hear from you — please leave a sincere opinion and any suggestions below. Your feedback helps us grow and offer even better content for the crochet community!