The Knitted Pot Piglet is a fun, creative, and unique project that adds a charming touch to any home.
Combining the art of knitting and crochet, this pattern is perfect for those looking to create a cute and functional piece of decor.
Whether you’re a seasoned knitter or just starting out, this pattern provides a wonderful opportunity to practice your skills while crafting something adorable.
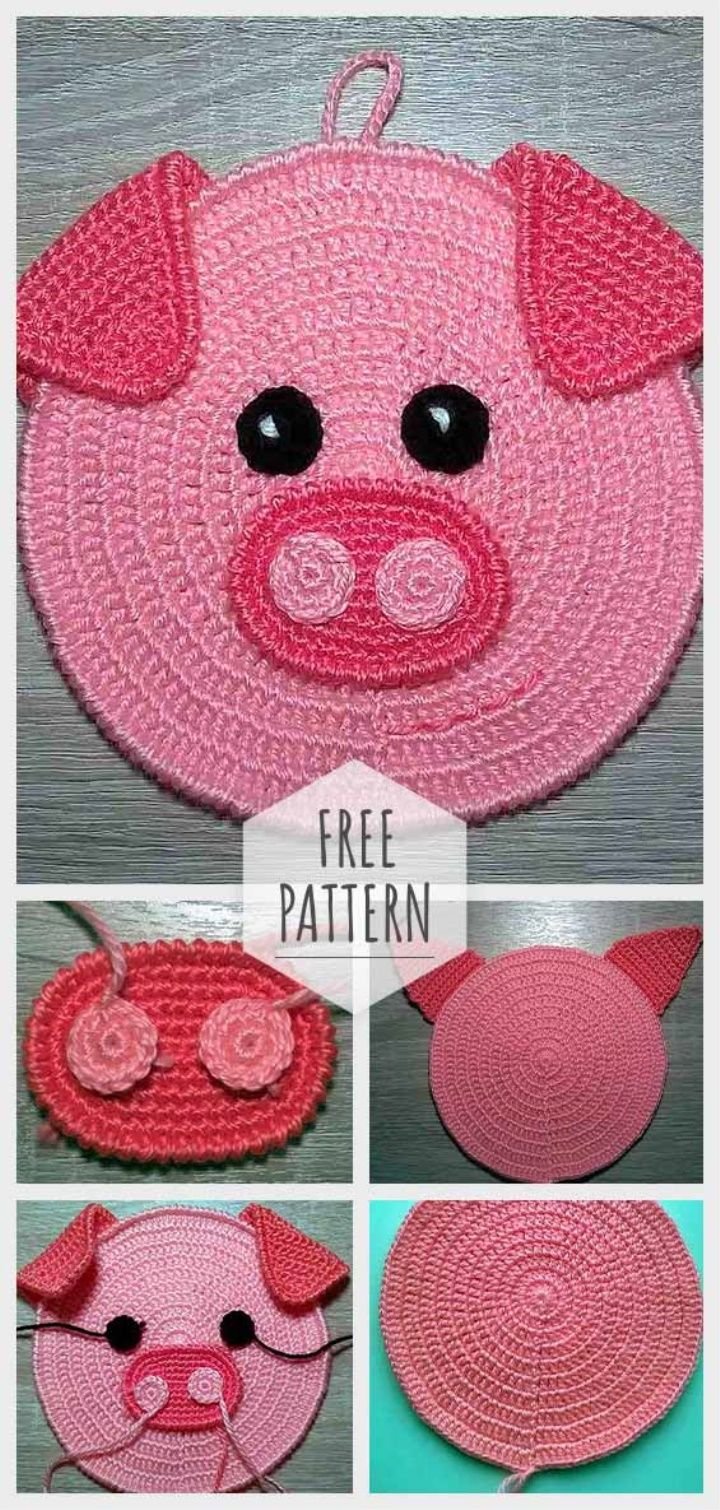
This pattern is versatile and can be customized to fit different styles, colors, and themes. The Knitted Pot Piglet is not only a whimsical creation but also a functional piece that can be used to hold small plants, pens, or any other knick-knacks you might want to display. It’s an ideal project for those who love the combination of crochet and knitting techniques and want to try something out of the ordinary.
In this article, we’ll guide you through the process of creating your very own Knitted Pot Piglet. We will cover everything from materials to step-by-step instructions, and offer some creative tips along the way. So, let’s dive in and start knitting!
1. Materials Needed for the Knitted Pot Piglet – Crochet Pattern
Before you begin creating your Knitted Pot Piglet, it’s essential to gather all the necessary materials. The right supplies will ensure your project goes smoothly and the finished product looks fantastic. Here’s a list of the materials you’ll need to get started:
- Yarn: Choose a soft yarn for the piglet’s body. You can use acrylic or cotton yarn, depending on your preference. For the pot, you may want a sturdier yarn such as bulky wool to give the piece structure.
- Knitting Needles: Select needles that are appropriate for the weight of your yarn. Typically, a 4mm to 5mm needle works well for medium-weight yarn.
- Crochet Hook: You’ll need a crochet hook (size 3.5mm or 4mm is ideal) for attaching different parts of the piglet and adding small details like the nose and ears.
- Stuffing: To give your piglet some volume, you’ll need soft stuffing material such as fiberfill.
- Button Eyes: For a cute and functional touch, consider using button eyes to give your piglet personality. Be sure to securely attach them.
- Embroidery Thread: This will be used for details like the piglet’s smile, nostrils, and other small features. Choose thread that matches or contrasts nicely with the yarn you are using.
Once you have all these materials ready, you’ll be well on your way to making a delightful Knitted Pot Piglet. These materials are easy to find at most craft stores, so you shouldn’t have trouble gathering everything you need.
2. Step-by-Step Instructions for Creating the Knitted Pot Piglet
Now that you’ve got all your materials ready, it’s time to start crafting your Knitted Pot Piglet. Follow these detailed steps to bring your project to life:
- Start with the Piglet’s Body: Begin by knitting a simple round shape that will serve as the base for the piglet. Cast on your stitches and knit in a circle until you reach the desired size for the body. Be sure to leave a long tail at the end for seaming.
- Shape the Pot: For the pot, create a small cylinder that fits snugly around the piglet’s base. You can knit this piece separately and attach it to the body once it’s complete. Make sure to leave some extra space at the top for the plant or other items you wish to place inside.
- Create the Piglet’s Head: To create the piglet’s head, cast on stitches and work in rounds, decreasing to form the snout. Once the shape starts to emerge, stop knitting and stuff the head with fiberfill to give it shape.
- Attach the Head to the Body: Use a crochet hook to securely attach the piglet’s head to the body. Make sure it’s centered and attached firmly so the structure remains stable.
- Add the Ears and Tail: For the ears, knit two small oval-shaped pieces, and then crochet them to the top of the piglet’s head. Create a small spiral shape for the tail and attach it to the back of the piglet.
- Finishing Touches: Once the body and head are attached, use embroidery thread to add facial features, like the piglet’s smile and nostrils. You can also stitch on the button eyes to give your piglet a cute, expressive look.
Following these steps will help you create a perfect Knitted Pot Piglet. It’s a fun and easy project that combines both knitting and crochet, allowing you to practice two different techniques while making something delightful.
3. Tips for Success When Making the Knitted Pot Piglet
Creating the Knitted Pot Piglet can be a rewarding experience, but here are some tips to help ensure the project goes smoothly and the results are just as adorable as you’d hoped:
- Check Gauge: Before you begin, make sure your yarn and needles are the right size for your desired finished product. Check your gauge by knitting a swatch to ensure you are using the right tension.
- Stitch Markers: If you find it difficult to keep track of your rounds, use stitch markers to mark the beginning of each round. This will help you stay organized and avoid mistakes.
- Stuff the Piglet Evenly: When adding stuffing to the piglet’s body and head, be sure to distribute it evenly. Overstuffing can lead to misshapen parts, while under stuffing can result in a limp structure.
- Use Strong Thread for Attachment: Make sure you use strong thread or yarn to attach the head, ears, and other parts of the piglet. This will ensure that your piglet stays intact and doesn’t fall apart over time.
- Take Your Time with the Pot: The pot is just as important as the piglet itself, as it holds everything together. Ensure that it’s knit tightly and evenly so it provides the necessary support for the piglet.
- Customize Your Piglet: Feel free to experiment with different colors and textures for your piglet. You could use a multicolored yarn for a fun effect or add a decorative flower to the pot for extra charm.
These tips will help you achieve the best results when making your Knitted Pot Piglet. With a little patience and creativity, you’ll have a delightful creation that’s sure to brighten up your space.
4. Creative Variations and Customizations for the Knitted Pot Piglet
One of the best things about the Knitted Pot Piglet – Crochet pattern is that it’s highly customizable. Here are a few creative variations to personalize your piglet:
- Change the Pot Design: Instead of a simple cylindrical pot, consider experimenting with different shapes. Try knitting a square or hexagonal pot for a modern twist, or add textured patterns to give it more depth.
- Add Accessories: You can accessorize your piglet with a tiny scarf, bow, or even a tiny hat. This adds an extra layer of fun and whimsy to the project.
- Use Different Yarn Types: Experiment with using different yarns for various parts of the piglet. For example, you could use a fuzzy yarn for the piglet’s body to create a soft, cuddly texture.
- Create a Family of Piglets: Why settle for one when you can make a whole family of piglets? Create different sizes by adjusting the yarn thickness or the number of stitches to create a family set for display.
- Paint the Pot: Once you’ve finished knitting the pot, you could take it a step further and paint it with fun designs. This could include a polka dot pattern, stripes, or even a cute animal face.
- Personalize the Piglet’s Facial Features: Add a personal touch to your piglet by giving it unique eyes or a quirky expression. You can even experiment with adding glasses, freckles, or other fun facial features.
These creative variations will make your Knitted Pot Piglet even more special and suited to your own personal style. Don’t hesitate to experiment and try new things to make this project your own.
FAQ: Frequently Asked Questions
1. What type of yarn is best for the Knitted Pot Piglet?
Soft yarn, such as cotton or acrylic, works best for the body of the piglet. For the pot, a sturdier yarn like bulky wool provides better structure.
2. Can I make the piglet larger or smaller?
Yes, you can adjust the size of the piglet by using different yarn weights or adjusting the number of stitches. For a larger piglet, use bulkier yarn; for a smaller one, use thinner yarn.
3. How do I secure the piglet’s parts?
Use a crochet hook or yarn needle to securely attach the head, ears, and other parts of the piglet to the body. Ensure everything is firmly stitched to avoid any loose parts.
4. Can I customize the pot design?
Absolutely! Feel free to experiment with different pot shapes, colors, or even add decorative elements like painted designs or textured patterns.
5. What should I do if my piglet is not holding its shape?
Make sure to stuff the piglet evenly with fiberfill. You may also want to reinforce the body with extra yarn or even a small piece of fabric for support.
Conclusion
The Knitted Pot Piglet – Crochet pattern is a delightful project that combines knitting and crochet techniques to create an adorable and functional piece of decor. By following the steps outlined in this article, you can easily craft your own piglet that will add charm to any room. From choosing the right materials to adding your personal touch, this project is perfect for crafters of all levels. We hope you enjoyed the guide and encourage you to share your feedback or any suggestions. Happy crafting!