The crochet buckle – Pattern is a versatile and creative project that allows crafters to blend functionality with handmade charm. Whether you want to create an adjustable strap, a decorative closure, or a stylish accessory detail, working with a Crochet buckle – Pattern gives you the opportunity to craft something practical and beautiful at the same time.
This type of project is ideal for beginners exploring small crochet pieces as well as advanced makers who enjoy adding handcrafted touches to larger items such as bags, belts, hats, or garments.
Because a The crochet buckle – Pattern can be adapted to different sizes, textures, and styles, it is becoming increasingly popular among DIY enthusiasts. The project focuses on shaping techniques, stitch structure, and creative finishing touches, making it a rewarding and educational piece for anyone looking to enhance their crochet skills. Small accessories like crochet buckles are also perfect for leftover yarn, which brings an eco-friendly aspect to the craft.
Throughout this article, we will explore the fundamentals, materials, techniques, and creative possibilities behind a The crochet buckle – Pattern. Whether you aim to make a decorative buckle or a fully functional closure, this guide will help you achieve a professional, polished result. With a thoughtful SEO-optimized structure and Google AdSense-friendly content, you will learn everything needed to create your own unique crochet buckle.
1. Understanding the Structure of The Crochet Buckle – Pattern
A The crochet buckle – Pattern generally begins with creating a stable base that can hold the strap or loop it connects to. Most designs rely on sturdy stitches such as single crochet or tight half-double crochet rows to maintain durability.
The shape of the buckle can vary significantly. Some crafters prefer a classic rectangular buckle, while others enjoy circular, oval, or even heart-shaped designs. Regardless of shape, the key is maintaining firm edges and consistent tension.
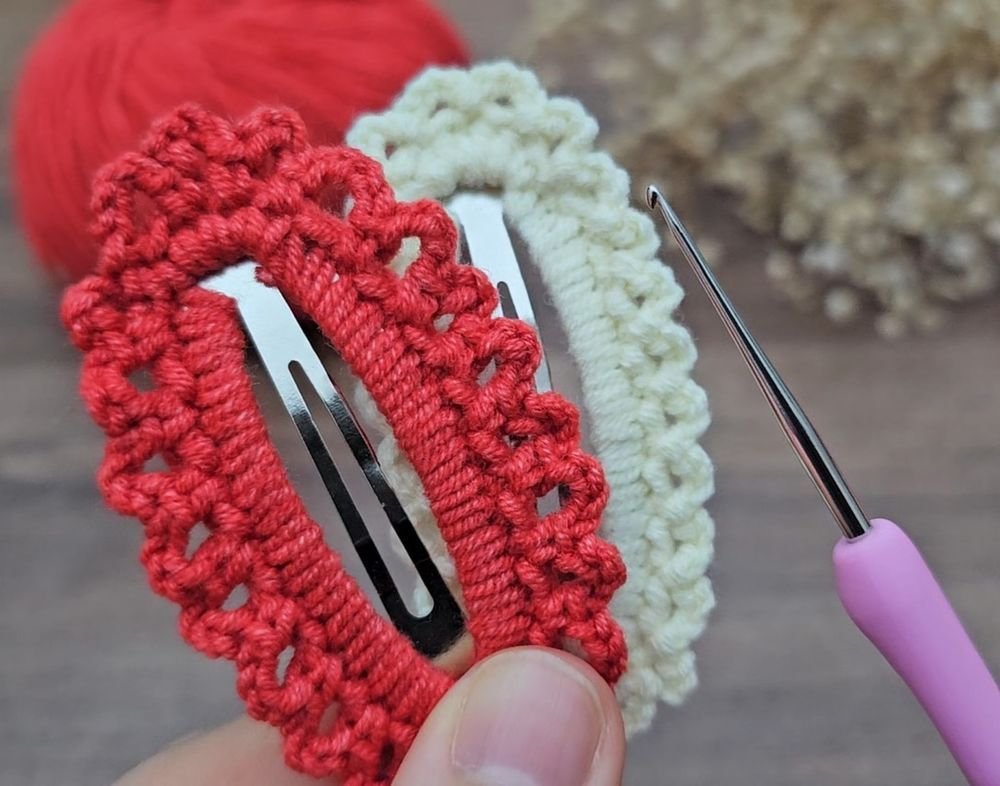
Because the buckle needs stability, working with a small hook size relative to the yarn is beneficial. This helps create a dense fabric that won’t stretch excessively when in use.
The inner bar of the buckle—where the strap loops or tightens—is usually crocheted separately or formed by reinforcing a section of the base. Some patterns incorporate metal or wooden rings for extra strength while keeping the outer part handmade.
A defining feature of the The crochet buckle – Pattern is its texture. Many makers add small decorative elements like ridges, shells, or raised stitches to highlight the buckle. These details help the buckle stand out against the accessory it accompanies.
Proper finishing is essential to ensure longevity. Blocking, securing loose ends, and occasionally stiffening the buckle help maintain shape and create a clean, professional appearance.
2. Materials and Tools for Creating The Crochet Buckle – Pattern
To craft a The crochet buckle – Pattern, selecting strong yarn is crucial. Cotton yarn is highly recommended because it produces sturdy stitches that hold shape well. Acrylic can be used for decorative buckles, but cotton remains ideal for functional designs.
Choose a crochet hook that creates tight, compact stitches. Hooks between 2.0mm and 3.5mm work well, depending on your yarn thickness. Using a hook that feels slightly small for the yarn ensures a firm finish.
A tapestry needle is necessary for weaving in ends and attaching different buckle components. Keeping your joins secure will ensure the buckle remains durable during repeated use.
Scissors are essential, and stitch markers can be helpful for tracking rounds or edges, especially if your buckle design includes curves or shaping.
Some patterns incorporate additional materials such as small metal rings, D-rings, or wooden loops. These items can reinforce the buckle and enhance both function and aesthetics.
If you plan on stiffening the buckle, you may choose a fabric stiffener or diluted glue mixture. This step is optional but helpful for buckles used in structured bags or belts.
3. Step-by-Step Guide for Making The Crochet Buckle – Pattern
Begin your The crochet buckle – Pattern by creating the foundation chain or magic ring, depending on the buckle’s desired shape. Rectangular buckles usually start with a chain, while circular designs may begin with a ring.
Work your first few rows or rounds with dense stitches such as single crochet. These initial rounds form the buckle’s outer frame, which must be stable and durable.
Once the frame is established, continue shaping by working increases or decreases as needed. Maintaining symmetry is essential, so check your stitch count regularly.
If your buckle design includes an inner bar, crochet it separately. Make sure it matches the width of the outer frame. Position it securely, sewing or crocheting it in place using strong, tight stitches.
After assembling all parts, reinforce the buckle by weaving the yarn ends carefully and checking for any loose stitches that need tightening. This step ensures the buckle remains functional and long-lasting.
Finally, block or stiffen the buckle if needed. Let it dry completely before attaching it to a strap, bag, or garment. This step enhances structure and gives the buckle a professional finish.
4. Creative Customization Ideas for The Crochet Buckle – Pattern
One of the greatest joys of working on a The crochet buckle – Pattern is the ability to customize it for any project. You can experiment with colors that complement or contrast your bag, belt, or garment.
Adding texture is another fun approach. Consider incorporating bobble stitches, puff stitches, or ribbed lines to give your buckle a unique appearance that stands out.
You can also mix materials by pairing your crocheted buckle with metal or wooden elements. For example, crochet around a wooden ring to achieve a rustic and sturdy design.
For decorative purposes, you may add embroidery, beads, or small crocheted appliqués. These touches give your buckle personality and make it feel truly handmade.
Adjusting the size of the buckle is a simple way to adapt it for different projects. Larger buckles work well for belts or bag straps, while smaller buckles are ideal for baby items or clothing accessories.
Finally, consider matching your buckle with other crocheted pieces. A coordinated set—like a bag with a matching buckle, strap, and edging—creates a cohesive and polished handmade design.
FAQ – The Crochet Buckle – Pattern
1. Can beginners follow The crochet buckle – Pattern?
Yes. This project is beginner-friendly when using simple shapes, though some advanced designs may require basic knowledge of shaping and tension control.
2. What yarn is best for making a crochet buckle?
Cotton yarn is the best choice because it provides firmness and structure. It holds shape better than softer fibers.
3. Do I need to stiffen my crochet buckle?
Stiffening is optional but recommended for functional or weight-bearing buckles, such as those used in bags or belts.
4. How long does it take to make a crochet buckle?
Most buckles can be completed in 15–45 minutes, depending on size and complexity.
5. Can I use a crochet buckle for heavy items?
For very heavy items, combining crochet with a metal or wooden ring provides extra strength and durability.
6. Can crochet buckles be washed?
Yes. Gentle handwashing is recommended, especially if stiffener or decorative elements are used.
Conclusion
Creating The crochet buckle – Pattern is a rewarding and creative experience that allows you to craft functional and decorative accessories with your own hands.
Throughout this article, you learned the fundamentals of structure, the best materials to use, a step-by-step guide, and plenty of customization ideas to inspire your project. With these techniques, you can create buckles that complement bags, belts, clothing, and more.