This crochet pumpkin is so fun – Pattern is the perfect project for anyone who loves seasonal decor, cozy vibes, and charming handmade crafts. Whether you’re decorating for fall, Halloween, or Thanksgiving, crocheting your own pumpkins adds a personal and playful touch to your space. It’s a quick and satisfying project that both beginners and experienced crocheters can enjoy.
One of the best things about working with a crochet pumpkin pattern is how customizable it is. You can play with colors, yarn textures, and sizes to match your home decor or gift ideas. Add a cinnamon stick for a stem, embroidery for a face, or even turn it into a pincushion — the options are endless. And with just a few basic stitches, you’ll be amazed at how easy it is to bring your pumpkin to life.
In this article, we’ll explore everything you need to know about making your own crochet pumpkin — from selecting yarn and tools to customizing your design and even selling your finished product. If you’ve been looking for a creative and relaxing way to celebrate fall, this crochet pumpkin is so fun – Pattern is the ideal place to start.
1. Why This Crochet Pumpkin is So Fun to Make
One reason this crochet pumpkin is so fun – Pattern has become a favorite among crafters is because of its simplicity. Most patterns only require a few basic stitches like single crochet, slip stitch, and simple increases and decreases. That means even beginners can jump in with confidence and come out with something adorable.
Unlike large, time-consuming projects, crochet pumpkins work up quickly. You can usually complete one in an hour or two, making them perfect for a cozy evening craft session. That quick finish brings a sense of accomplishment and allows you to create several in a variety of sizes and colors.
This pattern also opens the door to creativity. You can choose vibrant oranges, subtle creams, rustic browns, or even blues and purples for a more modern twist. Adding different embellishments or textures (like bobble stitches or ribbing) gives each pumpkin its own personality.
Kids and families also love this project. It’s safe, soft, and fun — and it can be a great way to teach young ones how to crochet. Making pumpkins together can become a seasonal tradition that brings generations together.
Another reason this project is so satisfying is its versatility. Use the finished pumpkins as table centerpieces, window sill decor, teacher gifts, or festive accents for your shelves. You can even scent them with cinnamon or clove for an added touch of fall.
Lastly, you can use leftover yarn from other projects to make your pumpkins. It’s a great way to reduce waste and turn scraps into something beautiful and useful — all while enjoying the meditative benefits of crocheting.
2. Materials You Need to Crochet Your Pumpkin
Before starting the this crochet pumpkin is so fun – Pattern, gather your supplies to make the process smooth and enjoyable. Fortunately, you won’t need anything fancy — most materials are inexpensive and widely available.
Start with yarn. Worsted weight yarn (category 4) is most commonly used, but you can go up or down in weight to change the size and texture of your pumpkin. Acrylic yarn is durable and budget-friendly, while cotton yarn gives a neat, clean finish.
You’ll also need a crochet hook, typically one or two sizes smaller than recommended on your yarn label. This helps create a tighter stitch, which prevents stuffing from showing through the gaps. A 4.0mm or 4.5mm hook is a good starting point.
Other essential tools include fiberfill stuffing (or scrap yarn for eco-friendly stuffing), a tapestry needle for sewing, and scissors. For extra character, you might want to add a stick, cinnamon stick, or even a wine cork as a stem.
Some patterns may suggest using stitch markers — especially helpful when working in rounds or when you’re shaping the pumpkin. These help you keep track of your rows and avoid confusion.
Don’t forget to choose a pattern that suits your skill level. Many free and paid patterns are available online, including beginner-friendly options with photo tutorials and step-by-step instructions.
Having all your materials organized before you begin means you can focus on the fun part — creating your own fall-inspired masterpiece.
3. Step-by-Step Guide to Making Your Crochet Pumpkin
Once you have everything ready, it’s time to follow the this crochet pumpkin is so fun – Pattern and start crafting. The basic shape is created by crocheting in the round or working a flat panel and then sewing it together.
Start by creating a chain and joining it into a circle, or begin with a magic ring. Work in rounds, increasing evenly to create a circular base. This becomes the body of your pumpkin, which you’ll build up with more rounds.
Once your base is wide enough, continue crocheting in the round without increasing. This builds the height of the pumpkin. The length of this section will determine how tall or squat your pumpkin turns out.
To shape the top, begin decreasing in a similar pattern to your increases. Pull the top tight and leave a long tail of yarn for sewing. Stuff the pumpkin firmly but not so much that it stretches the stitches.
After stuffing, pull the opening closed with your yarn tail. Then, use that same tail to create the indentations or “ridges” around the pumpkin. This step is what gives the pumpkin its realistic, segmented look.
Finally, attach a stem — whether crocheted, found in nature, or recycled from another material. You can sew or glue it on. Add leaves, tendrils, or decorative ribbon if you want extra flair.
4. Customization Ideas and Creative Uses
One of the reasons this crochet pumpkin is so fun – Pattern stands out is how easy it is to customize. You can make each pumpkin unique, matching any style or occasion with just a few tweaks.
Try using variegated yarn or combining two strands of different colors to give your pumpkin a marbled, multicolored effect. This can add depth and texture without requiring complex stitches.
Change the stitch pattern for a more textured look. Ribbing, bobbles, or front-post stitches can all give your pumpkin a different vibe. You can also experiment with stripes or color blocking.
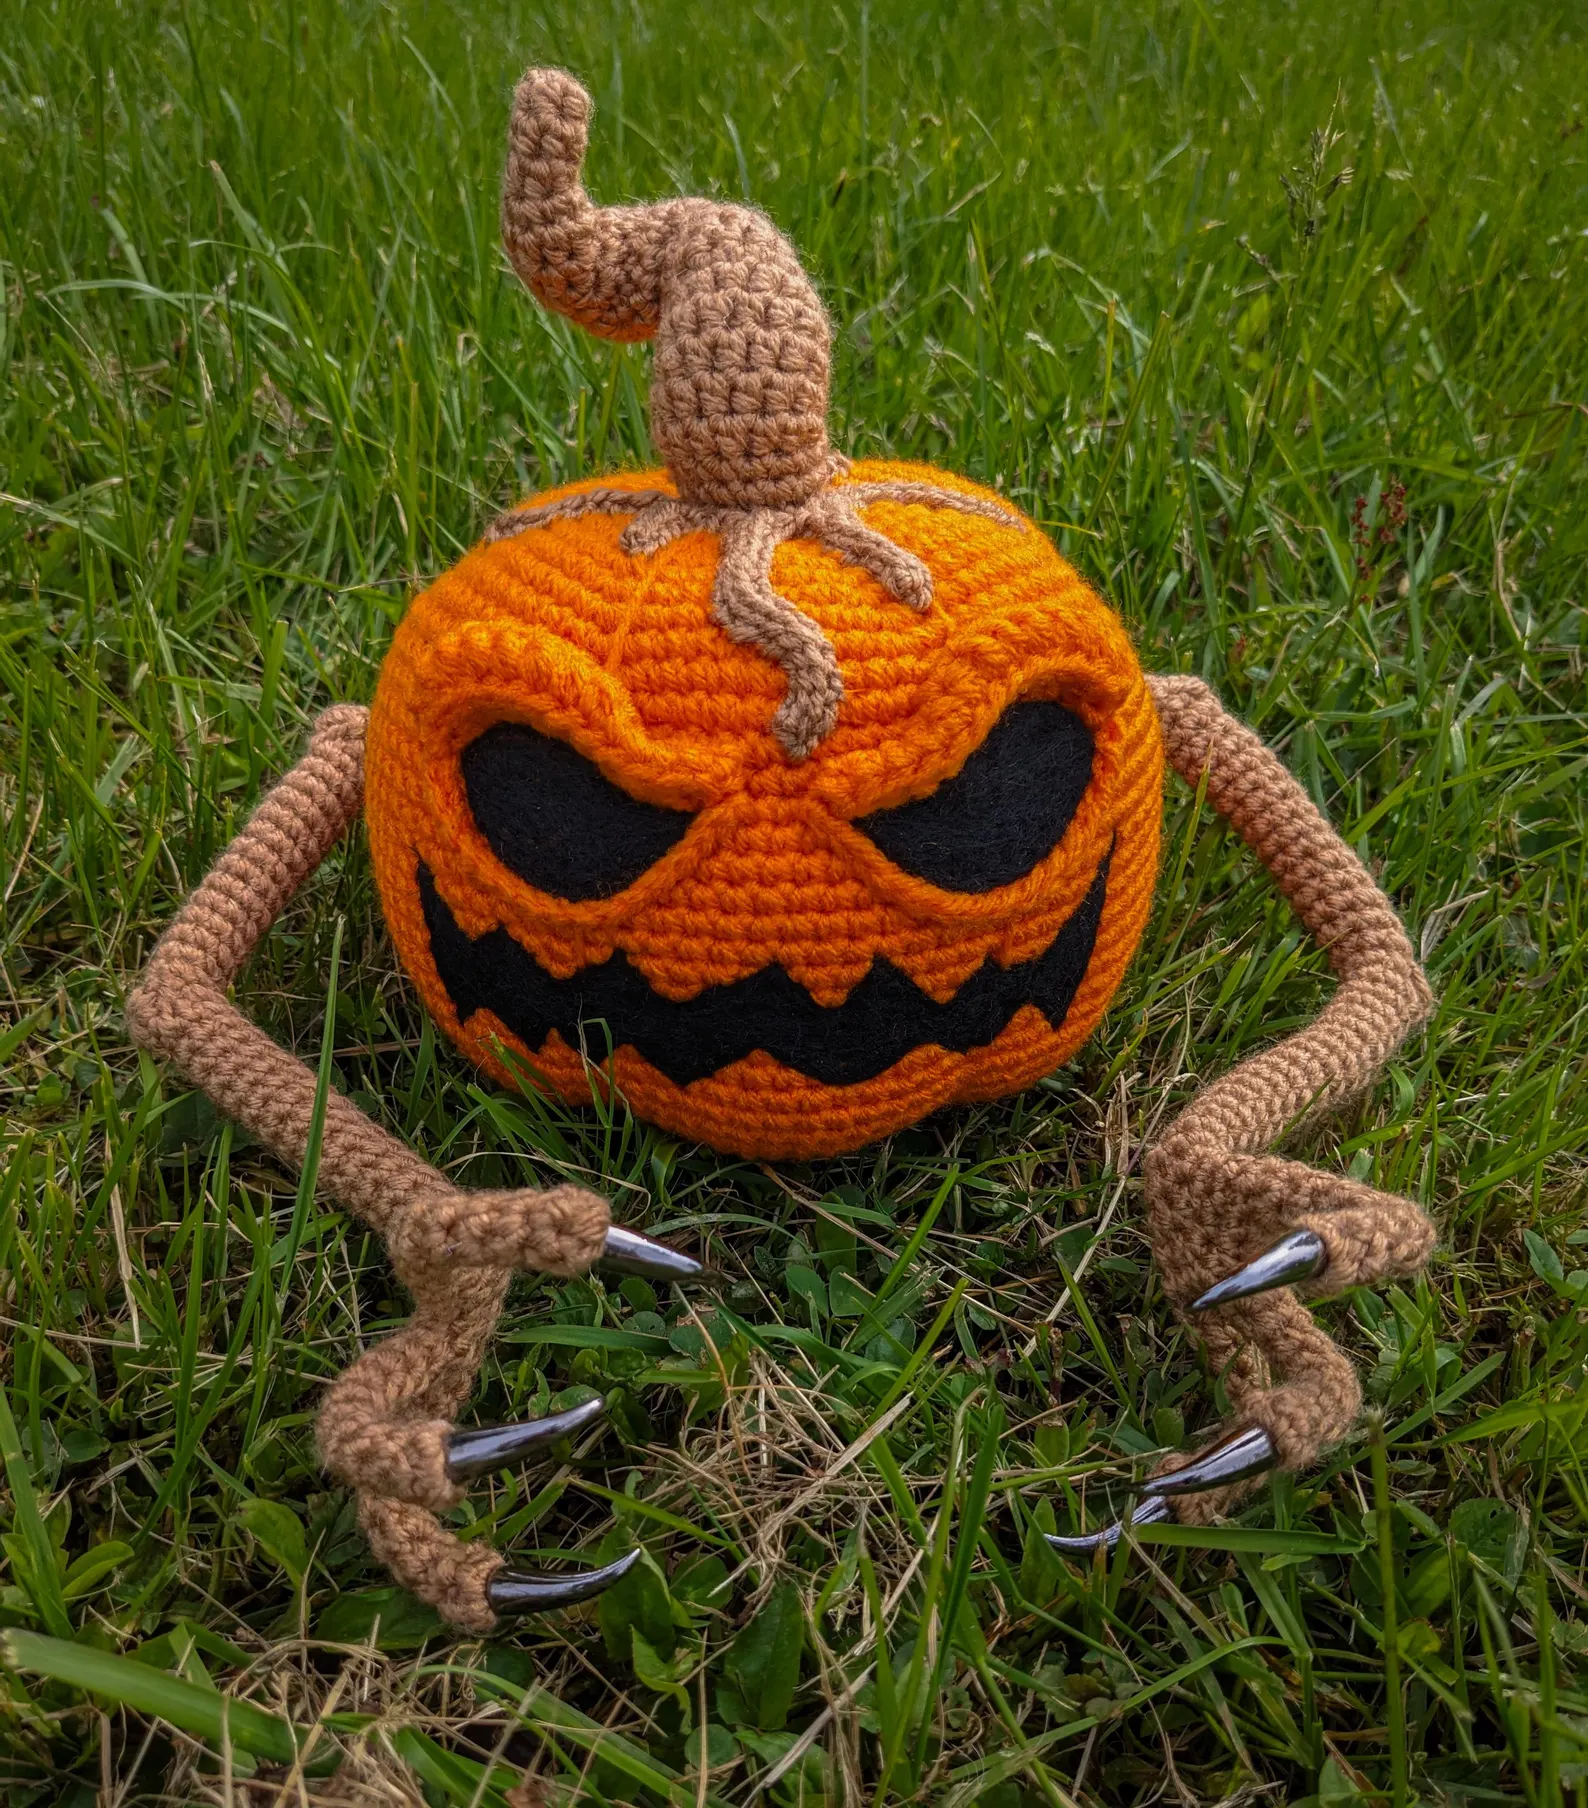
Add faces to create Halloween jack-o’-lanterns. Use black felt, embroidery, or surface crochet to create eyes, noses, and mouths. This makes them fun for kids or seasonal decor.
Create tiny pumpkins for garlands or large ones as throw pillow substitutes. Use chunky yarn for oversized pumpkins that make bold home accents, or fine yarn for miniatures.
Make them functional by turning them into sachets, pincushions, or even small storage pouches with a zippered opening. You can hide little surprises inside for festive fun.
If you’re gifting or selling your pumpkins, consider packaging them in sets of three, tying them with raffia or twine. These thoughtful details turn a simple craft into a special item people will cherish.
FAQ: This Crochet Pumpkin is So Fun – Pattern
Q1: Is this crochet pumpkin pattern suitable for beginners?
A: Yes, absolutely. The pattern typically uses basic stitches like single crochet and is worked in simple rounds or rows, making it ideal for beginners with some basic knowledge.
Q2: How long does it take to make one crochet pumpkin?
A: Most small to medium pumpkins can be completed in 1 to 2 hours, depending on your speed and the complexity of the pattern you choose.
Q3: What type of yarn is best for crochet pumpkins?
A: Worsted weight acrylic or cotton yarns work well. Acrylic is more forgiving and stretchy, while cotton gives a crisp finish and holds its shape better.
Q4: Can I wash my crochet pumpkin?
A: It depends on the yarn and stuffing used. Most acrylic yarns are machine-washable, but hand washing is safer, especially if you added natural elements like a cinnamon stick stem.
Q5: Can I sell pumpkins made from this crochet pattern?
A: Yes, many designers allow finished items to be sold as long as credit is given for the pattern. Always check the pattern’s usage rights before selling.
Q6: What size hook should I use for tight stitches?
A: Go down one or two sizes from your yarn label’s recommendation. For worsted weight yarn, a 4.0mm or 4.5mm hook helps create dense, stuffing-proof stitches.
Conclusion
This crochet pumpkin is so fun – Pattern not only offers a delightful and quick crochet project but also opens the door to creativity, personalization, and festive crafting. Whether you’re decorating for fall, looking for handmade gift ideas, or simply enjoying a relaxing hobby, this pattern is a must-try.
We’ve covered how to choose materials, follow the basic steps, customize your pumpkin, and even turn it into a sellable product. With minimal tools and a touch of creativity, you can bring autumn into your home in the most charming way.
If you’ve tried this pattern or plan to, we’d love to hear about your experience! Please leave your honest opinion, share your results, and drop any suggestions you might have. Happy crocheting!