Creating your own apron – pattern can be a fun and rewarding project, whether you’re a seasoned seamstress or just starting out. Aprons are essential in kitchens, workshops, craft rooms, and even as fashion accessories, making them versatile items to have in your wardrobe. A well-designed apron is not only practical but can also showcase your personality and style. With the right apron – pattern, you can create an apron that fits your needs perfectly.
Whether you’re looking to protect your clothes while cooking, crafting, or gardening, an apron can be both functional and fashionable. Apron patterns come in various styles, from simple designs to more elaborate ones with pockets and adjustable straps. Making your own apron allows you to choose the fabric, fit, and features that work best for you, all while saving money compared to buying a pre-made apron. Plus, it’s a great way to use up fabric scraps!
In this article, we will guide you step by step on how to create a custom apron – pattern, from the materials you’ll need to the final touches. You’ll learn how to make your apron both functional and stylish, ensuring that it meets all your needs, whether you’re using it at home or for a professional environment.
1. Materials Needed for an Apron – Pattern
Before you start creating your apron – pattern, gathering the right materials is essential. Luckily, the supplies for an apron are minimal, and you likely already have many of them at home. Below are the key items you will need to make your apron:
Fabric: Choose a durable fabric such as cotton, canvas, or denim. These fabrics are sturdy enough to handle spills and stains but still comfortable to wear. If you’re planning to use the apron for cooking, look for fabrics that are machine washable for easy care.
Measuring tape: Accurate measurements are essential for ensuring your apron fits well. A measuring tape is necessary for both the neck and waist straps, as well as the overall length of the apron.
Sewing machine: While it’s possible to hand-sew an apron, a sewing machine will make the process quicker and more efficient. If you don’t have a sewing machine, you can easily find one that fits your budget.
Thread: Choose a strong, durable thread that matches your fabric color. A basic cotton or polyester thread is usually a good choice.
Pins: Pins will help keep the fabric in place while you’re sewing. They prevent shifting and ensure that the seams are even.
Bias tape or ribbon: If you want to finish the edges of your apron with a neat and polished look, bias tape or ribbon is a great option. These materials are easy to apply and add a decorative touch.
Iron and ironing board: Pressing the fabric before you sew is important to prevent wrinkles and ensure neat seams. An iron will help you get crisp, professional-looking results.
2. How to Create Your Apron – Pattern
Now that you have your materials, it’s time to get started on making your apron – pattern. Here’s a simple, step-by-step guide to help you create an apron that fits comfortably and functions well.
Step 1: Take Measurements
Before you cut any fabric, it’s crucial to measure yourself to ensure a comfortable fit. The standard apron length is around 30-36 inches, depending on your height, and the width is typically 24-30 inches. Measure from the neck to where you want the apron to fall, and from one side of your body to the other. These measurements will guide the shape of your apron.
For the straps, measure the length from your neck to the waist and around your waist. You can also adjust the strap length based on how long you want the straps to be.
Step 2: Cut Your Fabric
Once you have your measurements, it’s time to cut your fabric. For the main body of the apron, cut two pieces of fabric that match your desired width and length. For the straps, cut two long strips of fabric (approximately 40-45 inches each). These will be used for the neck and waist straps.
Step 3: Sew the Main Body
Pin the two pieces of fabric for the body of the apron together, with the right sides facing each other. Sew along both sides and the bottom, leaving the top open. You’ll be creating a simple pocket-like shape. Don’t forget to backstitch at the beginning and end to secure your seams.
Step 4: Attach the Straps
Next, fold the top edge of the apron over to create a channel for the neck strap. Attach the neck strap by folding the fabric in half lengthwise and sewing along the edge. For the waist straps, sew them directly to the sides of the apron, ensuring they’re positioned evenly. Adjust the strap length to suit your comfort.
Step 5: Add Finishing Touches
For a polished look, use bias tape to finish the edges of your apron. This not only strengthens the fabric but also adds a decorative detail. Sew the bias tape around the edges of the apron, ensuring it’s even and secure. You can also add decorative elements, like pockets, embroidery, or patches, to personalize your apron further.
Step 6: Final Adjustments
Once everything is sewn together, try on the apron and make any necessary adjustments. If the straps are too long, trim them down. If the apron isn’t long enough, you can add an additional piece of fabric to the bottom. Make sure the apron fits comfortably before finishing the project.
3. Customizing Your Apron – Pattern
One of the best aspects of making your own apron is the ability to customize it. A plain apron can easily be transformed into a unique, personalized piece that reflects your style. Here are a few ways to customize your apron – pattern:
1. Add Pockets
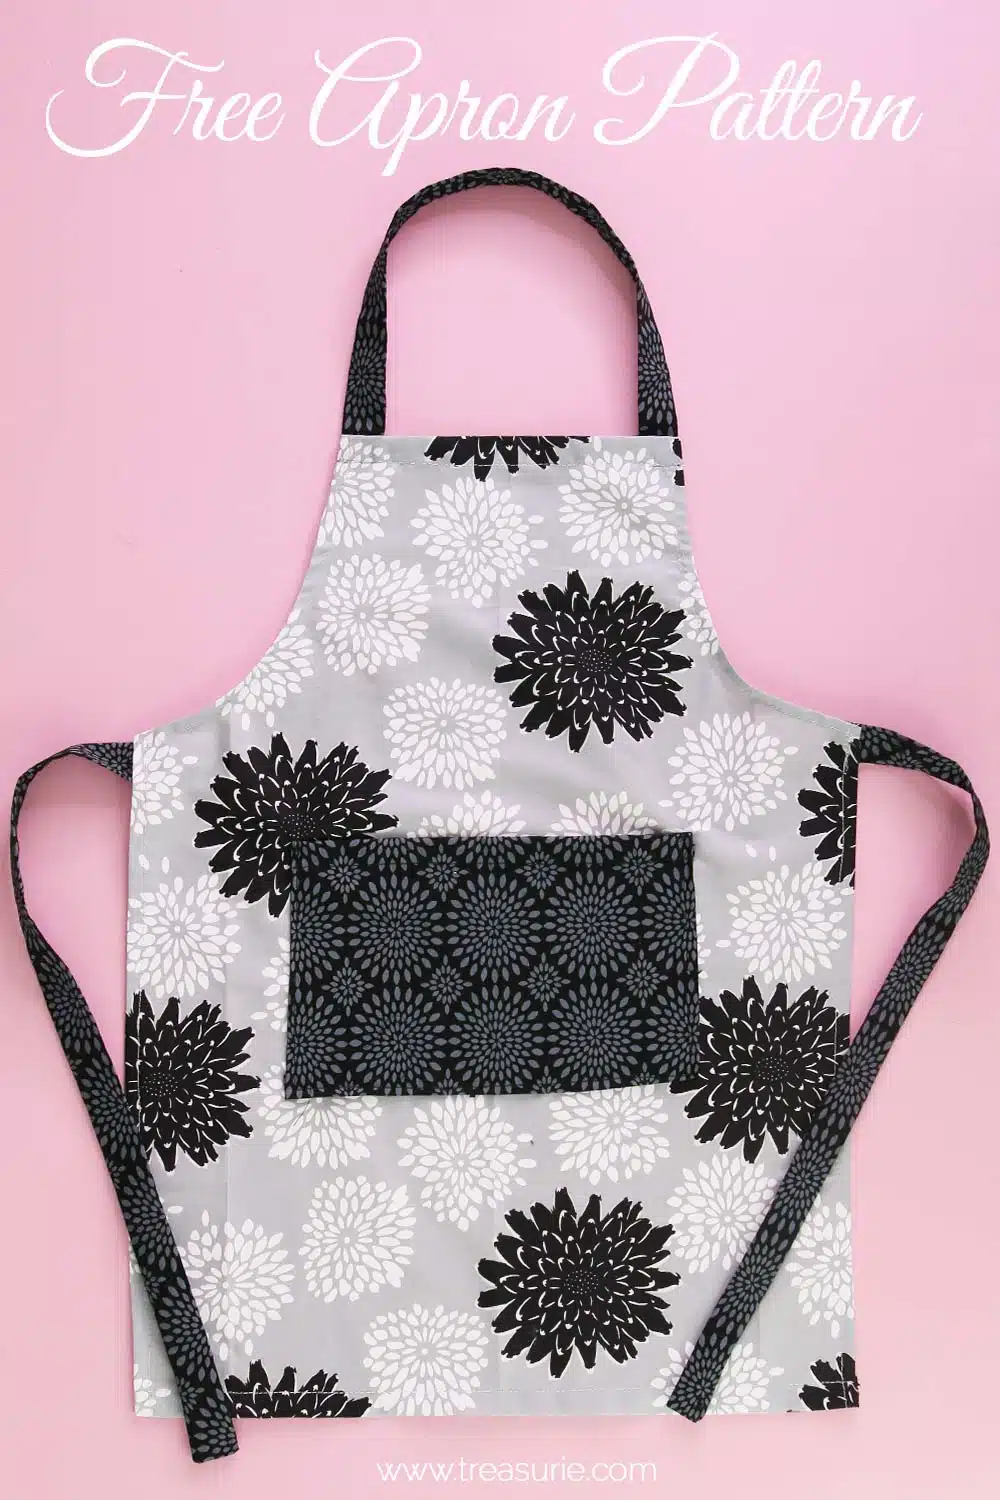
Pockets are not only functional but also allow you to store small items like pens, your phone, or kitchen tools. You can add one or more pockets on the front of your apron. Choose a contrasting fabric for the pocket to make it stand out.
2. Embroider Your Name or Logo
If you’re using the apron for professional purposes, adding embroidery can make it more personalized. You can embroider your business name, logo, or even a cute design or saying.
3. Experiment with Fabric Patterns
The fabric you choose can completely change the look of your apron. Solid fabrics like cotton twill or denim give a clean, classic look, while floral patterns, stripes, or polka dots can make your apron more fun and festive.
4. Use Decorative Trim
Adding decorative trim or ribbons around the edges of your apron will give it a more polished and custom look. You can use lace, ric-rac, or even pom-poms for a playful touch.
5. Choose Adjustable Straps
If you want more comfort and versatility, consider using adjustable straps. You can add buckles or Velcro to make the straps customizable, ensuring that the apron fits perfectly every time you wear it.
6. Play with Color Blocking
For a more modern look, consider using color blocking. This technique involves using different fabric colors or patterns for the body, straps, and pockets, creating a stylish and trendy effect.
4. Tips for Success with Your Apron – Pattern
To ensure that your apron – pattern turns out perfectly, here are some tips and tricks to keep in mind:
1. Use a Quality Sewing Machine Needle
When working with thicker fabrics like denim or canvas, make sure to use a denim needle or a needle suitable for heavy fabrics. This will prevent breakage and ensure that your sewing machine can handle the thickness.
2. Press Your Seams
Before sewing, always press your fabric to remove any wrinkles. This will make it easier to sew and ensure that your seams are straight and neat.
3. Add a Hanging Loop
If you plan to hang your apron when not in use, consider adding a small loop to the top. This will allow you to easily hang the apron from a hook, saving space in your kitchen or craft room.
4. Choose Durable Thread
Make sure to use a strong thread, especially when sewing areas like the straps and pockets, which endure more stress. Polyester or cotton-wrapped polyester threads are great choices for durability.
5. Reinforce Stress Points
For added durability, reinforce the areas where the straps are attached and where the pocket seams meet. You can double-stitch these areas to ensure they hold up over time.
6. Be Creative
Lastly, don’t be afraid to get creative! Your apron doesn’t have to be just practical — it can be an extension of your personality. Have fun experimenting with different fabrics, colors, and embellishments to create an apron that suits your style.
FAQ – Apron Pattern
1. What kind of fabric is best for making an apron?
For durability and comfort, cotton, canvas, and denim are the best fabric choices for making an apron. They are sturdy and easy to work with, making them ideal for both cooking and crafting aprons.
2. How do I adjust the fit of my apron?
To adjust the fit, simply modify the length of the straps or the size of the apron body. If needed, add extra fabric to make it longer or shorter. You can also use adjustable
straps for a better fit.
3. Can I add pockets to my apron?
Yes, adding pockets is a great idea! You can add multiple pockets to the front of your apron for convenience. You can also customize the size and style of the pockets based on your needs.
4. How do I make my apron machine washable?
Make sure to use fabric that is easy to wash, such as cotton or polyester. Wash your apron in cold water and tumble dry on low heat to keep the fabric from shrinking or losing its color.
Conclusion
In conclusion, making your own apron – pattern is a fun and rewarding project that allows you to create a functional, personalized item. Whether you’re making it for yourself or as a gift, an apron can be both practical and stylish. By following the simple steps outlined above, customizing it to suit your preferences, and paying attention to details, you’ll have an apron that you can proudly wear for years to come.
We’d love to hear your thoughts on the apron – pattern! Share your tips, suggestions, and experiences in the comments below. Happy sewing!