If you’re looking to create something heartfelt, timeless, and perfect for a new arrival, the Baby Love Quilt and – Pattern is the ideal project to consider. Quilting for babies is more than just stitching fabric—it’s a way to pass down warmth, love, and memories in one soft, cozy bundle.
Whether you’re an experienced quilter or someone just starting out, this pattern offers a rewarding and emotional crafting experience.
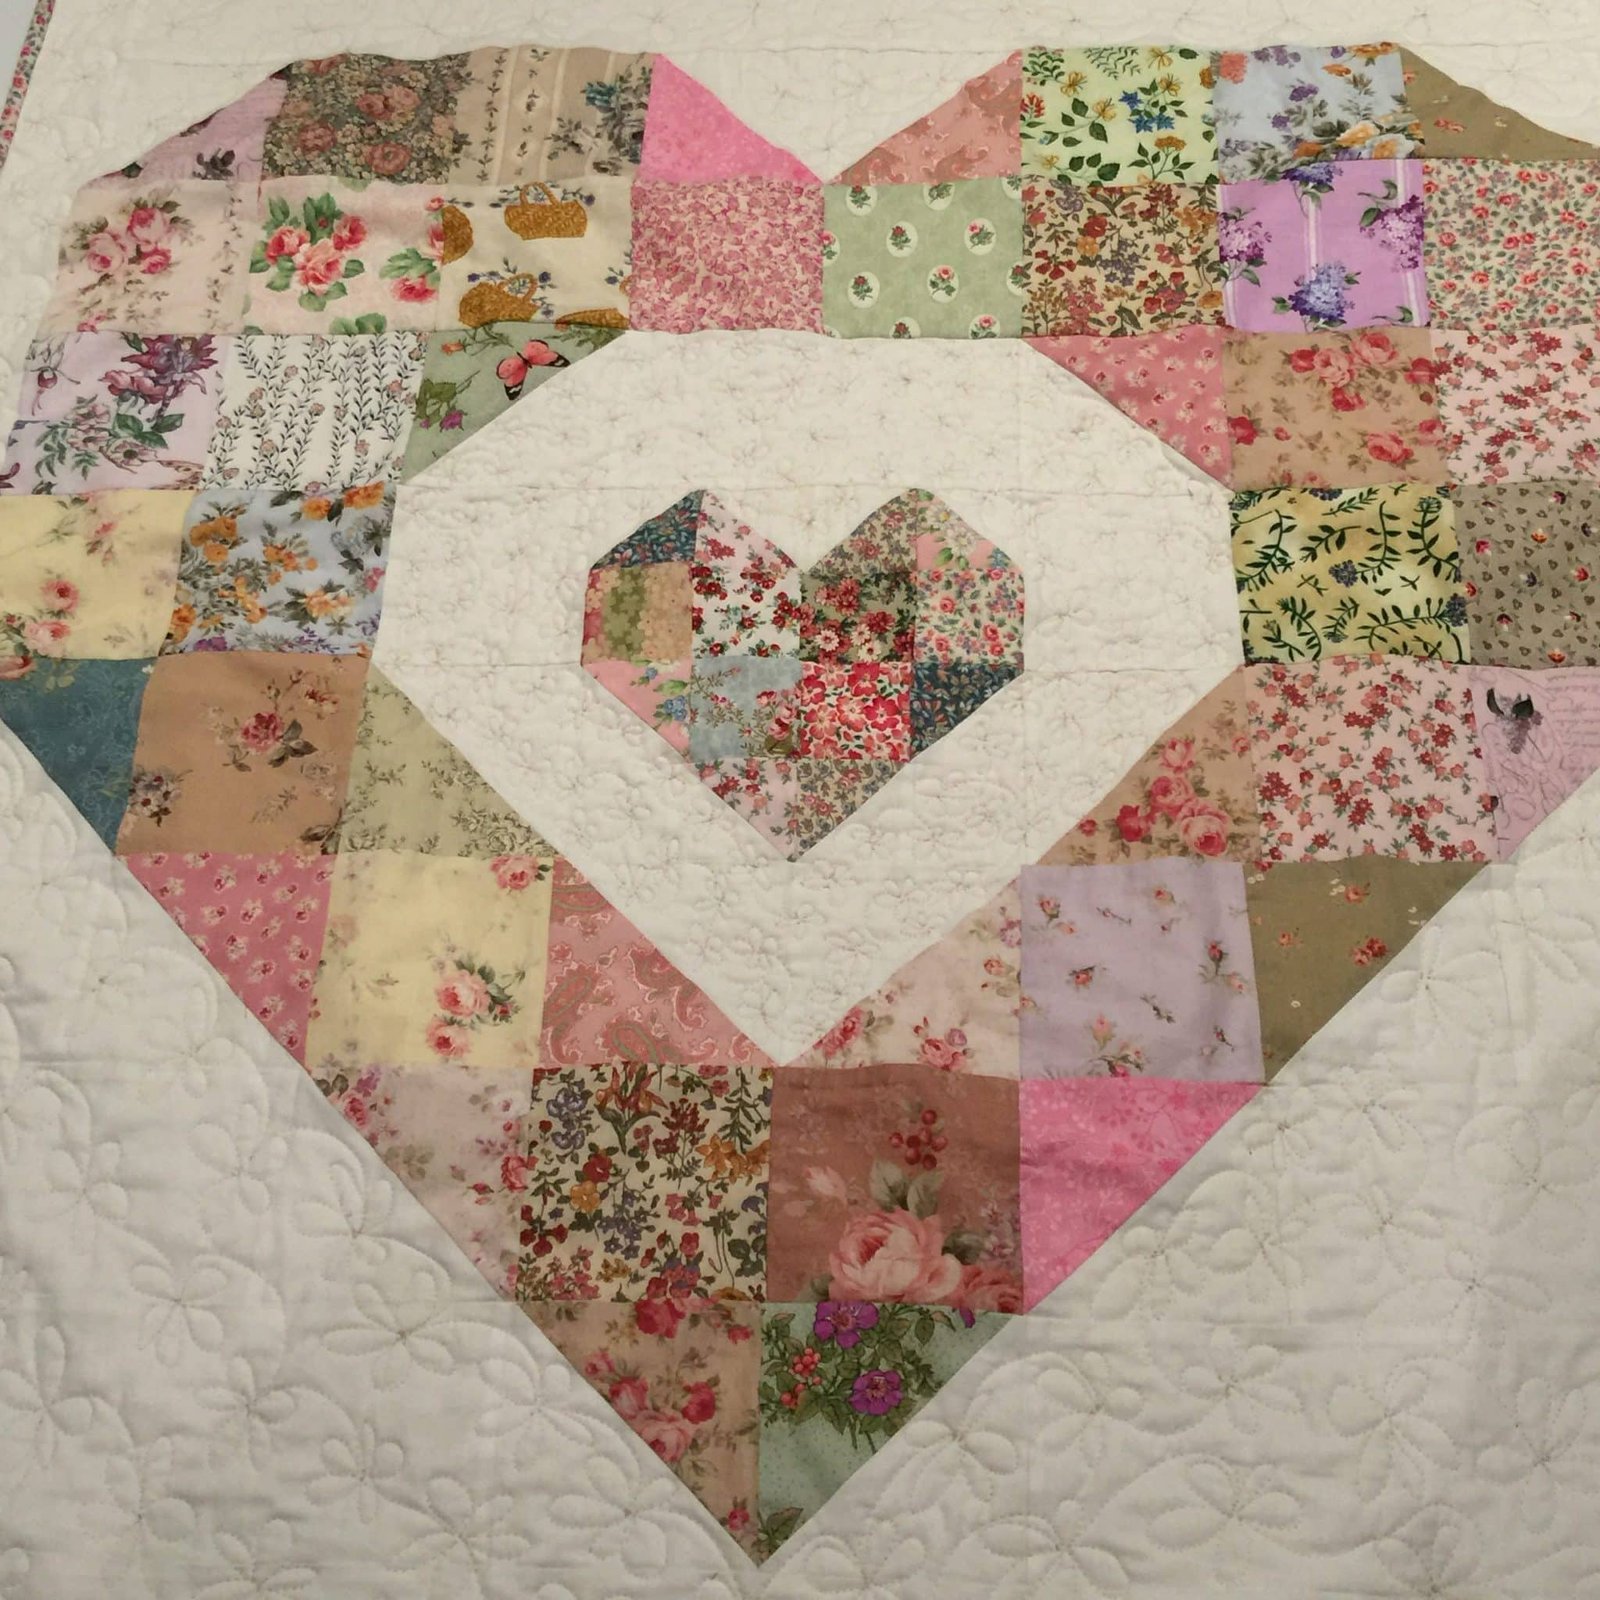
The Baby Love Quilt and – Pattern is specifically designed with babies in mind. It uses soft fabrics, gentle colors, and simple shapes to create a soothing visual and tactile experience for little ones. And beyond aesthetics, this quilt is durable, washable, and practical—perfect for tummy time, stroller rides, or nursery decor.
In this article, we’ll guide you through every step of the journey: choosing materials, planning the layout, sewing with care, and adding special touches. Whether you’re making it for your own child, as a baby shower gift, or even as a keepsake, the Baby Love Quilt and – Pattern is a beautiful way to share love in every stitch.
1. Choosing Materials for the Baby Love Quilt
Getting started with the Baby Love Quilt and – Pattern begins with choosing the right materials. The fabric, batting, and thread you use can significantly affect the quilt’s comfort, durability, and overall appearance.
Start with high-quality, 100% cotton fabric. Cotton is soft, breathable, and gentle on a baby’s sensitive skin. It’s also easy to wash, which is essential for anything used with babies. Choose three to five coordinating prints or solids in soft colors like pastels or neutrals for a calming feel.
For the batting—the inner layer of the quilt—choose a lightweight, low-loft cotton or cotton-poly blend. This makes the quilt warm yet flexible and suitable for a variety of uses, from crib snuggles to play mats.
The backing should be just as soft as the top. Flannel, brushed cotton, or muslin are great choices for a comforting finish. You may even opt for organic fabric if the quilt is for a newborn or a baby with sensitive skin.
Use high-quality cotton thread to ensure strong, even stitches. Choose a thread color that complements your fabric palette, or a neutral tone like white or beige that blends well with all colors.
Lastly, gather basic quilting supplies like a rotary cutter, cutting mat, quilting ruler, pins, sewing machine, iron, and safety pins for basting. Having the right tools on hand will make the process easier and more enjoyable.
2. Step-by-Step Instructions to Make the Quilt
Now it’s time to bring the Baby Love Quilt and – Pattern to life. This section outlines each step of the quilt-making process in a way that’s easy to follow—even for beginners.
Start by cutting your fabric into squares or rectangles. A common layout is 6×6-inch squares arranged in a 6×7 grid, which makes a baby-sized quilt of about 36” x 42”. You can also play with half-square triangles or strips for more variety.
Once all your pieces are cut, arrange them on a flat surface or design wall. Move them around until you find a balanced and pleasing layout. Consider mixing solid and patterned blocks to add visual interest without overwhelming the design.
Sew the squares together row by row using a 1/4-inch seam allowance. Press the seams to one side (alternating directions per row) to make matching intersections easier. After the rows are sewn, join the rows together to complete the quilt top.
Next, layer the quilt. Lay the backing fabric right side down, the batting in the middle, and the quilt top right side up. Smooth out any wrinkles and baste the layers together using safety pins or temporary spray adhesive.
Now it’s time to quilt! You can stitch in the ditch (along the seams), sew straight lines diagonally across the quilt, or do gentle wavy lines for a whimsical effect. Keep the quilting simple to preserve the softness and comfort.
To finish, trim any excess batting and backing, and attach binding around the edges. Fold over the binding, sew it down by hand or machine, and give your finished quilt a gentle wash to soften it up. Your Baby Love Quilt and – Pattern is now ready to cuddle!
3. Personalizing the Baby Love Quilt
One of the most touching parts of working with the Baby Love Quilt and – Pattern is the opportunity to add personal touches. These details turn a beautiful quilt into a cherished keepsake.
Consider adding an embroidered name, birth date, or initial to one of the quilt blocks. You can do this by hand or with an embroidery machine. Choose a thread color that contrasts just enough to be seen without clashing.
Use themed fabrics that reflect something meaningful—like animals, stars, clouds, or hearts. These not only add visual interest but also create a deeper connection between the quilt and the child it’s made for.
Incorporate texture by mixing different types of cotton—like seersucker, flannel, or double gauze. Babies love to explore with their fingers, and textured blocks can enhance sensory development.
Add a fabric label to the back with a message such as “Made with love by Grandma” or “Handmade for baby Noah.” This simple addition can make the quilt feel extra special.
For seasonal babies, you can tailor the design with appropriate colors or motifs—pastels for spring, warm tones for fall, or snowflakes for winter births. Match the vibe of the quilt to the time of year the baby arrives.
Finally, make a matching item like a soft toy, burp cloth, or mini security blanket using leftover fabric. It’s a wonderful way to create a coordinated gift set that parents will appreciate and use daily.
4. Tips for Success and Common Mistakes to Avoid
Even a relatively simple pattern like the Baby Love Quilt and – Pattern can present challenges if you’re not prepared. Here are some common pitfalls and how to avoid them.
One frequent mistake is not prewashing the fabric. Always wash and dry your fabrics before you cut them. This removes any chemicals and ensures that your quilt won’t shrink or warp after it’s completed.
Pay attention to your seam allowance. Sticking to a consistent 1/4-inch seam ensures your blocks line up correctly and your final quilt dimensions are accurate.
Don’t rush through layout planning. Spend time arranging your blocks before sewing. A well-balanced design will make your quilt look more professional and polished.
Be careful not to over-quilt. While quilting adds structure, too much stitching can make the quilt stiff. For baby quilts, simple lines or light patterns are best to maintain softness.
Always check your bobbin and thread tension before starting. There’s nothing worse than quilting a large section only to realize the stitches underneath are uneven or loopy.
Lastly, don’t forget to label and date your quilt. Many quilters skip this step, but it adds sentimental value and makes your handmade gift a lasting memory.
FAQ – Frequently Asked Questions
Q: What is the ideal size for a baby quilt?
A: The most common baby quilt size is around 36” x 42”. However, you can adjust the size depending on your preferences or how it will be used (crib, stroller, floor mat, etc.).
Q: Is this pattern suitable for beginners?
A: Yes! The Baby Love Quilt and – Pattern is perfect for beginners. It involves basic cutting, piecing, and quilting techniques that are easy to learn and build upon.
Q: Can I machine wash the baby quilt?
A: Absolutely. Just make sure you use machine-washable fabric and batting. Wash on gentle cycle with cold water and tumble dry low or air dry for best results.
Q: Do I need a quilting machine for this project?
A: Not at all. A regular domestic sewing machine with a walking foot can handle all the piecing and quilting needed for this project.
Q: What’s the best batting for a baby quilt?
A: Cotton or cotton-blend batting is best because it’s breathable, soft, and natural. Look for low-loft batting for a flexible and lightweight result.
Q: How long does it take to complete the Baby Love Quilt?
A: Depending on your experience, you can complete the quilt in one weekend or spread it out over a few days. Planning and layout might take a few hours, sewing the top another few, and quilting and binding will finish it off.
Conclusion
Creating a Baby Love Quilt and – Pattern is a heartfelt project that blends creativity with care. From selecting the softest fabrics to stitching each piece with love, every step in the process brings you closer to making a beautiful keepsake for a little one. This pattern is not only easy to follow but also highly customizable, allowing you to create something truly one-of-a-kind.
Whether you’re quilting for your own baby or gifting it to someone special, the time and effort you put into this project will be deeply appreciated. Handmade quilts carry a warmth and charm that no store-bought blanket can replicate.
If you found this guide helpful, please leave a sincere comment or suggestion below. We’d love to hear about your quilting journey, and your feedback helps others discover the joy of creating something meaningful. Happy quilting!