The Basic Bargello quilt – Pattern is a beautiful blend of simplicity and elegance that transforms strips of fabric into mesmerizing waves and curves.
Even though the final result looks intricate and complex, the truth is that Bargello quilts are very beginner-friendly and fun to make.
With the right pattern and a little guidance, anyone can create stunning visual effects using only straight seams and strategic placement of fabric strips.
This pattern is especially popular because it requires no intricate shapes or challenging piecing techniques—just fabric strips sewn together and cut in a specific order to form flowing, rhythmic designs. The Basic Bargello quilt – Pattern is ideal for anyone looking to master strip quilting while experimenting with color gradients and visual movement.
In this article, we’ll walk you through everything you need to know to get started with a Basic Bargello quilt – Pattern. From understanding the concept behind Bargello quilting to choosing materials, building your design, and adding personal touches, we’ve structured this guide to help you create a quilt that looks anything but basic.
1. What is a Basic Bargello Quilt and Why It’s Special
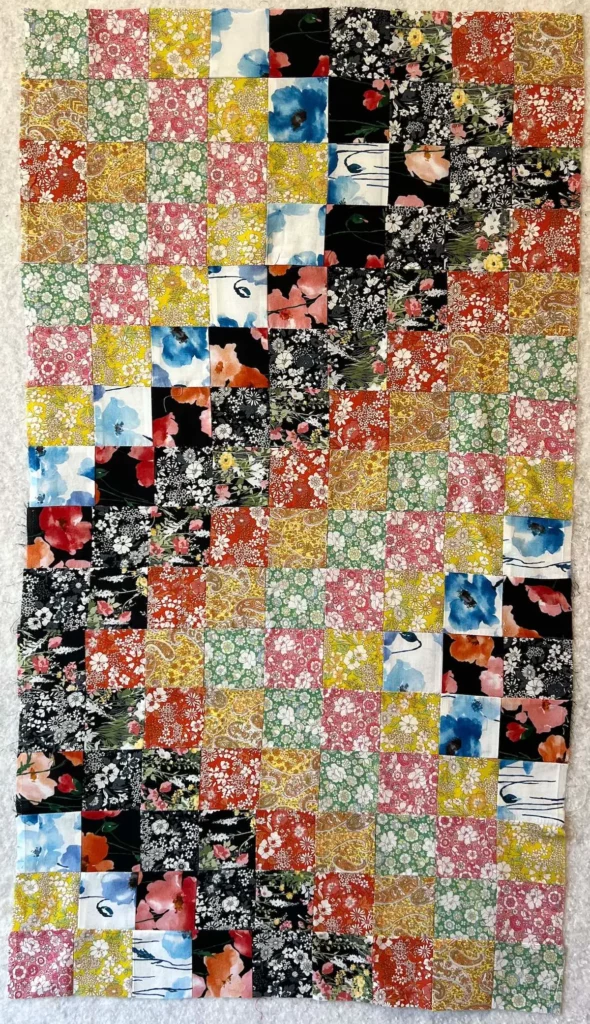
A Basic Bargello quilt – Pattern is a type of quilt made by sewing long strips of fabric together and then cutting and rearranging them to create an undulating or wave-like effect. Despite its intricate appearance, the process is straightforward and requires only a few foundational quilting skills.
The beauty of Bargello lies in its illusion of movement. When you look at a finished Bargello quilt, it seems as if the fabric is flowing, rising, or cascading like music—this connection to rhythm is actually where the name originates, inspired by Bargello needlepoint designs from Florence, Italy.
What makes the Basic Bargello quilt – Pattern especially appealing is that it doesn’t demand precise matching of points or curves. The technique relies on consistent strip widths and well-thought-out color transitions, making it ideal for quilters who want dramatic results with minimal frustration.
In most cases, you begin by sewing fabric strips of different colors together into one large panel. This panel is then sliced into vertical segments, which are offset and resewn to create the wave effect. Each new row shifts up or down to develop the pattern gradually.
The final look depends heavily on the color order and strip widths, which gives you incredible creative freedom. Whether you’re going for a modern gradient or a traditional rainbow spectrum, you can fully customize your Basic Bargello quilt – Pattern to match your vision.
It’s a fantastic choice for wall hangings, bed quilts, or even table runners. And since it’s based on strips, it’s also a great project for using jelly rolls or fabric scraps, making it as economical as it is beautiful.
2. Materials and Tools Needed
Before diving into your Basic Bargello quilt – Pattern, it’s important to gather all the essential materials and tools. The right preparation ensures accuracy, ease of assembly, and a satisfying final result.
Start with fabric. A jelly roll (pre-cut 2.5” strips) is a convenient choice and often includes a curated set of coordinated colors, which is perfect for achieving the gradient effect typical in Bargello quilts. You can also cut your own strips from yardage if you want more control over the color scheme.
You’ll need a rotary cutter, self-healing cutting mat, and acrylic quilting ruler. These tools help you cut and trim your fabric precisely, which is crucial in maintaining the alignment and flow of your Bargello design.
A reliable sewing machine with a ¼-inch presser foot is essential. Consistency in seam allowances is critical, as even slight variations can affect how the rows line up and shift in the final design.
Use high-quality cotton thread that matches or blends well with your fabrics. You don’t want thread that frays or breaks easily, especially when sewing through multiple layers.
An iron and pressing surface are non-negotiable. Pressing your seams flat after each step keeps your fabric smooth and your design sharp. A steamy iron will help you achieve crisp, clean lines.
Finally, have your Basic Bargello quilt – Pattern printed or easily accessible. Many patterns include a color chart or strip chart, which will help you keep track of fabric placement, strip sequences, and cutting instructions as you work.
3. How to Assemble the Bargello Quilt
Creating a Basic Bargello quilt – Pattern is all about following a methodical process. Though it looks advanced, the steps are surprisingly easy to learn and repeat.
First, arrange your fabric strips in the order you want them to appear in the quilt. Whether you’re going for a rainbow, ombré, or a bold contrast design, make sure the transition between colors feels smooth and intentional.
Next, sew the strips together along their long sides to form one large panel, known as a strip set. Carefully press all the seams in the same direction. This makes cutting easier and keeps the piece flat.
After sewing the strip set, join the two ends to form a tube. This step is what allows the staggered design. Then, cut vertical segments from the tube. Each cut should be the same width—commonly between 1” and 2.5”—depending on the complexity you want.
Now comes the magic: seam-ripping the top stitch on each strip to open the tube at different places. This offset creates the wave pattern. Each new row shifts the starting point of the strip sequence, gradually building the flowing look.
Once you’ve determined the placement of each segment, sew them together side-by-side. This reassembles the panel into a quilt top that now features the famous Bargello movement.
After the quilt top is assembled, finish your project by adding batting, backing, quilting, and binding. You can quilt along the seams or use curved lines to enhance the sense of motion created by the pattern.
4. Customizing Your Bargello Quilt
Though it’s called a Basic Bargello quilt – Pattern, there’s nothing basic about the amount of creativity you can apply. This pattern serves as a canvas for personalization and experimentation.
Change the strip widths to create more visual variety. Narrower strips can result in more delicate movement, while wider strips make bold, graphic waves. You can even combine widths for a dramatic modern twist.
Experiment with fabric types. While traditional cotton is the most forgiving, adventurous quilters sometimes incorporate batiks, linens, or even metallics to add texture and shine.
Play with color theory. Use analogous colors for smooth transitions, or complementary colors for vibrant contrast. A monochromatic Bargello quilt using various shades of a single color can be stunning in its subtlety.
Add appliqué elements or embroidered details over the Bargello design to give it dimension and storytelling. Some quilters use the wave pattern as a background for nature or abstract scenes.
Vary the layout direction. Instead of vertical waves, rotate your rows to create horizontal or diagonal movement. Some Bargello quilts even form spiral or heart shapes when the layout is altered creatively.
Make it personal with a label or message. Add a custom quilt label with your name, date, or a dedication. If it’s a gift, include a meaningful quote or family memory to make the quilt extra special.
FAQ – Basic Bargello quilt – Pattern
Q1: Is the Basic Bargello quilt good for beginners?
A: Yes! Despite its complex appearance, the Basic Bargello quilt – Pattern is ideal for beginners who understand how to sew straight seams and use a rotary cutter.
Q2: What is the easiest size of Bargello quilt to start with?
A: A wall hanging or table runner is a great place to start. It uses fewer strips and allows you to practice the technique without committing to a full-size quilt.
Q3: Can I use scraps instead of pre-cut strips?
A: Absolutely. Just make sure all your scraps are cut to the same width before sewing, and try to maintain a pleasing color flow.
Q4: Do I need to prewash my fabric?
A: Prewashing is optional but recommended, especially if your fabrics are from different sources. It helps prevent shrinkage and bleeding.
Q5: How do I keep my seams straight?
A: Use a ¼-inch presser foot and go slowly. Press seams as you go and check alignment regularly to keep everything straight and clean.
Q6: What kind of batting should I use?
A: Lightweight cotton or cotton-blend batting works well with the Basic Bargello quilt – Pattern, keeping the quilt soft but structured.
Conclusion
The Basic Bargello quilt – Pattern proves that you don’t need advanced skills to create breathtaking quilts. With a few fabric strips, thoughtful color planning, and a step-by-step process, you can design something that looks like it took months to complete—even if you’re just getting started.
Throughout this guide, we’ve covered the essence of Bargello quilting, the tools and techniques you’ll need, and how to customize your quilt to make it truly your own. This pattern opens the door to artistic expression while teaching core quilting principles.
If you enjoyed this article or gave the pattern a try, please leave your honest opinion and suggestions in the comments. We’d love to hear your experience and help others in the quilting community grow and get inspired. Happy quilting!