If you’re tired of tangled cords, misplaced chargers, and cluttered countertops, a DIY cell phone charging station – pattern might be exactly what you need. With just a few basic materials and a bit of creativity, you can create a functional, stylish, and personalized charging space that keeps all your devices organized in one place. It’s not just a fun weekend project—it’s a practical upgrade to your home or workspace.
More and more people are seeking DIY cell phone charging station patterns to help simplify their daily lives. Whether for a family household with multiple devices or a single-person home looking for a minimalist solution, these stations serve as the perfect mix of organization and personalization. Plus, making one yourself allows you to tailor it to your décor, device types, and storage needs.
In this guide, we’ll explore how to create your own DIY cell phone charging station – pattern, step by step. We’ll cover choosing materials, designing your layout, personalizing your station, and ensuring safe, efficient charging. This is a satisfying and accessible DIY project suitable for beginners and experienced crafters alike.
1. Choosing the Right Materials for Your Charging Station
The first step in building your DIY cell phone charging station – pattern is selecting the right materials. You want to balance functionality, aesthetics, and durability, so choosing the right base is essential. Common options include wood, cardboard, fabric, or repurposed household items like boxes or organizers.
If you’re aiming for a sturdy and long-lasting station, wood is your best bet. You can use plywood, reclaimed wood, or pre-cut craft boards. Wooden stations look clean and modern and can easily be painted or stained to match your space.
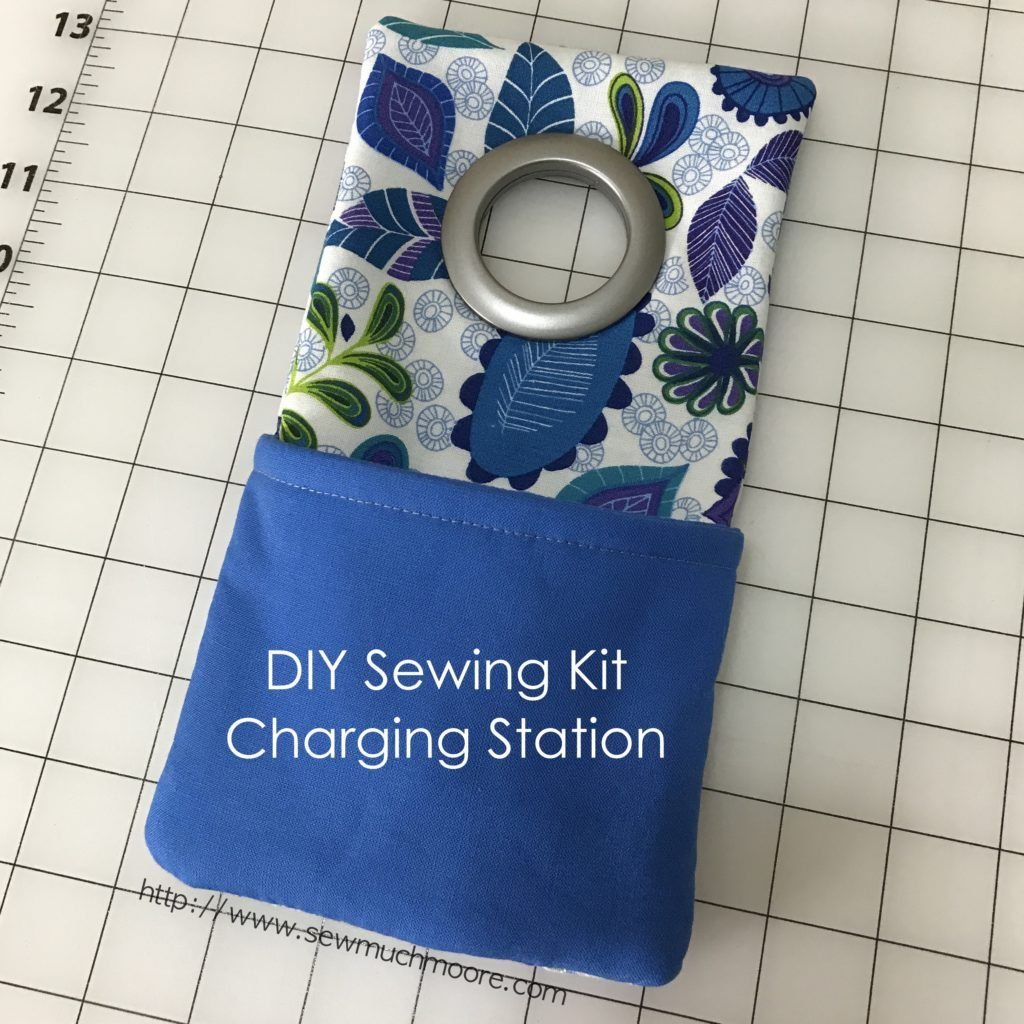
For a lightweight and budget-friendly version, consider using thick cardboard. While it won’t be as durable, it’s easier to cut and assemble. Cover it with decorative paper or fabric for a polished look.
Make sure to plan for cable management. Drill or cut holes where charging cords can be threaded through without bending or damaging them. Rubber grommets can help protect cables and provide a more professional finish.
Other materials you may need include hot glue, nails or screws, fabric, paint, and possibly some hooks or dividers depending on your design. It’s also smart to use a power strip with USB ports to centralize the charging process.
Before assembling anything, sketch a rough blueprint of your charging station. This helps visualize where each device will go, how the cords will run, and what the final setup will look like.
2. Building the Structure: Assembling Your Charging Station
Once you’ve gathered your materials, it’s time to build the structure for your DIY cell phone charging station – pattern. Start with the main frame, which will hold the individual slots or sections for your devices.
If you’re using wood, cut your pieces to size and sand the edges to prevent splinters. Assemble the frame using wood glue and small nails or screws. Make sure it’s level and sturdy before moving on to the next step.
For cardboard builds, use strong adhesive to attach panels. Reinforce corners with extra strips of cardboard or masking tape for additional strength. Even though it’s lighter, you still want the station to hold multiple devices safely.
Create slots or sections for each device. These can be vertical holders, angled shelves, or flat compartments depending on your preference. Make sure each slot is wide enough for your phone, and consider adding soft lining to prevent scratches.
Drill or cut holes in the back of each slot so the charging cable can pass through. This keeps cords hidden and prevents clutter on your surface. If your design includes a base compartment, make it accessible for hiding a power strip.
Paint or decorate your station once the structure is assembled. This is your chance to make it match your personal style or room décor. Use non-toxic paint or fabric adhesive if you’re covering it with cloth.
Once everything is dry and stable, test-fit your devices and cables to make sure everything aligns properly. Adjust any holes or supports as needed before moving on to the final setup.
3. Cable Management and Power Safety Tips
A great DIY cell phone charging station – pattern isn’t just about organization—it’s also about safety. Managing cables efficiently not only looks better but also extends the life of your chargers and devices.
Start by selecting high-quality cables that are the correct length. Avoid using overly long cords that will create extra mess. Short cables are ideal inside a charging station, especially when the power source is nearby.
If you’re using a power strip inside your station, ensure it has built-in surge protection. This protects your devices from electrical spikes and adds an extra layer of safety, especially if you’re charging multiple items simultaneously.
Use cable clips or Velcro straps to bundle cords neatly behind the station. Avoid sharp bends or twisting, as this can wear down the internal wires and cause premature failure.
Ensure that air can circulate freely around your devices while they’re charging. Avoid tightly enclosed designs that could trap heat. Ventilation holes can be added to the back or sides of the structure if needed.
Label each cable or slot if you’re making a multi-device charging station for a household. This prevents cord confusion and makes it easier to manage which device goes where.
Lastly, do a final safety check. Avoid overloading your power source, and never charge devices unattended for long periods. With good design and safe usage, your DIY cell phone charging station will serve you well for years.
4. Personalizing and Using Your Charging Station Daily
Now that your DIY cell phone charging station – pattern is built and safe to use, it’s time to make it uniquely yours. Customization is one of the most enjoyable parts of DIY crafting and helps your station blend seamlessly with your environment.
Add your name, initials, or a motivational quote using vinyl lettering, stickers, or stencils. These small touches make your project feel more personal and enjoyable to use every day.
If you’re building for a family, consider adding labeled slots for each person. Use chalkboard paint or dry-erase markers so each member can claim their charging space without confusion.
Incorporate extra storage if space allows. Small drawers or hooks can hold earbuds, screen wipes, or USB drives. This transforms your charging station into a mini tech hub.
Decorate with fabric, washi tape, or decals to match your home or office style. If your charging station lives in the living room or kitchen, these aesthetic upgrades can make it blend in beautifully with your existing décor.
Think about the long-term use and portability. Add a handle or base with felt padding if you plan to move it around. A lightweight, modular design can also be useful for travelers or people who like to rearrange their space frequently.
Using your charging station daily will help reinforce good habits. You’ll always know where your devices and chargers are, avoid clutter, and even extend the life of your cords through proper storage and reduced wear.
FAQ – DIY Cell Phone Charging Station – Pattern
Q1: What materials do I need for a DIY cell phone charging station?
You’ll need a base structure (wood, cardboard, or repurposed box), charging cables, a power strip with USB ports, adhesives, tools like drills or scissors, and optional decorations such as paint, fabric, or labels.
Q2: Is it safe to use a DIY charging station?
Yes, as long as you use proper materials and ensure good airflow around the devices. Always use surge protectors and avoid overloading power outlets.
Q3: How many devices can I charge at once?
That depends on the size of your design and the capacity of your power strip. Most setups allow for 3 to 6 devices comfortably with the right cable management.
Q4: Can I build a charging station for a family or office?
Absolutely. The DIY cell phone charging station – pattern is scalable. Just add more slots, label them, and use a larger power strip if needed.
Q5: Do I need to be experienced in crafting or woodworking?
Not at all. Many patterns are beginner-friendly. Cardboard and fabric versions are great for first-time DIYers. Wooden designs might need basic cutting and sanding tools.
Q6: Where can I find DIY patterns or templates?
You can find inspiration on crafting blogs, Pinterest, YouTube, or even design your own by sketching out your needs and measuring your devices.
Conclusion
Creating a DIY cell phone charging station – pattern is a smart and satisfying project that combines organization, creativity, and practicality. From choosing the right materials and assembling the structure to ensuring safety and personalizing your station, this guide covered all the essential steps to help you build something functional and stylish.
Not only will your charging area look cleaner and more organized, but you’ll also be giving your devices a designated space that extends their lifespan and improves daily convenience.
If you’ve created your own charging station or have tips and ideas to share, we’d love to hear from you. Please leave a sincere opinion and suggestions in the comments to help inspire others in the DIY community!