Fabric Storage Basket – Pattern is the ultimate solution for anyone looking to combine home organization with creative flair. If you have ever looked at a cluttered shelf and wished for a stylish way to tuck away the mess, creating your own Fabric Storage Basket – Pattern is a rewarding project that fits perfectly into the modern DIY lifestyle. Not only does it allow you to customize your decor to match your specific color palette, but it also provides a durable, washable, and eco-friendly alternative to plastic bins.
Crafting a Fabric Storage Basket – Pattern is surprisingly accessible, even for those who are relatively new to the world of sewing. The beauty of this project lies in its versatility; you can scale the dimensions up for a laundry hamper or down for a desktop organizer. By choosing high-quality materials and following a structured Fabric Storage Basket – Pattern, you ensure that your finished product is sturdy enough to hold everything from heavy toys to delicate craft supplies while maintaining its shape over time.
In this comprehensive guide, we are going to dive deep into everything you need to know about the Fabric Storage Basket – Pattern. We will explore the essential materials, the technical steps required to achieve professional results, and tips for personalizing your designs. Whether you are looking to declutter your own space or create a thoughtful, handmade gift for a friend, mastering the Fabric Storage Basket – Pattern is a skill that will serve you well for years to come.
1. Understanding the Essentials of a Fabric Storage Basket – Pattern
A successful Fabric Storage Basket – Pattern begins with selecting the right weight of fabric to ensure the structure doesn’t collapse. Most enthusiasts prefer using heavyweight cotton canvas, upholstery fabric, or duck cloth for the exterior to provide maximum durability.
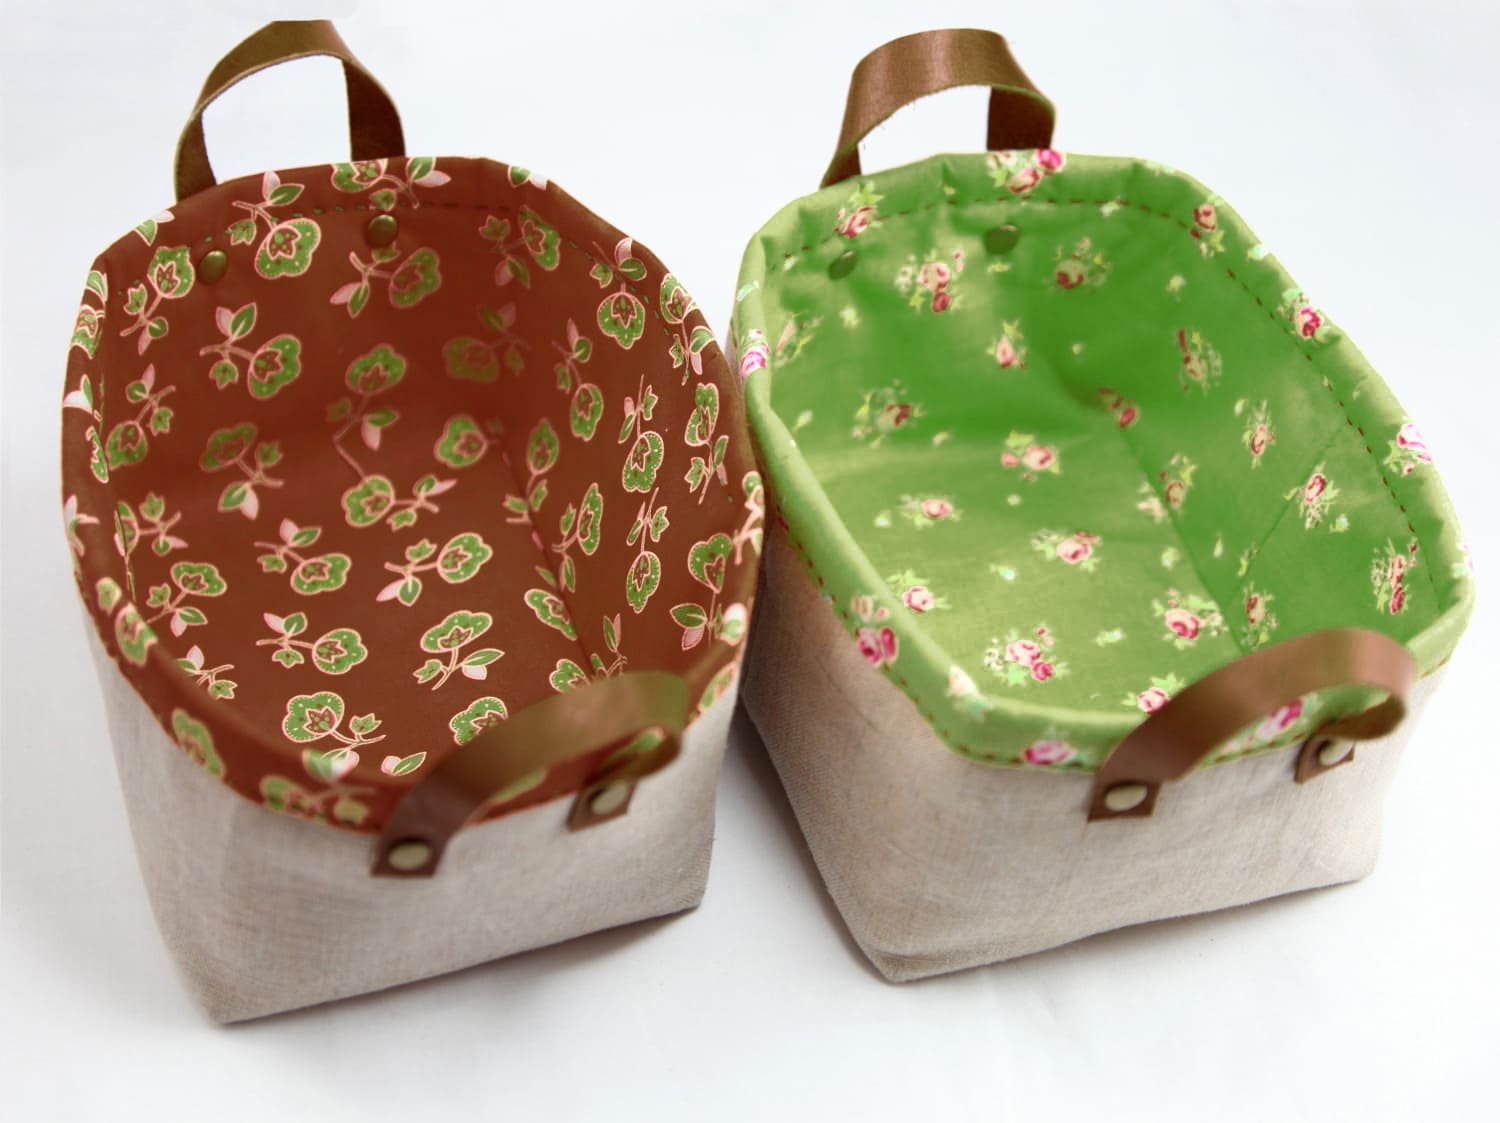
The interior lining is equally important, as it adds a finished look and extra reinforcement. Choosing a contrasting cotton print can make your Fabric Storage Basket – Pattern pop, adding a hidden element of style every time you reach inside for an item.
Interfacing is the “secret sauce” of any Fabric Storage Basket – Pattern. Without it, your basket will be floppy and sad; using fusible fleece or extra-firm stabilizer ensures that the walls of the basket stand tall even when empty.
When looking at a Fabric Storage Basket – Pattern, you will notice measurements for the main body and the base. Precision in cutting these pieces is vital because even a half-inch discrepancy can lead to a lopsided basket that won’t sit flat on a shelf.
Handles are a functional addition that you should consider integrating into your Fabric Storage Basket – Pattern. You can use cotton webbing, faux leather strips, or even fabric tubes made from the same material as the basket body for a cohesive look.
Finally, the Fabric Storage Basket – Pattern often utilizes a technique called “boxing corners.” This simple sewing maneuver transforms a flat pouch into a three-dimensional cube, giving your storage solution its depth and characteristic boxy shape.
2. Step-by-Step Execution of the Fabric Storage Basket – Pattern
The first active step in your Fabric Storage Basket – Pattern is the preparation of the fabric. Always pre-wash and iron your materials to prevent future shrinkage, which could warp the shape of your basket after its first cleaning.
Once your fabric is ready, apply the fusible interfacing to the wrong side of your exterior fabric pieces. This step is the foundation of the Fabric Storage Basket – Pattern, as it provides the rigidity necessary for the basket to function as a storage unit.
Next, you will sew the exterior pieces together, right sides facing, following the specific seam allowances noted in your Fabric Storage Basket – Pattern. Using a heavy-duty needle (size 90/14 or 100/16) is recommended to pierce through multiple layers of reinforced fabric.
Creating the “boxed corners” is the most transformative part of the Fabric Storage Basket – Pattern. You will pinch the bottom corners to align the side and bottom seams, then sew across them to create the flat base that allows the basket to stand upright.
Repeat the assembly process for the lining fabric, but remember a crucial tip for the Fabric Storage Basket – Pattern: leave a small opening in the bottom of the lining. This “turning hole” is essential for flipping the basket right side out later.
The final assembly involves nesting the exterior and lining (right sides together) and sewing around the top rim. After pulling the basket through the lining hole and topstitching the edge, your Fabric Storage Basket – Pattern will look like it came straight from a boutique.
3. Customizing Your Fabric Storage Basket – Pattern for Any Room
One of the best features of a Fabric Storage Basket – Pattern is its adaptability. You can easily modify the height and width to create custom sizes for specific needs, such as a narrow basket for a bookshelf or a wide, shallow one for under-bed storage.
If you are designing a Fabric Storage Basket – Pattern for a nursery, consider using organic cotton and soft pastel colors. Adding embroidered name tags or felt appliques can make these baskets a beautiful part of the room’s theme while keeping diapers and lotions organized.
For kitchen use, a Fabric Storage Basket – Pattern can be made with laminated cotton or oilcloth. These materials are water-resistant and easy to wipe down, making them perfect for holding snacks, napkins, or even small pantry staples.
In a craft room or home office, organization is key, and a Fabric Storage Basket – Pattern can be fitted with internal dividers. By sewing extra panels into the lining, you can create separate compartments for pens, scissors, and different types of yarn.
Aesthetics play a huge role in the Fabric Storage Basket – Pattern appeal. Don’t be afraid to experiment with color blocking, patchwork techniques, or adding decorative trims like pom-poms or lace to the upper rim to reflect your personal style.
If you plan on moving your baskets frequently, prioritize the handle strength in your Fabric Storage Basket – Pattern. Using rivets to attach leather handles not only increases the weight capacity but also gives the basket a high-end, professional finish.
4. Maintenance and Longevity of Your Fabric Storage Basket – Pattern
To ensure your Fabric Storage Basket – Pattern lasts for years, it is important to understand how to care for the materials used. Most fabric baskets can be spot cleaned with a damp cloth and mild detergent to remove surface dust or minor spills.
If your Fabric Storage Basket – Pattern was made with washable cotton and sturdy interfacing, you may be able to machine wash it on a gentle cycle. However, always air dry the basket and reshape it while damp to maintain its structural integrity.
Over time, even the sturdiest Fabric Storage Basket – Pattern might lose a bit of its crispness. A quick press with a steam iron can reactivate the adhesive in the fusible interfacing and stiffen the fabric back to its original state.
For baskets holding heavy items, check the seams of your Fabric Storage Basket – Pattern occasionally for signs of stress. Reinforced backstitching at the corners and handle attachment points during the initial sewing phase will prevent most of these issues.
If you find that your Fabric Storage Basket – Pattern is still too soft, you can insert a piece of plastic canvas or stiff cardboard into the base. This provides a “false bottom” that keeps the base perfectly flat even when carrying weight.
The beauty of the Fabric Storage Basket – Pattern is that it is sustainable. Unlike plastic bins that crack and end up in landfills, a fabric basket can be repaired, repurposed, or even upcycled into something new if your decor preferences change.
FAQ: Frequently Asked Questions about Fabric Storage Basket – Pattern
What is the best fabric for a Fabric Storage Basket – Pattern?
The best fabrics are those with weight and stability. Canvas, denim, and home decor weight fabrics are top choices. If you use lighter quilting cotton, you must use a heavy-duty interfacing to give the basket structure.
Do I really need interfacing for my Fabric Storage Basket – Pattern?
Yes, interfacing is vital. Without it, the fabric will collapse under its own weight. Fusible fleece provides a soft, padded structure, while Peltex or other ultra-firm stabilizers give a rigid, box-like feel.
How do I choose the right size for my Fabric Storage Basket – Pattern?
First, measure the space where the basket will sit. Subtract about half an inch from those dimensions to ensure the basket fits comfortably. Always account for seam allowances (usually 1/4 or 1/2 inch) when cutting your fabric.
Can I make a Fabric Storage Basket – Pattern without a sewing machine?
While a sewing machine makes the process much faster and ensures stronger seams, you can hand-sew a basket using a backstitch. It will take significantly longer, but it is entirely possible for smaller organizational bins.
Are these baskets sturdy enough for kids’ toys?
Absolutely! When using the right Fabric Storage Basket – Pattern and reinforced stitching, these baskets are excellent for toys. They are also safer than wooden or plastic crates because they have no sharp edges.
How do I clean my finished Fabric Storage Basket – Pattern?
Spot cleaning is recommended. If a deep clean is needed, hand wash in cool water and reshape to dry. Avoid the dryer, as the high heat can damage the interfacing and cause the fabric to wrinkle excessively.
Conclusion
Mastering the Fabric Storage Basket – Pattern is a fantastic way to bring organization and a personal touch to your living space. We have covered everything from choosing the right heavy-duty fabrics and stabilizers to the technical aspects of boxing corners and finishing with professional topstitching.
By following a structured Fabric Storage Basket – Pattern, you can create high-quality, durable containers that rival anything found in a retail store. Remember that the key to success lies in the preparation—interfacing and precise cutting are your best friends in this project.