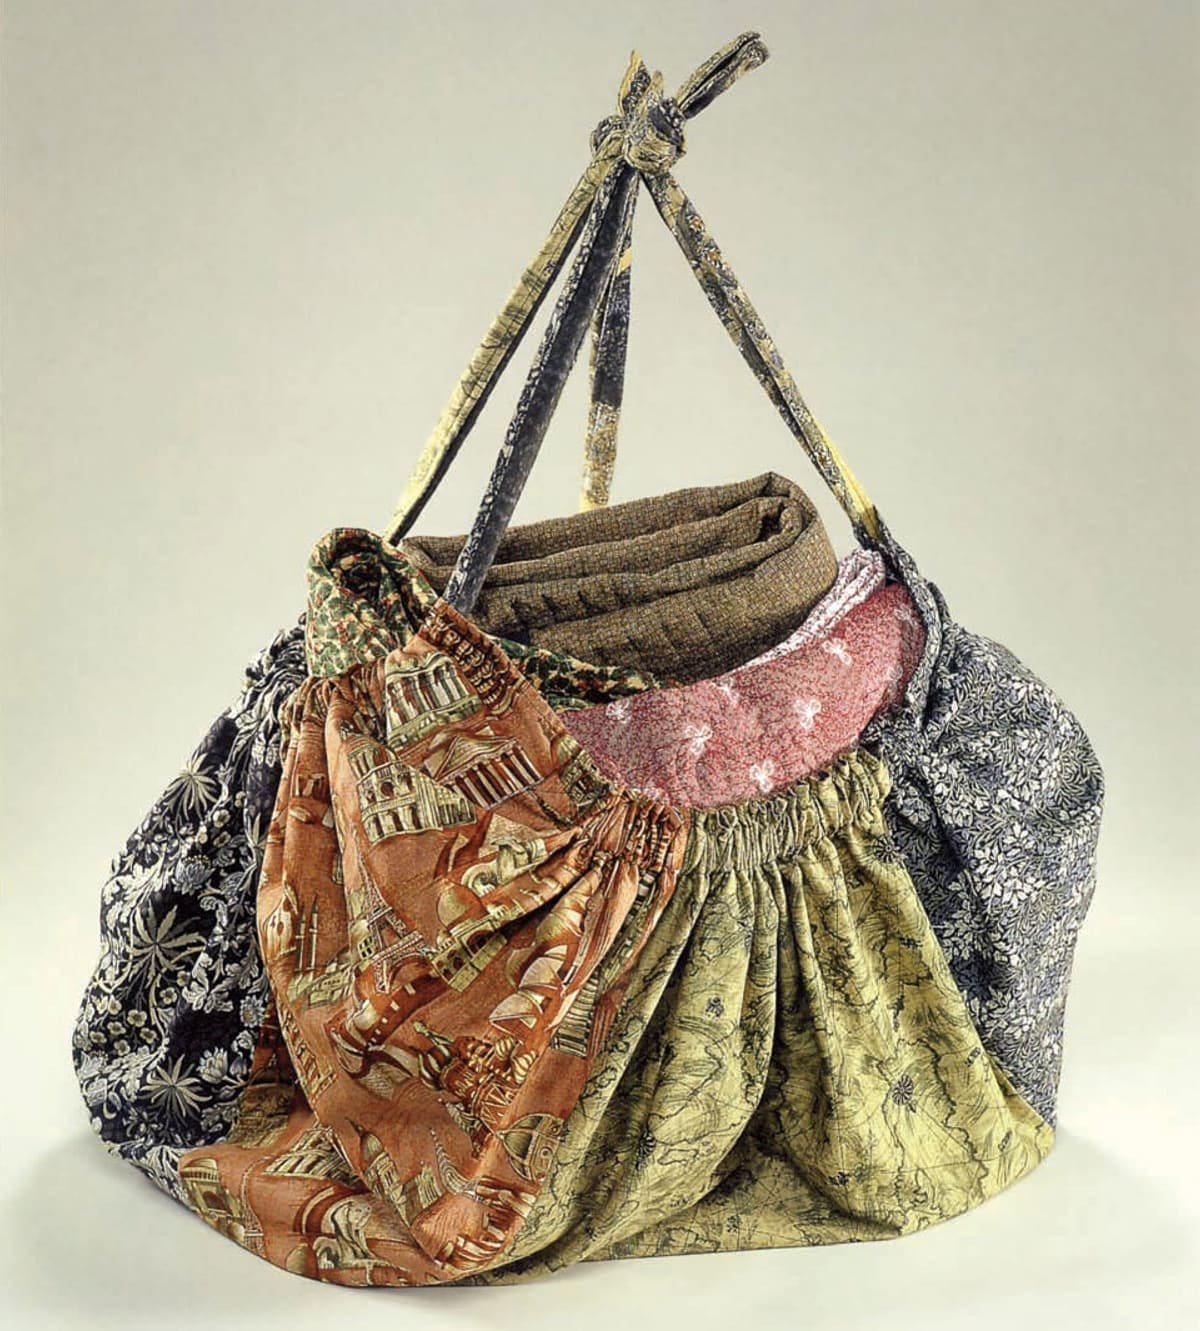
The Fat Quarter Bag- Pattern is a revolutionary concept for quilters and sewists who find themselves with an abundance of pre-cut fabric but a lack of time for complex projects. A fat quarter is a specialized piece of fabric, typically measuring 18 by 22 inches, which offers more versatility than a standard quarter-yard cut. By utilizing a dedicated Fat Quarter Bag- Pattern, you can transform these small, charming slices of textile into a functional, stylish accessory that is perfect for grocery shopping, carrying craft supplies, or gifting to friends and family.
Choosing to work with a Fat Quarter Bag- Pattern is an excellent way to practice precision sewing while managing a manageable amount of material. Because fat quarters are usually sold in coordinated bundles, the pattern allows you to mix and match prints effortlessly, ensuring that your finished bag has a professional, curated look without the stress of selecting individual bolts of fabric at the store. This specific Fat Quarter Bag- Pattern is designed to be efficient, often requiring just two or three fat quarters to complete the entire exterior and lining, making it one of the most cost-effective DIY projects in the sewing world.
In this detailed guide, we will delve into the intricacies of the Fat Quarter Bag- Pattern, focusing on how to maximize your fabric yield and achieve a sturdy finish. We will look at the two core elements: the Fat Quarter Bag, which is the physical tote or pouch you create, and the Pattern, which serves as the architectural blueprint for your cuts and seams. Whether you are a beginner looking for a weekend win or an experienced quilter trying to clear out your stash, this Fat Quarter Bag- Pattern will provide the structure and inspiration needed to turn your favorite fabric scraps into something truly special.
1. Selecting Fabrics and Preparing for Your Fat Quarter Bag- Pattern
The first step in bringing your Fat Quarter Bag- Pattern to life is selecting the right quality of fabric from your collection. Since fat quarters are primarily made from quilting cotton, they offer a great balance of softness and durability. When picking pieces for your Fat Quarter Bag, look for high-thread-count cottons that won’t fray excessively, as this ensures the longevity of the handles and bottom seams of your finished product.
In addition to the fabric, your Fat Quarter Bag- Pattern will likely require some form of stabilization to give the bag its shape. Using a fusible fleece or mid-weight interfacing is highly recommended. Applying this to the wrong side of your fat quarter ensures that your Fat Quarter Bag doesn’t limp or sag when you put items inside, giving it the structural integrity of a high-end retail tote.
Precision is key when following a Fat Quarter Bag- Pattern, so you must prepare your fabric by pressing it thoroughly. Fat quarters often come folded tightly, leaving deep creases that can throw off your measurements. By using a steam iron to flatten the material before you begin the Pattern layout, you ensure that every inch of that 18×22 piece of fabric is utilized accurately without any warped edges.
You should also consider the scale of the print on your fat quarters. Because the Fat Quarter Bag- Pattern involves cutting the fabric into specific panels, a large-scale floral might look different once it is sewn than it does on the flat sheet. Directional prints—fabrics where the pattern has a clear “up” and “down”—require extra attention during the Pattern placement to ensure your bag doesn’t end up with upside-down motifs.
Beyond the fabric, gather your notions such as matching polyester thread, a rotary cutter, and a quilting ruler. These tools are essential for following the Fat Quarter Bag- Pattern successfully, as they allow for the straight, clean lines that define a well-made bag. Having everything ready before you start the Pattern instructions will make the sewing process much more fluid and enjoyable.
Lastly, think about the lining of your bag. A great Fat Quarter Bag- Pattern usually suggests a contrasting color for the interior. This not only makes the bag look more sophisticated but also makes it easier to find items inside. Choosing a lighter-colored fat quarter for the lining is a clever trick used by many professional sewists to improve visibility within the Fat Quarter Bag.
2. Understanding the Geometry of the Fat Quarter Bag- Pattern
The magic of a Fat Quarter Bag- Pattern lies in its “puzzle-like” geometry, which is designed to waste as little fabric as possible. A standard Pattern will divide the 18×22 inch rectangle into main body panels, pocket pieces, and strips for the handles. Understanding how these pieces fit together is crucial for anyone wanting to master the Fat Quarter Bag- Pattern without needing to buy extra yardage.
Many versions of the Fat Quarter Bag- Pattern utilize a technique called “boxing the corners.” This involves sewing a perpendicular seam at the bottom of the bag to create depth. Without this step in the Pattern, your Fat Quarter Bag would be a flat envelope; with it, the bag gains a flat bottom that allows it to stand upright, making it much more practical for daily use.
The handles are another critical component of the Fat Quarter Bag- Pattern. Most patterns suggest cutting two long strips, usually 4 inches wide, which are then folded and topstitched. By integrating the handles directly into the Pattern layout of your fat quarter, you ensure that the straps match the bag perfectly, creating a cohesive aesthetic that is the hallmark of a successful Fat Quarter Bag.
Seam allowance is a vital term to understand when reading your Fat Quarter Bag- Pattern. Most sewing instructions use a standard 1/4 inch or 1/2 inch seam allowance. Ignoring this “buffer zone” can result in a Fat Quarter Bag that is significantly smaller than the designer intended. Always keep a consistent seam allowance to ensure the lining fits perfectly inside the exterior shell.
Some advanced Fat Quarter Bag- Pattern variations include interior pockets or “divided” sections. These are often created by using a smaller portion of a third fat quarter. By following the Pattern specifically for pocket placement, you add a layer of organization to your Fat Quarter Bag, making it suitable for holding cell phones, pens, or keys.
Finally, the Pattern usually concludes with a “topstitching” phase. This is where you sew around the top rim of the Fat Quarter Bag once the lining and exterior are joined. This step is not just decorative; it secures the layers together and prevents the lining from “rolling” out of the bag, providing a crisp, clean finish that highlights the quality of the Fat Quarter Bag- Pattern.
3. Construction Steps for a Durable Fat Quarter Bag
Assembly begins with the “outer shell” of your project. Following the Fat Quarter Bag- Pattern, you will sew the side and bottom seams of your exterior fabric. If you are using a heavy interfacing, you might need a size 90/14 sewing needle to handle the thickness. This ensures your Fat Quarter Bag is held together by strong, even stitches that won’t pop under pressure.
Once the exterior is ready, you repeat the process for the lining as dictated by the Fat Quarter Bag- Pattern. However, a professional tip often found in these patterns is to leave a small opening—about 4 inches—in the bottom of the lining. This “turning hole” is essential for the “birth” of your Fat Quarter Bag, allowing you to turn the entire project right-side out after the layers are joined.
Joining the handles is a point where the Fat Quarter Bag- Pattern requires extra care. The handles should be basted to the exterior of the bag, facing downward, before the lining is slipped over the top. This “sandwich” method ensures that the raw edges of the handles are hidden inside the seams of the Fat Quarter Bag, providing a clean look and superior strength.
After sewing the top circumference, you will pull the bag through the hole in the lining. This is the most exciting part of the Fat Quarter Bag- Pattern, as the finished shape finally emerges. Once the bag is right-side out, you must close the hole in the lining, either by hand with a ladder stitch or by a very close machine stitch, ensuring the interior of your Fat Quarter Bag is fully sealed.
Pressing the top edge is the next step in the Fat Quarter Bag- Pattern. Use your iron to create a sharp fold where the lining meets the exterior. This preparation makes the final topstitching much easier and ensures that your Fat Quarter Bag looks like it came from a boutique. Topstitching about 1/8 inch from the edge is the standard finish for this Pattern.
To add even more durability, some people like to reinforce the handle attachments with a “box-X” stitch. This is a small square with an X inside it, sewn where the handle meets the bag body. While not always required in a basic Fat Quarter Bag- Pattern, it is a great modification if you plan to use your Fat Quarter Bag for heavier items like books or groceries.
4. Customizing and Caring for Your Fat Quarter Bag
The beauty of the Fat Quarter Bag- Pattern is its adaptability. You can easily add embellishments like lace, buttons, or embroidery to the exterior panels. Since you are working with a Pattern that uses small pieces of fabric, it is very easy to experiment with “fussy cutting,” which is the technique of centering a specific part of the fabric’s design on the bag’s face.
If you find that your Fat Quarter Bag needs to be waterproof, you can use a laminated cotton fat quarter for the lining. This modification to the standard Fat Quarter Bag- Pattern makes the bag ideal for carrying wet swimsuits or lunch containers. Laminated fabrics require a “non-stick” sewing foot, but they significantly expand the utility of your handmade bag.
Maintenance is straightforward for most bags made from this Pattern. Because they are usually 100% cotton, you can wash your Fat Quarter Bag in cold water and tumble dry on low. However, if you used a particularly stiff interfacing in your Fat Quarter Bag- Pattern, air drying is recommended to prevent the stabilizer from crinkling or losing its shape over time.
For those who want to make a larger version, you can simply “scale up” the Fat Quarter Bag- Pattern by using half-yard cuts instead of fat quarters. The mathematical principles of the Pattern remain the same, but the resulting Fat Quarter Bag (now a Half-Yard Bag) will be much deeper and wider, suitable for a beach outing or a large knitting project.
You can also create a “reversible” version by ensuring both the exterior and lining are made from high-quality fabrics and using a Pattern that hides all internal seams. This essentially gives you two bags in one, as you can flip the Fat Quarter Bag inside out depending on your outfit or mood, maximizing the value of your Fat Quarter Bag- Pattern.
Finally, making these bags is a fantastic way to build a “gift stash.” Since the Fat Quarter Bag- Pattern is so quick to execute, you can sew several in an afternoon. Having a collection of beautiful, handmade Fat Quarter Bag options on hand means you always have a thoughtful, eco-friendly gift ready for any occasion, all thanks to the versatility of a well-designed Pattern.
Frequently Asked Questions (FAQ)
How many fat quarters do I need for one bag?
Most Fat Quarter Bag- Pattern designs require two fat quarters—one for the exterior and one for the lining. However, if you want contrasting handles or interior pockets, you might need a third fat quarter to complete the pattern comfortably.
Can I make a Fat Quarter Bag without a sewing machine?
While a machine is much faster and provides stronger seams for the Fat Quarter Bag- Pattern, you can certainly sew it by hand using a backstitch. It will take longer, but the result will be just as charming and functional.
What is the best interfacing for a Fat Quarter Bag?
For a structured look, use Pellon 808 or 809. If you prefer a softer, “quilted” feel for your Fat Quarter Bag- Pattern, a fusible fleece like Pellon 987F is the best choice to provide body without stiffness.
Is this pattern suitable for beginners?
Yes! The Fat Quarter Bag- Pattern is one of the best projects for beginners. It involves straight lines, basic corners, and teaches the fundamental skill of lining a project, making it a great confidence booster.
Can I use regular quarter-yard cuts instead of fat quarters?
It depends on the Pattern. A regular quarter yard is long and skinny (9×44 inches), whereas a fat quarter is short and wide (18×22 inches). Most Fat Quarter Bag- Pattern layouts require the width of a fat quarter to fit the main panels.
How do I prevent the handles from stretching?
To keep your Fat Quarter Bag handles sturdy, always interface the handle strips as part of your Pattern preparation. This prevents the cotton fabric from elongating when the bag is loaded with heavy items.
Conclusion
In summary, the Fat Quarter Bag- Pattern is an essential project for any sewing enthusiast looking to combine practicality with the joy of fabric play. We have explored how to select the right materials, the geometric secrets of a successful Pattern, and the step-by-step construction of a durable Fat Quarter Bag.
By following these guidelines, you can turn a couple of fabric scraps into a high-quality accessory that is both beautiful and useful. The beauty of the Fat Quarter Bag- Pattern lies in its simplicity and the endless opportunities for customization it provides.