To Make a Fleece Lined Cowl Scarf – Pattern is one of the most rewarding ways to prepare for the winter months, offering a blend of high-fashion aesthetics and incredible thermal protection. Unlike traditional long scarves that can be bulky and difficult to wrap, a cowl scarf sits perfectly around the neck, providing a streamlined look that stays in place even during outdoor activities. By choosing to Make a Fleece Lined Cowl Scarf – Pattern, you are creating a dual-layered accessory that uses a decorative outer fabric for style and a soft, insulating fleece interior for ultimate skin comfort.
The beauty of this project lies in its accessibility; when you Make a Fleece Lined Cowl Scarf – Pattern, you are working with a simple geometric shape that yields a professional-grade garment. This makes it an ideal project for beginners who are just learning to sew straight lines, as well as seasoned sewists looking for a quick and satisfying gift idea. Because the pattern requires a relatively small amount of fabric, it is also a fantastic “stash-buster,” allowing you to use those premium wool or jersey remnants you have been saving for a special occasion.
As you prepare to Make a Fleece Lined Cowl Scarf – Pattern, you will discover that the secret to a great cowl is the “twist” and the quality of the lining. The Fleece Lined Cowl Scarf is specifically designed to block wind and retain body heat, making it a functional piece of gear for hikers, commuters, or anyone living in a cold climate. In the following sections, we will break down the essential steps to mastering this pattern, ensuring that your finished scarf looks like it was plucked straight from a high-end boutique.
1. Choosing the Best Textiles to Make a Fleece Lined Cowl Scarf – Pattern
When you decide to Make a Fleece Lined Cowl Scarf – Pattern, the outer fabric choice defines the personality of the piece. You can opt for a plaid flannel for a rustic, autumnal look, or perhaps a knit jersey for a more modern and draped effect. If you want something more formal, a lightweight wool blend works beautifully with this pattern, giving the cowl enough structure to stand up against the chin for extra warmth.
The lining is the second hero of the Make a Fleece Lined Cowl Scarf – Pattern. We recommend using anti-pill polar fleece or a high-quality sherpa fleece for the interior. Polar fleece is excellent because it doesn’t fray when cut, making the sewing process much smoother. It is also highly effective at wicking moisture away from the skin, which is a vital feature if you plan on wearing your cowl scarf during winter sports or long walks.
Color coordination is key when selecting materials for your Make a Fleece Lined Cowl Scarf – Pattern. Since the lining will often peek out at the top or bottom of the scarf, choosing a complementary color can elevate the design. For example, a charcoal grey outer wool paired with a deep burgundy fleece lining creates a sophisticated contrast. If you are making the pattern for a child, bright primary colors or fun prints can make the accessory more appealing.
The weight of the fabrics must be balanced to ensure the Make a Fleece Lined Cowl Scarf – Pattern doesn’t become overly heavy or stiff. If your outer fabric is very thick, choose a thinner micro-fleece for the lining. Conversely, if you are using a thin cotton outer, a thicker sherpa lining will provide the necessary “body” to keep the cowl from collapsing. This balance is what makes the Fleece Lined Cowl Scarf so comfortable for all-day wear.
Don’t forget the importance of fabric stretch. If you are following a pattern designed for knits, ensure both your outer fabric and your fleece lining have a similar percentage of stretch. If one layer stretches more than the other, the scarf may warp or twist awkwardly after the first wash. Testing the stretch of your fabrics before you cut the pattern pieces will save you a lot of frustration during the assembly phase.
Finally, consider the “washability” of your choices. Since the Make a Fleece Lined Cowl Scarf – Pattern is worn close to the face, it will need regular cleaning. Choosing fabrics that are machine washable and dryable is the most practical route. Always pre-wash your fabrics before sewing to account for any shrinkage, ensuring that your finished cowl scarf maintains its perfect fit and professional appearance throughout its lifespan.
2. Technical Steps to Assemble Your Fleece Lined Cowl Scarf
The first technical step to Make a Fleece Lined Cowl Scarf – Pattern is the cutting process. You will generally need two rectangular pieces of fabric: one of the outer material and one of the fleece. For a standard adult size, rectangles of 30 inches by 12 inches are common. Using a rotary cutter and a cutting mat is the best way to ensure your edges are perfectly straight, which is crucial for the tubes to align correctly.
Once cut, you will place the outer fabric and the fleece “right sides together” (RST). This is a fundamental concept in the Make a Fleece Lined Cowl Scarf – Pattern. You will sew along the two long edges of the rectangles, creating a long tube that is open at both ends. Using a walking foot on your sewing machine is highly recommended here, as fleece and knits can often shift or stretch at different rates under a standard presser foot.
After sewing the long edges, you will reach the most “magical” part of the Make a Fleece Lined Cowl Scarf – Pattern: the turn. You will reach through the tube, grab the other end, and pull it through until the short raw edges meet. This creates a circle of fabric. At this point, you can choose to add a “half-twist” to the fabric before pinning the ends together. This twist gives the cowl scarf its signature drape and ensures it sits elegantly around the neck.
Pinning the short ends together is a task that requires patience. Because you are working with four layers of fabric (two outer, two fleece), the bulk can be significant. We suggest using wonder clips instead of traditional pins to hold the layers in place. In the Make a Fleece Lined Cowl Scarf – Pattern, you will sew almost all the way around this circle, leaving a small 3-to-4-inch opening for turning the scarf right side out.
Once you have sewn the circle and turned the scarf through the opening, you will see your Fleece Lined Cowl Scarf take its final shape. The final step is to close the “turning gap.” You can do this with a sewing machine for speed, but for a truly professional, high-quality finish, a hand-sewn ladder stitch is preferred. This makes the seam invisible and ensures that there are no hard edges against the wearer’s neck.
The final touch in the Make a Fleece Lined Cowl Scarf – Pattern is a good press. Be careful with the iron temperature, especially if you used synthetic fleece, as high heat can melt the fibers. Use a pressing cloth and a medium setting to flatten the seams. This step “sets” the stitches and gives the handmade cowl that crisp, store-bought look that every crafter strives for when they Make a Fleece Lined Cowl Scarf – Pattern.
3. Creative Customizations for Your Handmade Cowl Scarf
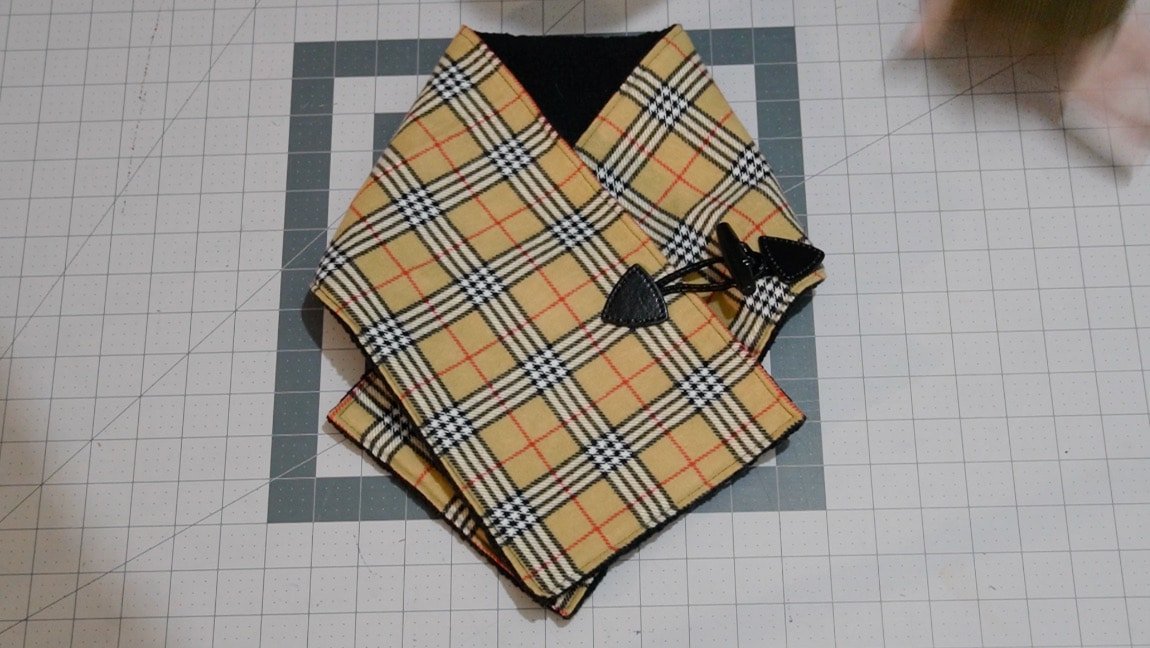
One of the most exciting aspects when you Make a Fleece Lined Cowl Scarf – Pattern is the ability to add decorative hardware. You can incorporate large wooden buttons or a leather toggle closure to the front of the scarf. While these can be purely decorative, they can also be functional if you adjust the pattern to be an “open” wrap rather than a continuous loop, allowing for even more styling versatility.
For a luxury feel, you can add topstitching along the top and bottom edges of the scarf. Using a contrasting thread or a decorative embroidery stitch can highlight the silhouette of the Make a Fleece Lined Cowl Scarf – Pattern. This not only adds a designer detail but also helps to keep the lining from rolling toward the outside, ensuring the cowl stays neat and tidy throughout the day.
If you are making the Make a Fleece Lined Cowl Scarf – Pattern for someone who spends a lot of time outdoors, consider adding a “hidden pocket.” A small zippered pocket sewn into the fleece lining is the perfect place to stash a hand warmer, a key, or some emergency cash. This turns a simple fashion accessory into a piece of utility gear that provides both physical warmth and practical convenience for the user.
Appliqué and embroidery are other fantastic ways to personalize your Make a Fleece Lined Cowl Scarf – Pattern. You can embroider a monogram, a snowflake, or a mountain range onto the outer fabric before you assemble the tube. For children, adding small “animal ears” to the top edge of the cowl can transform a simple scarf into a playful costume-like accessory that they will be excited to wear during the winter.
Another variation of the Make a Fleece Lined Cowl Scarf – Pattern is the “infinity style.” By increasing the length of your rectangles to 60 inches instead of 30, you create a scarf that can be looped twice around the neck. This provides double the fleece lining and double the warmth, making it the ultimate shield against sub-zero temperatures and biting winds.
Finally, consider the “reversible” potential of the Make a Fleece Lined Cowl Scarf – Pattern. If you choose two fabrics that look great on their own—perhaps a patterned fleece and a solid jersey—the wearer can flip the scarf depending on their outfit. This “two-in-one” feature is a major selling point if you are making these scarves for a craft fair or as part of a handmade clothing brand.
4. Care and Sustainability for Your Fleece Lined Accessories
When you Make a Fleece Lined Cowl Scarf – Pattern, you are participating in a more sustainable form of fashion. Instead of buying “fast fashion” accessories that fall apart after one season, you are creating a durable, high-quality item. You can even use recycled fleece made from plastic bottles or upcycle an old wool coat for the outer layer, reducing the environmental footprint of your sewing project.
To ensure your Fleece Lined Cowl Scarf lasts for years, proper care is essential. Always check the care instructions for both of your fabric types. Generally, a cold water wash on a gentle cycle is safest. Avoid using fabric softeners on polar fleece, as they can coat the fibers and reduce their ability to wick moisture and provide warmth, which are the main benefits of the pattern.
Drying your Make a Fleece Lined Cowl Scarf – Pattern creation should be done with care. While some fleece can handle a low dryer setting, air-drying is always the best way to prevent pilling and maintain the “loft” of the lining. Lay the scarf flat on a clean towel to dry, which helps it keep its shape and prevents the weight of the water from stretching the knit stitches or the seams.
If your scarf develops “pills” (small balls of fiber) over time, don’t worry. This is common with fleece and wool. You can use a fabric shaver or a simple sweater stone to gently remove them and restore the surface. Taking ten minutes to “refresh” your scarf once a season will keep your Make a Fleece Lined Cowl Scarf – Pattern looking brand new for a very long time.
Gifting an item from the Make a Fleece Lined Cowl Scarf – Pattern is a wonderful way to show you care. To make it even more special, you can include a small “care card” with washing instructions and a note about the fabrics used. Because it’s a handmade item, people often appreciate knowing the effort that went into the sewing and construction of their new favorite winter accessory.
Ultimately, the goal of choosing to Make a Fleece Lined Cowl Scarf – Pattern is to create something that brings joy and comfort. Every time you wrap that soft fleece around your neck, you’ll be reminded of your own creativity and skill. Whether you are making one for yourself or a dozen for your friends, the Fleece Lined Cowl Scarf remains a timeless project that perfectly blends the worlds of craft and utility.
FAQ: Frequently Asked Questions about Fleece Lined Cowl Scarves
1. Is the Make a Fleece Lined Cowl Scarf – Pattern suitable for a complete beginner?
Yes! This is often recommended as a first project. It involves sewing four straight lines and a tiny bit of hand-sewing. Because the pattern is a simple rectangle, there are no complex curves or difficult fitting issues to worry about.
2. How much fabric do I need to buy?
Usually, a half-yard of the outer fabric and a half-yard of fleece is plenty. In many cases, you can actually get two or three scarves out of a single yard of fabric if you arrange your pattern pieces efficiently on the grainline.
3. Can I use a regular sewing machine for the Fleece Lined Cowl Scarf?
Absolutely. You do not need a serger (overlocker) for this pattern. A standard machine with a straight stitch and a zigzag stitch (for the ends) works perfectly. Just remember to use a ballpoint needle if your fabrics are stretchy.
4. What is the “twist” for in the cowl scarf?
The twist (often called a Möbius twist) allows the scarf to sit flat against the chest while standing up around the neck. It prevents the cowl from looking like a stiff tube and adds a much more natural, fashionable drape to the Make a Fleece Lined Cowl Scarf – Pattern.
5. How do I make the scarf smaller for a toddler?
To adjust the Make a Fleece Lined Cowl Scarf – Pattern for a child, simply reduce the length of the rectangle. Instead of 30 inches, try 22 or 24 inches. Ensure the width is also slightly narrower (around 8 or 9 inches) so it doesn’t overwhelm their smaller frame.
6. What if I don’t want to use fleece as a lining?
If you live in a warmer climate, you can substitute the fleece for a soft flannel or even a silk lining. However, the “fleece-lined” aspect is what provides the signature warmth and structure that makes this pattern a winter favorite.
Conclusion
In this article, we have explored the entire process required to Make a Fleece Lined Cowl Scarf – Pattern, from the initial selection of cozy textiles like polar fleece and wool to the technical assembly involving the Möbius twist and ladder stitching.
We discussed how this pattern is perfectly suited for both beginners and experts, offering a high-quality result that rivals designer accessories. By focusing on the balance of fabric weights and the precision of your seams, you can create a durable, stylish, and incredibly warm cowl scarf that serves as a testament to your sewing skills.