Patchwork Bag – Pattern is a popular and creative way to craft beautiful, personalized bags using various fabric pieces and basic sewing techniques. Whether you’re a beginner looking for an easy project or an experienced crafter aiming to showcase your fabric collection, a patchwork bag – pattern provides endless design opportunities. These bags are not just practical accessories but also unique artistic expressions that reflect your style, taste, and sewing skills.
Starting a patchwork bag – pattern project doesn’t require fancy tools or expensive materials. All you need are fabric scraps, thread, basic sewing supplies, and a well-structured pattern. The beauty of patchwork lies in its ability to transform leftover fabric into something functional and beautiful. Whether you’re upcycling old clothes or using coordinated quilt fabric packs, you can design something one-of-a-kind.
Using a thoughtfully designed patchwork bag – pattern helps ensure your finished bag is strong, neatly assembled, and aesthetically pleasing. Patterns offer clear guidelines on cutting shapes, placing fabric blocks, adding linings, and attaching straps. With a little patience and creativity, anyone can turn basic fabric into a stylish bag perfect for everyday use or gifting.
1. Understanding the Basics of a Patchwork Bag – Pattern
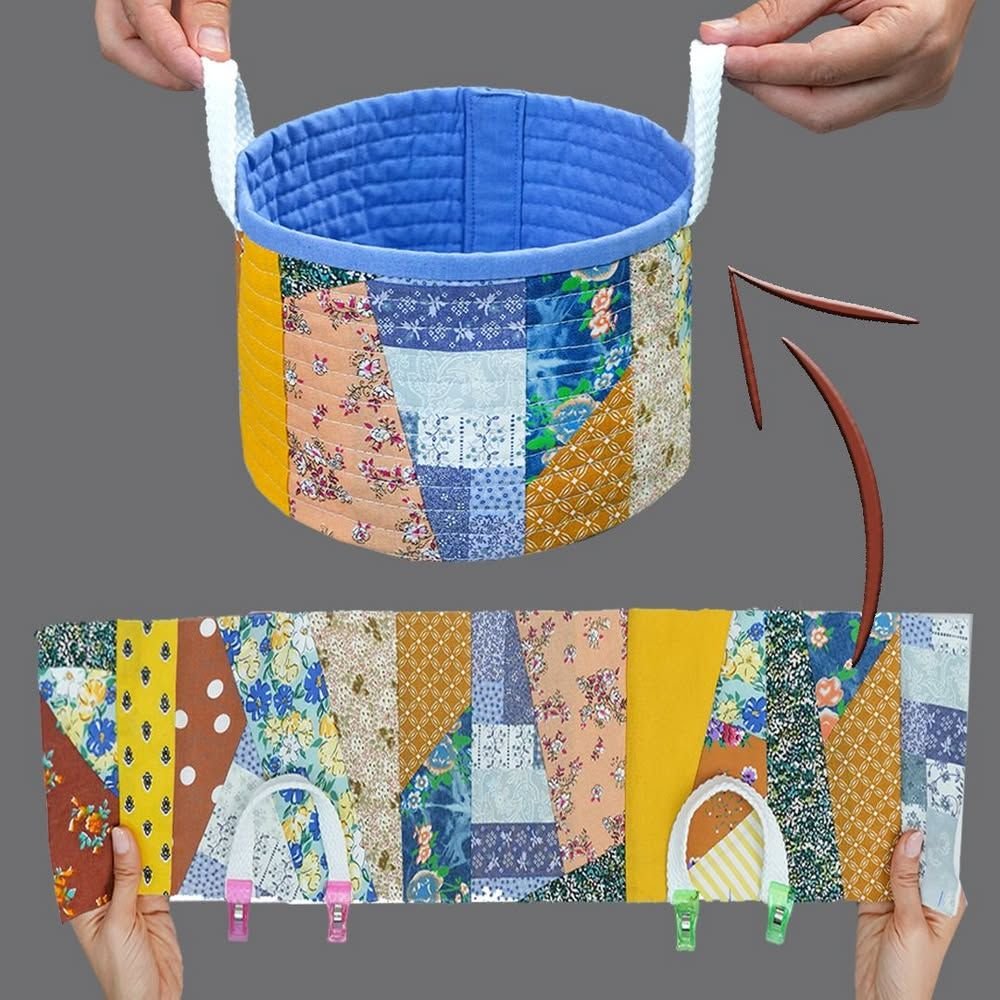
To get started with a patchwork bag – pattern, it’s essential to understand how patchwork works. Patchwork involves sewing together small pieces of fabric, often in geometric shapes like squares or triangles, to create a larger design. These fabric blocks become the exterior of your bag.
A good pattern will outline all the necessary components: fabric requirements, cutting dimensions, assembly steps, and finishing instructions. Look for patterns that suit your skill level. If you’re new to sewing, start with simple rectangular patchwork. More advanced patterns may include curved seams or complex arrangements like star blocks or hexagons.
Choosing the right fabric is key. Cotton is the most popular choice due to its durability and ease of sewing. You can use a coordinated fabric bundle for a consistent look or mix bold prints and colors for a more eclectic design. Be sure to pre-wash your fabric to avoid shrinkage or bleeding after the bag is finished.
The pattern will also guide you in assembling the fabric pieces. You’ll often start by sewing smaller fabric units together to form larger blocks. Press seams flat as you go to keep your project neat and manageable. Accuracy in cutting and sewing is crucial to keep your patchwork aligned.
Lining is another important part of any patchwork bag – pattern. It provides structure and hides raw seams inside the bag. Most patterns include instructions for adding a fabric lining, often with interfacing for added durability. The lining can also include pockets for better organization.
Finally, finishing the bag involves adding straps, closures (like zippers or buttons), and decorative elements if desired. The pattern may include measurements and tips for these final steps. Take your time during this phase to ensure everything is well-secured and professionally finished.
2. Tools and Materials You’ll Need
Before beginning your patchwork bag – pattern, gather all your materials. Essential tools include a rotary cutter or fabric scissors, a quilting ruler, cutting mat, pins or clips, and a sewing machine. A steam iron is also important for pressing seams and ensuring clean finishes.
As for materials, start with fabric. You’ll need a selection of cotton fabrics for the exterior patchwork. These can be from your scrap bin or a curated fat quarter bundle. For the lining, a solid or coordinating print works best. Don’t forget interfacing, which adds body and structure to the bag.
Thread selection matters, too. Choose a high-quality cotton or polyester thread in a color that blends with your fabrics. Neutral tones like beige, gray, or white are often safe choices. For visible stitching, consider a contrasting thread for a bold touch.
You’ll also need a pattern template. Many patchwork bag – patterns are available for free or purchase online. Print it at full size and check for seam allowances. Most patterns will indicate if seam allowance is included or needs to be added manually.
Other useful items include a seam ripper for fixing mistakes, marking tools like chalk or washable pens, and fabric glue or fusible tape for securing difficult areas. Zippers, buttons, magnetic snaps, or Velcro may also be required depending on the bag style.
Lastly, keep a notebook or project sheet nearby to track your steps, note any adjustments, and jot down ideas for future bags. Staying organized helps ensure that your patchwork bag – pattern project runs smoothly from start to finish.
3. Techniques for Sewing a Patchwork Bag – Pattern
When sewing a patchwork bag – pattern, begin by cutting all your fabric pieces accurately. Use a rotary cutter and ruler for clean, precise edges. Take your time during this stage—small errors in cutting can compound during assembly.
Start piecing your fabrics by sewing the smallest units first. Match right sides together and stitch with a consistent seam allowance, typically ¼ inch. Backstitch at the start and end of each seam to prevent unraveling. Press seams open or to one side using an iron.
Arrange your sewn blocks according to the pattern layout. Use pins or clips to hold pieces in place. Check that seams align properly for a clean, cohesive look. This attention to detail adds to the professional finish of your bag.
Once your outer patchwork is complete, apply interfacing to the wrong side. This step is essential to give your bag structure. Fuse the interfacing according to the manufacturer’s instructions, ensuring full adhesion and no bubbles.
Next, construct the lining. Cut the lining fabric based on the same measurements as the outer layer. If your patchwork bag – pattern includes internal pockets, sew these onto the lining before assembling the full bag. Pockets can be zippered, open, or elastic-topped depending on your preference.
With both outer and inner layers ready, assemble the bag. Align the patchwork outer and lining with right sides facing and sew around the top edge, leaving a small opening for turning. Turn the bag right side out, press the top edge, and topstitch to close the opening and reinforce the rim.
4. Creative Ideas to Customize Your Patchwork Bag – Pattern
Customizing your patchwork bag – pattern is one of the most rewarding parts of the process. Start with color palettes—match your fabrics to the seasons, occasions, or themes. Soft pastels for spring, bold hues for summer, warm tones for fall, and cool shades for winter.
Consider adding embellishments like embroidery, appliqué, or decorative stitching. These can be done by hand or with a sewing machine and give your bag a unique, personal flair. Embroidered initials or motifs make your bag even more special.
Change up the bag’s shape or size by adjusting the pattern dimensions. Create a smaller crossbody version or a large tote for shopping. Just remember to scale pockets, straps, and linings accordingly to keep proportions correct.
Mix textures by incorporating denim, corduroy, or linen into your patchwork. These fabrics add depth and visual interest. Just be mindful of how thicker materials affect sewing machine performance—use appropriate needles and adjust stitch settings.
Straps offer another area for creativity. Use leather, webbing, or braided fabric straps. Adjustable straps with buckles or sliders increase functionality and give your bag a professional finish. You can even recycle old belts into stylish bag handles.
Finally, personalize closures. Swap standard zippers for metal ones, use fabric-covered buttons, or install magnetic snaps. Even small changes like this can turn your patchwork bag – pattern into a truly original piece.
FAQ
Q: What is the best fabric to use for a patchwork bag – pattern?
A: Quilting cotton is the most popular choice because it’s easy to sew and holds its shape well. You can also use denim, linen, or canvas for added durability.
Q: Do I need a sewing machine to make a patchwork bag?
A: While a sewing machine makes the process faster and cleaner, you can hand-sew a patchwork bag if you have the patience and use strong, even stitches.
Q: How long does it take to complete a patchwork bag – pattern?
A: It depends on the complexity of the pattern and your experience level. A simple bag may take 2–3 hours, while a more detailed project can take a full day or weekend.
Q: Can I wash my patchwork bag?
A: Yes, but it’s best to hand-wash with mild detergent, especially if the bag has delicate stitching or embellishments. Air dry to maintain the shape.
Q: How can I make my patchwork bag more durable?
A: Use interfacing, choose sturdy fabrics, reinforce straps and seams, and double-stitch high-stress areas like the bottom corners and handles.
Q: Where can I find patchwork bag – patterns?
A: Many online crafting websites, Etsy shops, and sewing blogs offer both free and paid patchwork bag – pattern templates. Look for reviews to choose high-quality patterns.
Conclusion
Throughout this article, we’ve explored everything you need to know about creating a unique and beautiful patchwork bag – pattern. From choosing the right materials and tools to mastering construction techniques and creative customization, you now have a solid foundation to bring your patchwork bag vision to life. We also discussed essential tips to ensure durability, functionality, and personal expression in every stitch.
Whether you’re making a bag for yourself, a friend, or as a gift, following a structured patchwork bag – pattern makes the process easier and more enjoyable. With a little creativity and care, your handmade bag will be both practical and cherished.
If you’ve tried making your own patchwork bag, we’d love to hear from you. Please leave your honest opinion below—what worked for you, what you’d do differently, and what kinds of patterns or
features you’d like to see next. Your suggestions help us and others in the crafting community grow together.