The Patchwork Bag – Tutorial is your gateway into the vibrant world of sustainable fashion and high-end textile artistry. Creating a custom handbag using various fabric scraps is not just an eco-friendly choice; it is a way to express your unique personality through texture, color, and pattern. Whether you are a seasoned quilter or a beginner with a sewing machine, this step-by-step guide will help you transform leftover materials into a professional-grade accessory that turns heads.
In this comprehensive Patchwork Bag – Tutorial, we will dive deep into the essential sewing techniques required to construct a sturdy and stylish tote. Modern textile design often prioritizes fast fashion, but by learning to craft your own handmade bags, you are investing in quality and durability. This project is specifically designed to be SEO-friendly and accessible, ensuring that you have all the technical knowledge needed to succeed in your DIY sewing project.
The beauty of a Patchwork Bag – Tutorial lies in its versatility, as you can adapt the size, shape, and patchwork patterns to suit your specific needs. From choosing the right interfacing to mastering the topstitching process, every detail counts when you are aiming for a boutique-style finish. By the end of this article, you will have a clear roadmap to creating a quilted bag that is both functional for daily use and a true masterpiece of creative needlework.
1. Selecting the Best Materials for Your Patchwork Bag – Tutorial
Selecting the right materials is the foundational step of any successful Patchwork Bag – Tutorial. You should prioritize high-quality 100% cotton fabrics because they are easy to press and hold their shape well during the piecing process. Avoid using stretchy fabrics for your first project, as they can cause the seam allowance to warp, making it difficult to align your patchwork squares perfectly.
The secret to a professional look in this Patchwork Bag – Tutorial is the use of fusible fleece or heavyweight interfacing. These stabilizers provide the necessary structure, preventing your handmade tote from collapsing when it is empty. Without proper support, even the most beautiful fabric combinations will lack the “store-bought” crispness that every sewing enthusiast desires.
Don’t forget the importance of your sewing tools when following this Patchwork Bag – Tutorial. A rotary cutter, a self-healing mat, and an acrylic ruler are indispensable for achieving precise cuts. In the world of quilting and patchwork, accuracy is key; being off by just a fraction of an inch can lead to misaligned corners in your final bag assembly.
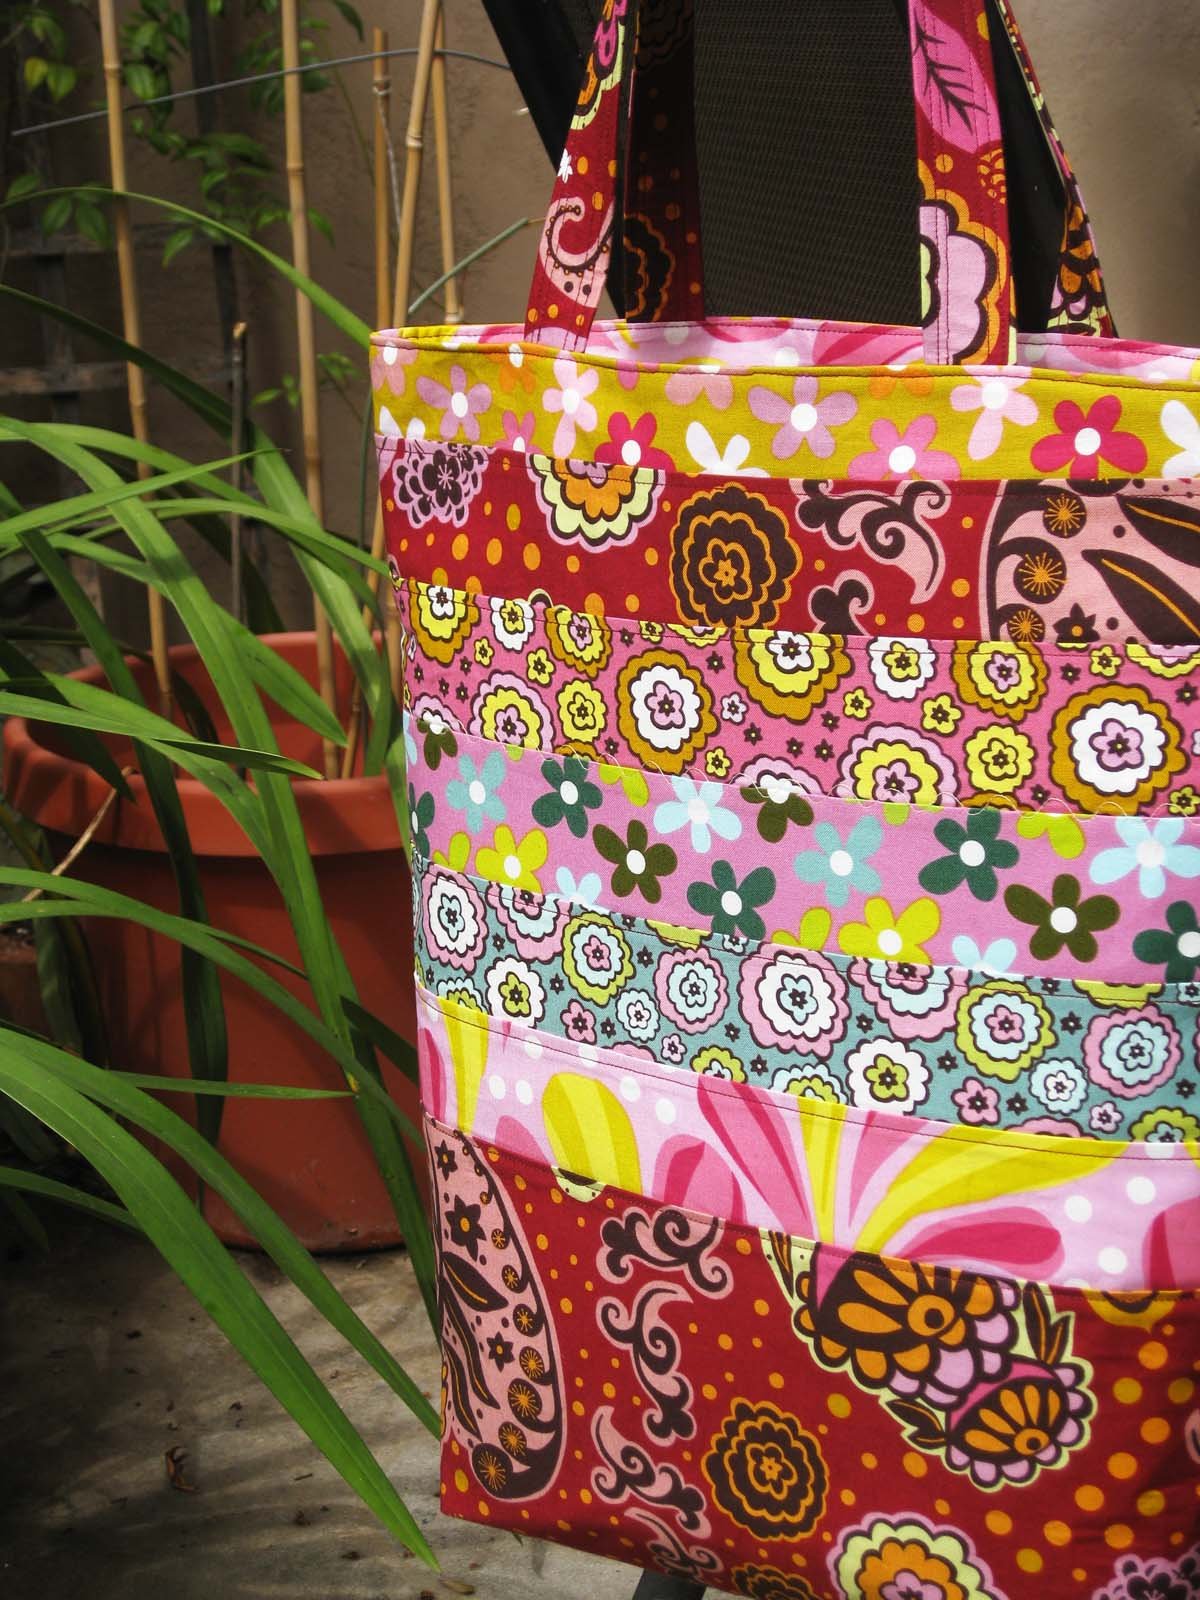
When considering the color palette for your Patchwork Bag – Tutorial, try to mix large-scale prints with small ditsy florals and solid colors. This creates visual interest and depth, making the quilted texture pop. Scraps from previous projects, such as leftover quilting cotton, are perfect for this, making the project both budget-friendly and environmentally conscious.
Your choice of thread and needles also plays a vital role in this Patchwork Bag – Tutorial. Use a high-quality polyester or cotton thread that matches your primary fabric color. A size 80/12 or 90/14 sewing needle is typically recommended for sewing through multiple layers of fabric and batting, ensuring smooth stitches without skipped beats or thread breakage.
Lastly, consider the hardware and notions that will complete your Patchwork Bag – Tutorial. Items like magnetic snaps, zippers, or D-rings for the straps can elevate the utility of your bag. Adding a reinforced base using plastic canvas or heavy buckram will also ensure that your patchwork creation can carry heavier items like books or tablets without losing its shape.
2. Master the Art of Cutting and Piecing Your Patchwork Squares
The core of the Patchwork Bag – Tutorial involves the meticulous cutting of your fabric into uniform shapes. Most beginners find success starting with 5-inch charms or 2.5-inch strips, often referred to as jelly rolls in the quilting community. Consistent cutting ensures that when you begin sewing the blocks together, the edges line up perfectly, creating a clean and professional grid layout.
As you progress through this Patchwork Bag – Tutorial, focus on the quarter-inch seam allowance. This is the standard in quilting, and maintaining this consistency is what allows your patchwork rows to stay straight. Use a 1/4″ quilting foot on your sewing machine if available, as it provides a physical guide to keep your stitching lines accurate throughout the project.
Ironing is perhaps the most underrated part of the Patchwork Bag – Tutorial. You must press your seams after every single row of stitching. Usually, it is best to press the seams to the “dark side” or nest your seams to reduce bulk at the intersections. This technique ensures that the front of your patchwork bag remains flat and smooth for the subsequent quilting phase.
Organizing your layout is a creative highlight of the Patchwork Bag – Tutorial. Before you sew, lay your pieces out on a design wall or a flat table to see how the colors interact. Balance the visual weight by spreading out darker fabrics and bright pops of color. This step allows you to catch any mistakes in the pattern repetition before they become permanent parts of your sewn project.
In this Patchwork Bag – Tutorial, we recommend sewing your pieces into “blocks” first. By creating larger sections of pieced fabric, you make the final assembly of the bag panels much more manageable. This modular approach is common in advanced sewing tutorials because it allows for easier handling of the material under the sewing machine arm.
Once your panels are assembled, the Patchwork Bag – Tutorial moves into the stabilization phase. Trim any excess threads and give the entire panel a final steam press. This is the moment to fuse your interfacing to the back of the patchwork. The heat-activated adhesive will bond the layers, turning your loose collection of scraps into a single, sturdy textile component ready for construction.
3. Quilting and Constructing the Body of the Bag
Quilting the layers together is what gives the Patchwork Bag – Tutorial its signature look. You can choose a simple straight-line quilting pattern, often called “stitch in the ditch,” or go for a more decorative diamond quilt effect. This process secures the patchwork exterior to the batting, creating a cushioned feel and adding significant structural integrity to the finished product.
During this stage of the Patchwork Bag – Tutorial, using a walking foot is highly recommended. A walking foot feeds the top and bottom layers of fabric through the machine at the same rate, preventing the “shifting” that often occurs with thick fabric sandwiches. This ensures that your quilted design remains symmetrical and free of unsightly puckers or wrinkles.
Now, we move to the “boxing” of the corners, a crucial technique in our Patchwork Bag – Tutorial. By sewing across the bottom corners of your bag, you create depth and volume, allowing the bag to stand upright. This simple geometric trick transforms a flat “envelope” shape into a functional 3D tote bag, perfect for carrying your daily essentials.
The Patchwork Bag – Tutorial wouldn’t be complete without discussing the lining. A well-fitted lining hides all the raw edges of your patchwork panels, giving the interior a professional finish. We suggest using a contrasting solid fabric for the lining, which makes it easier to find items inside your bag while adding an extra layer of durability and style.
Attaching the straps or handles is the next vital step in the Patchwork Bag – Tutorial. Whether you make your own fabric straps or use leather handles, ensure they are securely anchored. Reinforced stitching, such as a “box X” stitch, is essential at the attachment points to handle the stress of weight when the patchwork tote is in use.
To finish the main body in this Patchwork Bag – Tutorial, you will join the exterior and the lining at the top edge. This usually involves right-sides-together sewing, leaving a small gap for turning the bag right-side out. This “birthing” process is magical, as it reveals the final shape of your handmade patchwork bag, leaving only the final topstitching to be completed.
4. Final Touches and Professional Finishing Techniques
The final stage of the Patchwork Bag – Tutorial focuses on the details that separate a hobbyist project from a designer accessory. Topstitching around the top rim of the bag is not just decorative; it holds the lining in place and provides a crisp, finished edge. Use a slightly longer stitch length for topstitching to achieve a clean, high-end look on your custom bag.
Adding internal pockets is a functional upgrade we highly recommend in this Patchwork Bag – Tutorial. A simple slip pocket or a zippered compartment added to the lining before assembly can make your bag much more organized. These small additions significantly increase the value and utility of your sewing project, making it perfect for gifting or selling.
Another professional tip in this Patchwork Bag – Tutorial is the use of fabric sealant or overcasting stitches on internal raw seams if you aren’t using a full lining. However, for the best SEO results and user satisfaction, a fully lined bag is always the superior choice. It protects the delicate patchwork seams from wear and tear over time.
Personalization is a key theme of our Patchwork Bag – Tutorial. Consider adding a handmade label, some embroidery, or even a tassel to the zipper pull. These embellishments turn a standard tutorial outcome into a unique piece of wearable art. The more love you put into the finishing touches, the more your patchwork handbag will stand out.
Maintaining your bag is the final lesson in the Patchwork Bag – Tutorial. Since most of these bags are made from cotton scraps, they are often machine washable. However, to preserve the quilting stitches and the shape of the interfacing, we recommend a gentle hand wash and air drying. This ensures your handcrafted creation lasts for many years to come.
We hope this Patchwork Bag – Tutorial has inspired you to clear out your fabric stash and start creating. Patchwork is a rewarding journey that combines logic, geometry, and artistic flair. By following these professional sewing tips, you are well on your way to mastering the craft of bag making and contributing to a more sustainable, handmade world.
FAQ – Frequently Asked Questions about Patchwork Bags
1. What is the best fabric for a patchwork bag?
The most recommended fabric for a Patchwork Bag – Tutorial is high-quality quilting cotton. It is durable, comes in infinite patterns, and is easy to handle for beginners. You can also incorporate repurposed denim or linen for a more rustic or modern look.
2. Do I really need to use interfacing?
Yes! Interfacing is essential in a Patchwork Bag – Tutorial. It provides the structure that prevents the bag from looking “floppy.” Fusible fleece is great for a quilted feel, while Decor-Bond or heavy canvas inserts provide a stiffer, more formal shape.
3. Can I make a patchwork bag without a sewing machine?
While you can sew a patchwork bag by hand using a backstitch, it is significantly more time-consuming. For the durability required for a daily-use bag, a sewing machine is highly recommended to ensure the seams are strong enough to hold weight.
4. How do I keep my patchwork squares lined up?
The secret is a consistent 1/4-inch seam allowance and lots of pinning or clipping. In this Patchwork Bag – Tutorial, we emphasize pressing your seams in opposite directions so they “nest” together, which locks the corners in place perfectly.
5. How much fabric do I need for a standard tote?
For a medium-sized patchwork tote, you generally need about 1/2 yard of lining fabric and a variety of scraps totaling roughly another 1/2 yard for the exterior. This makes it an ideal scrap-buster project for any sewer.
6. Is this project suitable for absolute beginners?
Absolutely! This Patchwork Bag – Tutorial is designed to guide you through the basics. If you can sew a straight line, you can make a patchwork bag. Start with larger squares to make the process faster and easier before moving on to complex designs.
Conclusion
In this Patchwork Bag – Tutorial, we have covered everything from selecting the right cotton fabrics and stabilizers to the technical aspects of piecing squares and boxing corners.
You have learned how to use a walking foot for quilting and how to add a professional lining to ensure your handmade bag is as beautiful on the inside as it is on the outside. This project is a fantastic way to practice sustainable sewing while creating something truly functional and unique.