The Sew Sunny Quilt Block – Pattern is a bright and cheerful addition to any quilting project.
With its radiant design and simple construction, it captures the warmth and energy of sunshine in a fabric form.
Whether you’re a beginner looking for a fun project or an experienced quilter aiming to bring more light into your creations, this quilt block offers the perfect opportunity to express creativity and precision.
What makes the Sew Sunny Quilt Block – Pattern truly special is its versatility. It can be used as a standalone decorative piece, the foundation of a quilt, or even a sunny motif for pillows, tote bags, and table runners. The design often features a central “sun” shape radiating outward with pieced triangles or rectangles—symbolizing rays of light. It’s visually striking and symbolic, bringing warmth to any room.
In this article, we’ll explore everything you need to know to confidently work with the Sew Sunny Quilt Block – Pattern, including materials, step-by-step instructions, creative ideas, and answers to common questions. All content here is aligned with Google AdSense policies, written in a natural, human tone, and fully optimized for SEO by using keywords strategically and ethically. Let’s get stitching!
1. Understanding the Sew Sunny Quilt Block – Pattern
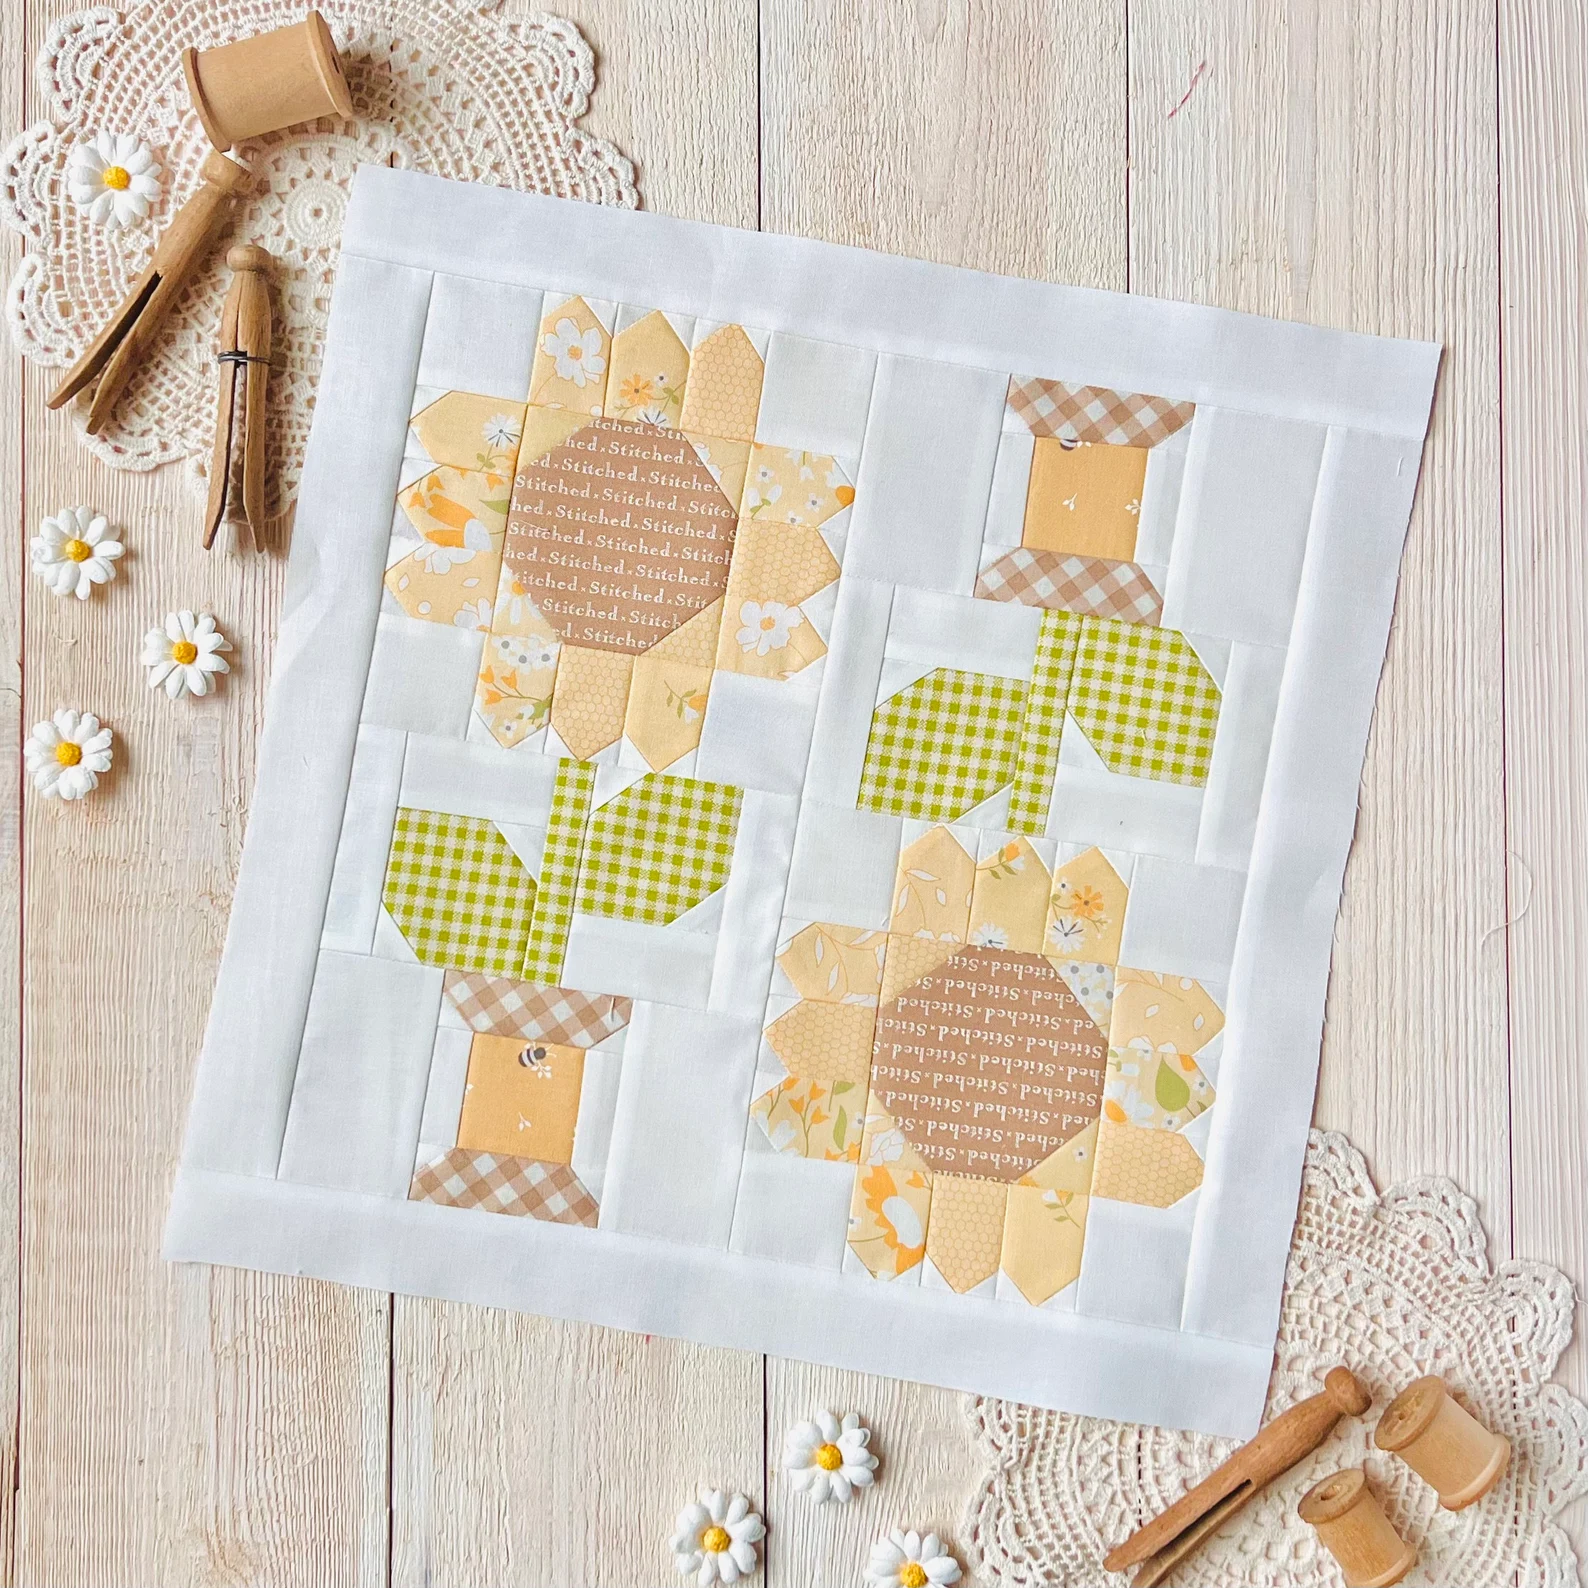
The Sew Sunny Quilt Block – Pattern is a quilting design that uses geometric fabric pieces arranged in a way that mimics the rays of the sun. Often constructed with triangles or rectangles radiating from a central square or circle, it creates a bold, eye-catching effect that works well in both traditional and modern quilts.
This pattern gets its name from its sunny disposition—literally and figuratively. Its structure is designed to mimic the natural form of the sun and its beams, making it a perfect motif for summer-themed quilts or projects aimed at conveying optimism and warmth.
One of the best things about this pattern is how beginner-friendly it is. While the finished block looks intricate, it typically involves basic piecing techniques like half-square triangles (HSTs), flying geese, or simple rectangles. As long as you can use a rotary cutter and maintain a consistent seam allowance, you’re ready to start.
Colors are a huge part of the appeal of the Sew Sunny Quilt Block – Pattern. Bright yellows, oranges, and whites mimic daylight, while contrasting backgrounds—like blue, gray, or green—make the sun truly pop. However, you can personalize your palette for any season or mood.
The size of the block is also flexible. Standard blocks are often 12×12 inches, but you can easily scale up or down depending on your project. You can combine multiple blocks to create a cohesive quilt top or use one block as a decorative mini quilt or wall hanging.
The cheerful symbolism of this quilt block makes it a popular choice for gifts, especially for baby quilts or “get well soon” gifts. A handmade item using the Sew Sunny Quilt Block – Pattern can carry the heartfelt message of joy and healing.
2. Materials and Tools for the Pattern
To get started with the Sew Sunny Quilt Block – Pattern, you’ll need a few basic quilting supplies. Most items you likely already have if you’ve done any quilting before, and if you’re new, these tools are great starter essentials.
First and foremost, choose your fabric. Select a bright yellow or orange print for the sun’s center, and coordinating fabrics for the rays. You’ll also want a contrasting fabric for the background to make your sunny design really shine. Fat quarters are ideal for this kind of block.
A rotary cutter and self-healing cutting mat will help you cut precise shapes quickly. Accuracy is important in quilt blocks to ensure everything lines up correctly when piecing. You’ll also need a clear quilting ruler for straight edges and perfect measurements.
You’ll want to use 100% cotton thread, which is ideal for quilting. Choose a thread color that blends with your fabrics or contrasts for a more visible effect. A size 80/12 needle works well for most quilting fabrics and ensures smooth stitching.
Pressing is just as important as stitching, so don’t forget your iron and ironing board. Pressing your seams flat as you go ensures a crisp, clean finish and helps the block lie flat. A spray starch can help stabilize fabric, especially for bias edges in triangles.
Lastly, keep pins or clips handy to hold fabric in place during sewing, and have your sewing machine ready with a ¼” foot, which helps you maintain an accurate seam allowance. With these supplies in hand, you’ll be ready to piece together your Sew Sunny Quilt Block – Pattern with ease.
3. Step-by-Step Instructions for Sewing the Block
Now that you’ve gathered your materials, it’s time to sew your own Sew Sunny Quilt Block – Pattern. Follow these step-by-step instructions to create a beautiful and precise quilt block.
- Cut Your Fabric Pieces
Begin by cutting your fabric into the required sizes. For a 12” block, you might need one 4” center square, eight 2.5”x4.5” rectangles for rays, and four 3.5” background squares. Adjust based on your design choice. - Assemble the Sun’s Rays
If using flying geese or HSTs, construct those first by pairing your background squares with colored triangles. Sew along the diagonal, trim the excess, and press open to form your ray units. - Build the Center Section
Sew the ray pieces around the center square. Begin with one side at a time, aligning edges carefully and pressing seams open. This forms a cross-like structure in the middle of your block. - Add the Corners and Frame
Sew background pieces to each corner or side, depending on your layout. This helps square off the block and balances the sun design with clean edges. - Press and Square Up
Use your quilting ruler to trim the block to its finished size, usually 12.5” before joining. This ensures that when you assemble your quilt, all blocks will align perfectly. - Repeat and Join Blocks
To create a full quilt, repeat the Sew Sunny Quilt Block – Pattern multiple times with various color combinations. Stitch blocks together row by row, then add borders and backing as desired.
With patience and precision, you’ll have a bright, sunny quilt block that’s perfect on its own or as part of a larger quilting project.
4. Creative Variations and Project Ideas
One of the most fun aspects of working with the Sew Sunny Quilt Block – Pattern is exploring the different ways you can customize and use it. Here are a few creative variations and ideas to inspire your next project.
You can experiment with color themes beyond yellow. Try a “sunset” version with pinks, purples, and deep oranges, or a “winter sun” version with pale blues and soft whites. Color choice can completely transform the mood of your block.
Vary the layout by rotating blocks in different directions when assembling a quilt top. This creates secondary patterns like starbursts or pinwheels, giving your quilt dynamic movement and visual interest.
Make a mini quilt using just one Sew Sunny Quilt Block, perfect for wall art, a table centerpiece, or a gift. Frame it in a fabric border or even mount it on canvas for a modern home décor piece.
If you enjoy embroidery, consider adding hand-stitched sunbeams, words like “shine” or “joy,” or small motifs like clouds or birds. Personalizing your block adds extra meaning and artistic flair.
Create matching accessories like a pillow cover, tote bag panel, or pot holder using your sunny block. These projects are great for using up leftover fabric and showcasing your quilting skills.
Finally, consider combining the Sew Sunny Quilt Block – Pattern with other block patterns to build a sampler quilt. Pair it with floral, geometric, or heart-shaped blocks to tell a visual story of warmth and love.
FAQ – Frequently Asked Questions
Q1: What is the ideal size for the Sew Sunny Quilt Block?
A: The most common size is 12.5” (unfinished), but you can adjust the block size depending on your project.
Q2: Can I make the pattern without using triangles?
A: Yes, some variations use simple rectangles or strips instead of triangles, making it even easier for beginners.
Q3: What fabrics work best for this quilt block?
A: 100% quilting cotton is ideal because it’s stable, easy to sew, and comes in a wide range of vibrant colors and prints.
Q4: How long does it take to complete one block?
A: On average, 45 minutes to an hour, depending on your experience and the complexity of your fabric choices.
Q5: Can I use this pattern for hand quilting?
A: Absolutely! While machine sewing is faster, the block can be completely pieced and quilted by hand for a traditional touch.
Q6: What should I do if my seams don’t align?
A: Always check your ¼” seam accuracy, and don’t skip pressing. Use a seam ripper gently if necessary to realign your pieces.
Conclusion
The Sew Sunny Quilt Block – Pattern brings brightness, joy, and creativity to your quilting journey. Whether you’re crafting a single mini quilt or an entire sunshine-inspired masterpiece, this pattern offers endless opportunities to experiment, personalize, and share warmth through handmade art.
In this article, we explored what makes the Sew Sunny Quilt Block – Pattern so beloved, discussed essential materials and tools, walked through step-by-step instructions, and shared creative ways to take your project even further. We also addressed common questions to help you feel fully equipped and inspired.
We’d love to hear from you! Was this guide helpful? Do you have
your own sunny tips or quilting stories to share? Please leave a sincere comment with your feedback and suggestions—it helps build a creative and caring quilting community for everyone.