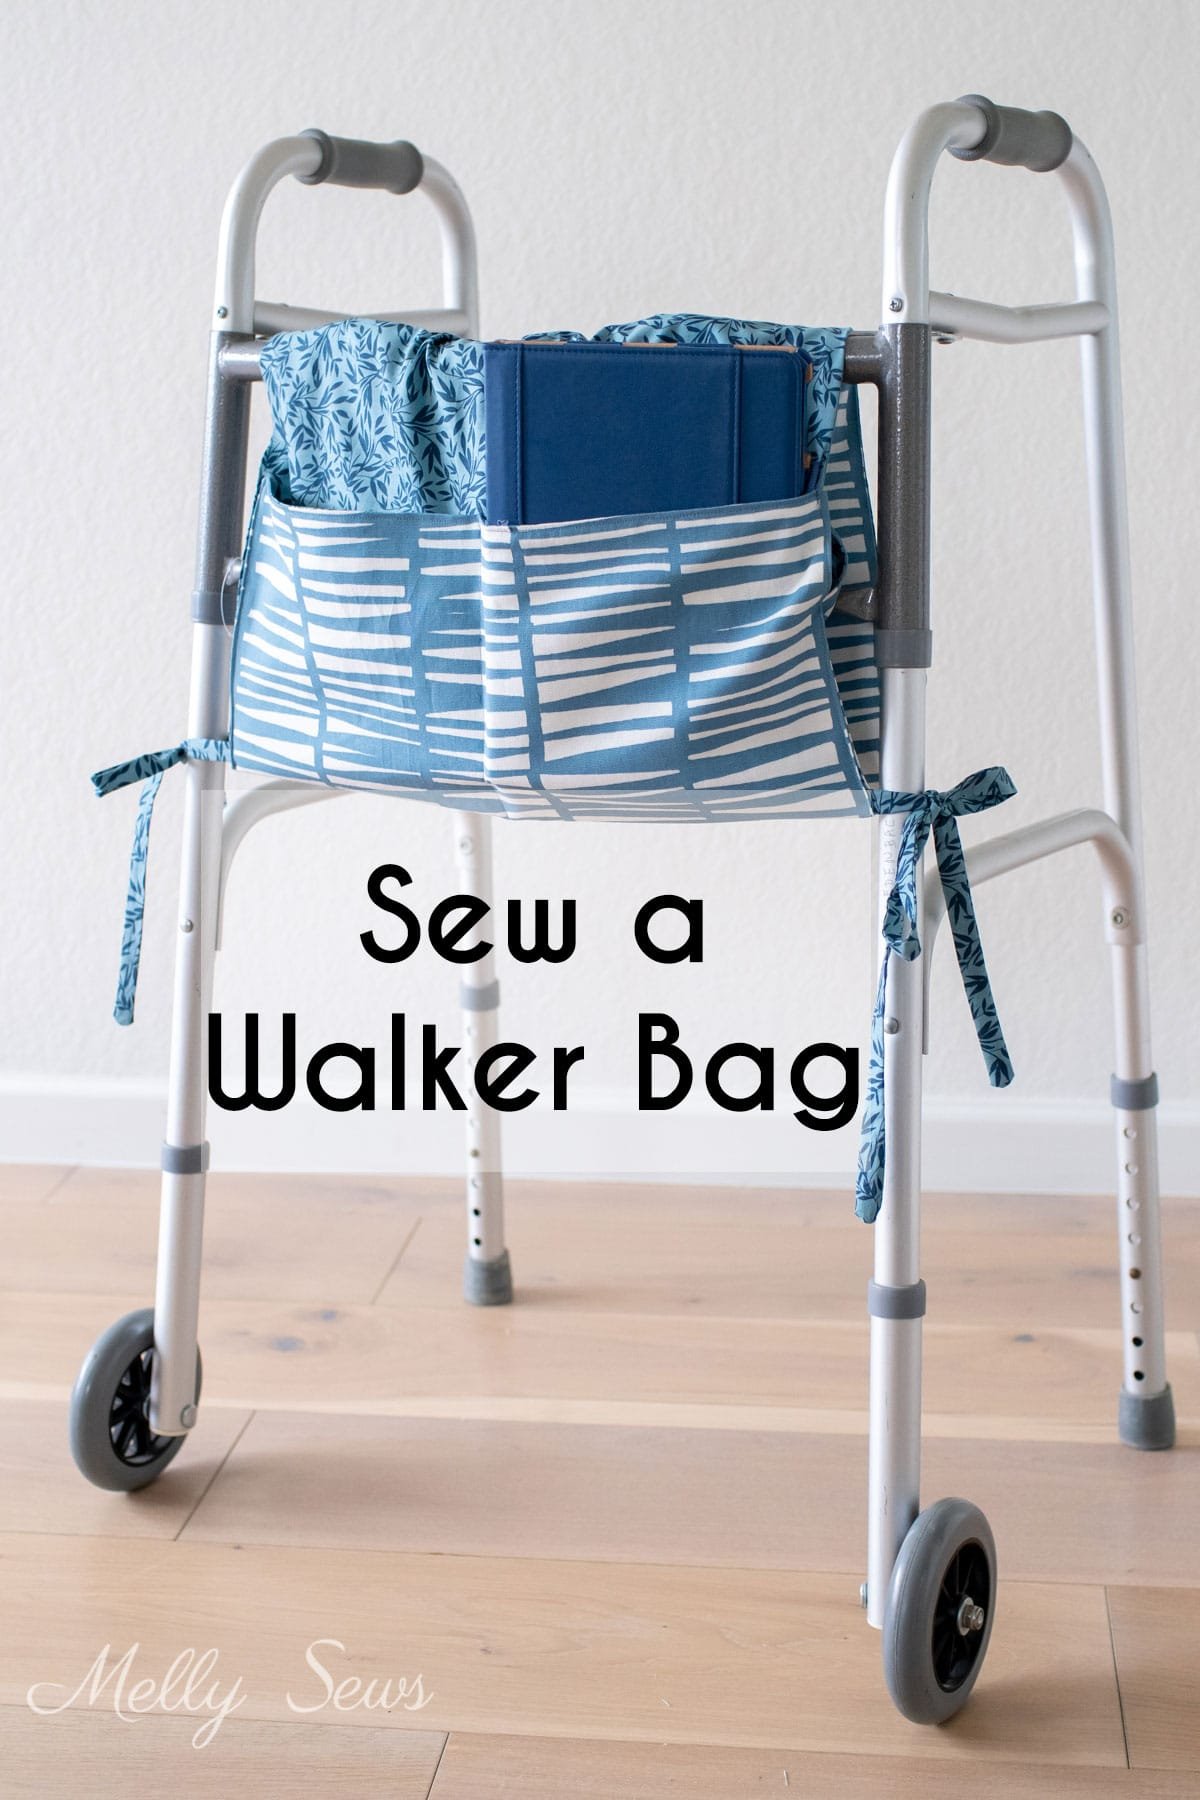
The Walker Caddy – Pattern is a thoughtful and highly practical sewing project designed to enhance the daily lives of people using walkers. A walker caddy, also known as a walker bag or organizer, provides convenient storage for essentials such as phones, glasses, books, and snacks, helping users maintain independence and mobility. Whether you’re making one for a loved one or for donation, this is a meaningful project with both functionality and heart.
What makes the Walker Caddy – Pattern so appealing is how customizable it can be. With options for multiple pockets, adjustable straps, and fabric choices to match personal style, this pattern can be adapted for individual needs. It’s an ideal project for confident beginners or experienced sewists looking to craft something truly useful.
In this article, we’ll guide you through choosing materials, cutting and assembling your walker caddy, customizing it for added convenience, and caring for your finished product. You’ll also find a helpful FAQ and a final summary to bring everything together. This article is structured with both accessibility and Google AdSense policy compliance in mind—family-friendly, informative, and SEO-optimized.
1. Selecting the Right Materials for the Walker Caddy – Pattern
Choosing the proper materials is key to the durability and comfort of the Walker Caddy – Pattern. Since it will hang from a walker and hold personal items, your materials should be sturdy, washable, and comfortable to the touch.
Start with a medium to heavy-weight cotton fabric for the outer layer. Duck cloth, denim, canvas, or cotton twill are excellent choices. These fabrics offer enough structure to hold their shape but remain flexible enough to be sewn easily.
The lining fabric can be lighter—quilter’s cotton or cotton-polyester blends work well. It adds visual interest if you choose a contrasting color or pattern. Always pre-wash your fabric to prevent future shrinkage and distortion.
Interfacing is another crucial element. Use fusible interfacing for extra stability, especially for the back of the caddy and any larger pockets. This helps prevent sagging and maintains a tidy appearance even with repeated use.
You’ll need fasteners like hook-and-loop tape (Velcro), snaps, or buttons to attach the caddy securely to the walker’s frame. Velcro is often the easiest to use, especially for those with limited hand mobility. Straps can be made from fabric, cotton webbing, or grosgrain ribbon.
Make sure to use strong thread for durability, especially around pockets and attachment points. Basic sewing tools such as scissors, pins, a measuring tape, and a sewing machine will round out your supplies. A walking foot on your sewing machine can help if you’re using thicker materials.
Take time to plan your layout. Think about what the user will carry—phone, medication, keys, books—and place pockets accordingly. Some people prefer fewer, larger compartments, while others like multiple smaller pockets.
2. Cutting and Assembling the Walker Caddy – Pattern
Once you have your materials ready, it’s time to begin crafting your Walker Caddy – Pattern. Start by measuring the size of the walker’s front bar or side bars where the caddy will hang. A standard size is around 16–18 inches wide and 10–12 inches tall, but this can vary depending on the model.
Cut your main fabric and lining to match your desired finished size. Also cut interfacing pieces to the same dimensions and iron them onto the back of your main fabric for extra strength. If your pattern includes flap closures or side pockets, be sure to cut those pieces as well.
Next, construct your pockets. Fold the pocket fabric in half right sides together, sew around the edges leaving an opening, turn right side out, and press. Topstitch the top edge, then place the pocket onto the exterior panel of your caddy. Sew the sides and bottom, backstitching at the top corners for reinforcement.
If you want divided pockets, sew vertical lines from the bottom to the top of the pocket area. You can customize this section for items like cell phones, tissues, or notebooks. Just make sure the widths suit the items the user carries frequently.
Once the pockets are done, attach the lining to the exterior panel. Place them right sides together and sew around the edges, leaving a small gap for turning. Clip corners, turn right side out, and press the seams flat. Then, topstitch around the entire edge for a finished look and to close the gap.
Now it’s time to add the straps or ties. These will attach your walker caddy securely to the walker’s frame. Attach them to the back panel using reinforced stitching or bar tacks. Space them evenly at the top and optionally at the sides or bottom for extra stability.
Check the final fit on a walker. Adjust if necessary before gifting or using. Some people like to add a label or personalized touch such as embroidery or a patch for identification or aesthetics.
3. Customizing the Walker Caddy – Pattern for Individual Needs
The beauty of the Walker Caddy – Pattern is that it can be personalized for the user’s lifestyle and health needs. Begin by considering how the bag will be used. Does the person carry books? Glasses? Medical supplies? Knowing these details helps in tailoring the features.
Consider adding a zipper pocket for securing important items like keys or medication. This adds privacy and prevents accidental loss. You can also sew elastic at the top of a pocket to hold water bottles or larger items in place.
If the user has trouble with small fasteners, skip buttons and go with Velcro strips or magnetic closures. This makes the bag easier to use, especially for those with arthritis or limited dexterity.
Some patterns include a flap that folds over the top for added security. This is useful in preventing items from falling out while moving, especially when navigating uneven terrain.
For additional safety, reflective tape or brightly colored fabric can make the walker caddy more visible outdoors. This is especially helpful for seniors who go out for walks early in the morning or at dusk.
You can also customize the look. Use fabric that reflects the user’s personality—floral prints, plaids, geometric designs, or even novelty prints for a bit of fun. Matching the caddy to the user’s favorite colors or outfits makes it feel more personal and intentional.
Lastly, consider labeling compartments inside the caddy for memory support, using iron-on vinyl or fabric markers. This can help those with cognitive challenges stay organized and independent.
4. Care and Maintenance of a Walker Caddy – Pattern
To ensure your Walker Caddy – Pattern remains useful and in good condition, it’s important to consider cleaning and maintenance. First, always pre-wash your fabric before sewing, as this helps prevent shrinking and keeps the bag looking crisp after washing.
Choose machine-washable materials whenever possible. Cotton, canvas, and polyester blends are durable and hold up well in regular laundry cycles. Avoid delicate fabrics like silk or velvet unless the bag is purely decorative.
To clean the caddy, simply remove it from the walker and place it in a laundry bag if needed. Use mild detergent and cold water, then air dry or tumble dry on low. Press with a warm iron if necessary to restore shape.
Check the straps and fasteners regularly. Make sure Velcro stays sticky and hasn’t lost grip. Replace it if worn out. Reinforce any loose stitching by hand or with a machine to keep the bag safe and secure for the user.
Stains can be spot-cleaned using a mild detergent or a baking soda and water paste. Test on an inconspicuous area first to avoid damaging the fabric. Avoid bleach unless you are using white fabric that won’t fade.
For long-term use, consider sewing a second walker caddy so one can be used while the other is in the wash. Having a backup ensures there’s always a clean one ready to go, and it’s a thoughtful idea when gifting to someone.
Finally, encourage the user to keep the caddy organized by regularly cleaning out old receipts, wrappers, or unused items. A well-maintained caddy stays light, functional, and easy to use daily.
FAQ – Walker Caddy – Pattern
Q1: Is the Walker Caddy – Pattern suitable for beginners?
Yes, this pattern is ideal for beginners. With straight seams and basic techniques, it’s a manageable project even for new sewers.
Q2: What size should I make my walker caddy?
A common finished size is about 16” wide by 12” tall, but you can customize it based on the walker’s dimensions and user’s needs.
Q3: Can I machine wash a walker caddy?
Yes, if made from washable materials like cotton or canvas. Always pre-wash your fabrics before sewing to prevent shrinkage later.
Q4: How do I attach the walker caddy securely?
Use strong straps with Velcro, snaps, or buttons. Ensure they’re reinforced at stress points so the caddy doesn’t slip or sag.
Q5: Can I add extra pockets to the walker caddy?
Absolutely! Add as many as you need—zippered pockets, elastic holders, and flap closures all enhance the bag’s functionality.
Q6: Is the walker caddy only for seniors?
Not at all. Anyone using a walker, including post-surgery patients or individuals with mobility challenges, can benefit from a walker caddy.
Conclusion
Creating a Walker Caddy – Pattern is more than just a sewing project—it’s an act of care, independence, and thoughtful design. From choosing durable materials to customizing it with useful features, this project allows you to craft something truly meaningful for someone’s everyday life.
We’ve covered all the essentials: materials, construction steps, customization options, and maintenance tips. Whether you’re sewing one for a family member or donating to ahealthcare facility, the end result is a practical and stylish companion for any walker user.
If this article helped you or inspired you, please leave a sincere opinion in the comments. We’d also love to hear your ideas or suggestions for improving or personalizing the walker caddy. Happy sewing!