This Cat Bed with Fabric – Tutorial is designed to help you create the ultimate sanctuary for your feline friend using simple materials and a touch of creativity. Every pet owner knows that cats spend a significant portion of their lives sleeping, which makes providing a soft, comfortable, and warm place to rest a top priority. Instead of spending a fortune on generic store-bought options, making a handmade cat bed allows you to choose fabrics that match your home decor while ensuring the highest level of comfort for your pet.
In this detailed Cat Bed with Fabric – Tutorial, we are going to walk you through the process of constructing a “donut-style” bed, which is a favorite among cats because the raised edges provide a sense of security and a perfect place to chin-rest. Sewing for your pet is a rewarding experience that combines your handicraft skills with your love for animals. Whether you have a tiny kitten or a large senior cat, the techniques shared here are easily scalable to fit any size, making this a versatile project for any household.
The beauty of a Cat Bed with Fabric – Tutorial lies in the ability to select materials that are both durable and easy to maintain. Cats can be picky, and they often prefer textures like fleece, flannel, or soft cotton, which we will incorporate into this design. By following these steps, you will not only save money but also create a unique pet accessory that is much higher in quality than mass-produced versions. Get your sewing kit and your favorite fabric ready, because it is time to build a cozy nest that your cat will absolutely adore.
1. Choosing the Right Textiles and Filling for Your Pet
The first step in our Cat Bed with Fabric – Tutorial is selecting a fabric that can withstand “kneading” and the occasional scratch. We highly recommend using a heavy-duty upholstery cotton for the exterior and a soft sherpa or minky fabric for the interior where the cat will actually sleep. This combination ensures that the bed is tough enough to last for years while remaining incredibly inviting and soft to the touch.
Because hygiene is crucial for pet products, you should look for fabrics that are machine washable and won’t pill after a few cycles. Pre-washing your fabric before you start the Cat Bed with Fabric – Tutorial is a smart move to prevent the bed from shrinking or warping later on. If your cat has allergies, consider using organic cotton and natural dyes to ensure their sleeping environment is as healthy as possible.
The internal structure of the bed depends entirely on the stuffing material you choose. For a soft, cloud-like feel, siliconized polyester fiberfill is the best choice because it doesn’t clump and retains its loft over time. Some crafters also like to add a layer of foam padding at the bottom for extra orthopedic support, which is especially beneficial for older cats with joint issues or arthritis.
In this Cat Bed with Fabric – Tutorial, we also suggest considering a waterproof liner for the bottom cushion. Accidents happen, and having a removable, waterproof cover underneath the main fabric can save the stuffing from being ruined. You can use PUL fabric (polyurethane laminate) for this purpose, as it is breathable but completely liquid-resistant, making your handmade pet bed much more practical.
Don’t forget to think about the color and pattern of your Cat Bed with Fabric. Since cats shed, choosing a fabric color that is similar to your cat’s fur can help keep the bed looking clean between washes. Alternatively, vibrant floral prints or modern geometric patterns can turn the pet bed into a stylish accent piece for your living room or bedroom.
Lastly, make sure you have high-quality polyester thread that can handle the tension of a stuffed project. Since the seams will be under pressure from the stuffing and the cat’s weight, a reinforced stitch is necessary. Having a set of sharp fabric shears and a long upholstery needle will also make the final assembly of the Cat Bed with Fabric – Tutorial significantly easier and more professional.
2. Cutting the Patterns and Preparing the Base
To start the construction of your Cat Bed with Fabric – Tutorial, you will need to cut two large circles for the base and a long rectangular strip for the side walls. For a standard-sized cat, a 20-inch diameter circle is usually perfect. Using a tailor’s chalk or a disappearing ink pen, mark your measurements on the wrong side of the fabric to ensure your cuts are precise and symmetrical.
When cutting the rectangular strip for the bolster (the sides), make sure it is long enough to wrap around the entire circumference of the circle. A simple math trick for this Cat Bed with Fabric – Tutorial is to multiply the diameter by 3.14 (pi) and add a few inches for the seam allowance. The height of this strip should be around 10 to 12 inches, which will create a cozy, high-walled bed once folded and stuffed.
If you want a reversible cat bed, cut one circle from your exterior fabric and the other from your soft interior fabric. This allows you to flip the bed inside out depending on the season—using the cool cotton side in the summer and the warm minky side in the winter. This level of customization is what makes a DIY fabric cat bed so much better than anything you can find in a pet store.
Before sewing, it is important to reinforce the bottom of the bed. In this Cat Bed with Fabric – Tutorial, we recommend sewing a layer of non-slip fabric or “dotted” grip fabric to the very bottom circle. This prevents the bed from sliding across wooden or tiled floors when your cat jumps in or out, providing a safer and more stable environment for your pet.
Next, you will prepare the “cushion” part of the base. If you aren’t making a removable pillow, you can sew the two circles together (right sides facing), leaving a small gap to turn it out and stuff it. To keep the stuffing from shifting, you can do some simple tufting by sewing a few small circles or “dimples” in the center of the base, which gives the bed a high-end quilted look.
Take a moment to check your seams. In a Cat Bed with Fabric – Tutorial, the base takes the most stress, so consider doing a double stitch or a zigzag stitch along the edges to prevent fraying. Once the base is stuffed and the opening is closed with a ladder stitch, you have the foundation of your bed ready for the side walls to be attached.
3. Sewing the Bolster and Assembly
The “bolster” or the raised edge is what provides the iconic shape in our Cat Bed with Fabric – Tutorial. Fold your long rectangular strip in half lengthwise (right sides together) and sew the long edge to create a giant tube. Once turned right side out, you will have a long fabric “snake” that is ready to be filled with your fiberfill stuffing.
Stuff the tube firmly but leave about an inch of space at both ends. In this Cat Bed with Fabric – Tutorial, the goal is to make the bolster stiff enough to stand up on its own but soft enough for a cat to snuggle against. Use a wooden spoon or a stuffing tool to push the fiberfill all the way to the center of the tube, ensuring there are no flat spots or lumps.
Now comes the assembly of the Cat Bed with Fabric. Pin the stuffed tube around the perimeter of your base cushion. This can be a bit bulky, so using sewing clips instead of pins is highly recommended to keep the layers from shifting. You will be sewing the bottom seam of the tube directly to the edge of the base, creating a seamless transition between the floor and the walls.
If your sewing machine struggles with the thickness, you may need to use a heavy-duty needle or finish the attachment by hand using a strong upholstery thread. Many experts in the Cat Bed with Fabric – Tutorial community prefer a hand-sewn finish for this part because it allows for more control over the shape and prevents the machine from “chewing” the fabric.
To finish the bolster, join the two ends of the tube together. You can overlap them slightly or tuck one end into the other before sewing them shut. This creates a continuous, unbroken circle of comfort around the base. At this stage, your Cat Bed with Fabric should look like a professional, cozy nest that is ready for its first “quality control” test by your cat.
If you find that the sides are leaning outward too much, you can add a few hidden stitches between the base and the bolster to “pull” the walls inward. This creates a more “cup-like” shape that cats find irresistible. Tuning the shape is the “humanized” part of the process, where you adjust the design to fit the specific sleeping habits of your unique pet.
4. Customizing for Style and Ease of Cleaning
One of the best parts of this Cat Bed with Fabric – Tutorial is the opportunity for personalization. You can add a small catnip pocket inside the lining to attract your cat to their new bed, or sew their name onto the front using embroidery or applique. These small details turn a functional item into a cherished part of your home that celebrates your pet’s personality.
For those who want an even more practical design, you can modify this Cat Bed with Fabric – Tutorial to include a zippered cover. By installing a long zipper along the side of the bolster and the base, you can easily remove the internal stuffing bags and toss the entire fabric cover into the wash. This is a game-changer for maintaining a clean, hair-free home and extending the life of the bed.
If you have leftover fabric scraps, don’t throw them away! You can use the remnants from your Cat Bed with Fabric to make matching cat toys filled with catnip or crinkle paper. A coordinated set of a bed and toys makes for a fantastic gift for fellow cat lovers or a beautiful presentation if you are planning to sell your handmade pet products at local craft fairs.
Consider the placement of the bed in your house. If it will be in a sunny window, use UV-resistant fabrics to prevent the colors from fading. If it’s for a cold basement, you might even consider inserting a self-warming foil layer inside the base, which reflects the cat’s body heat back to them without needing electricity, a popular trick in modern pet bed tutorials.
In this Cat Bed with Fabric – Tutorial, we encourage you to experiment with different heights for the walls. Some cats prefer very high walls to hide in, while others like a low-profile bed where they can keep an eye on the room. Observing your cat’s favorite sleeping spots will give you the best “data” for customizing your project to their specific needs.
Finally, give the finished bed a good shake and a light lint-rolling to remove any stray threads or fabric dust. Your Cat Bed with Fabric is now complete! Place it in your cat’s favorite corner, add a familiar blanket or a bit of catnip, and watch as they discover their new favorite spot in the house. Your hard work has resulted in a gift that provides comfort and joy to your furry companion every single day.
FAQ – Frequently Asked Questions
1. What is the best fabric for a cat that sheds a lot?
A smooth cotton duck or canvas is excellent because hair doesn’t get trapped in the fibers as easily as it does in fleece. For a Cat Bed with Fabric – Tutorial, these materials are also very durable and easy to vacuum or lint-roll.
2. Can I make this bed without a sewing machine?
Yes! While a machine is faster, you can complete this Cat Bed with Fabric – Tutorial entirely by hand using a backstitch for strength and a ladder stitch for invisible seams. Just be sure to use a strong thread and take your time with the thicker layers.
3. How do I know what size circle to cut for my cat?
A good rule of thumb is to measure your cat while they are sleeping in a curled position. Add 4 to 6 inches to that measurement for the diameter of your base circle to ensure they have plenty of room to stretch out.
4. Is polyester fiberfill safe for pets?
Yes, standard high-loft polyester fiberfill is non-toxic and widely used in pet products. However, if your cat is a “chewer” who likes to rip open toys and beds, always monitor them and ensure the seams are double-stitched to prevent them from ingesting the stuffing.
5. How often should I wash the cat bed?
It is recommended to wash the cover of your Cat Bed with Fabric at least once a month to remove dander, hair, and odors. If your cat spends time outdoors, you may want to wash it every two weeks to keep their sleeping area sanitary.
6. Can I use old clothes for this project?
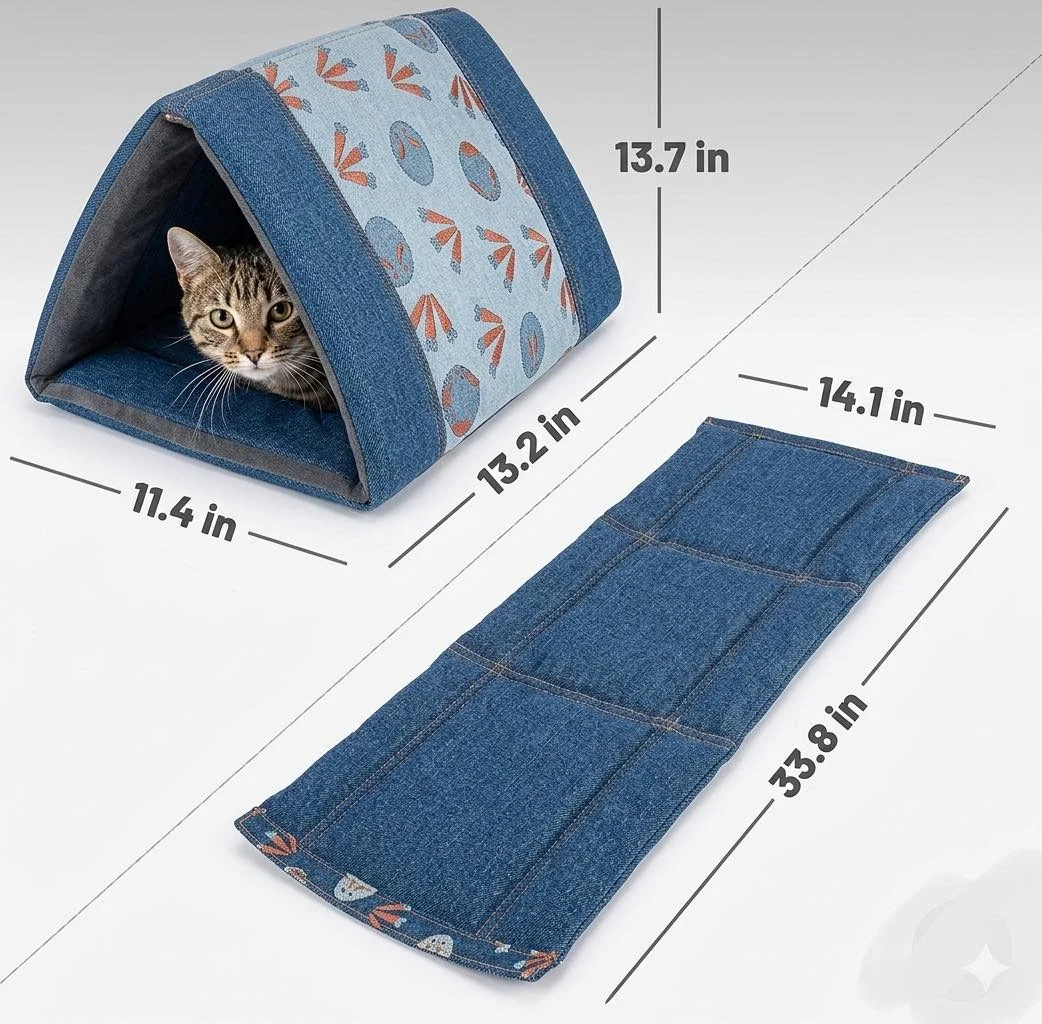
Absolutely! This Cat Bed with Fabric – Tutorial is perfect for upcycling. Old denim jeans make a very durable base, while old sweatshirts or flannel shirts provide a soft, familiar scent that can help a nervous cat feel more at home in their new bed.
Conclusion
In this Cat Bed with Fabric – Tutorial, we have explored the journey of creating a high-quality, comfortable, and stylish home for your pet. We’ve covered everything from selecting durable and washable fabrics to the technical steps of sewing a bolster and tufting a base cushion.
By making this bed yourself, you have provided your cat with a customized sanctuary that meets their specific needs for warmth and security. This project is not just about home organization or pet care; it is an act of love that uses your handicraft skills to improve the daily life of your furry family member.