Hidden Wells Quilt – Tutorial is a fascinating journey into the world of “optical illusion” quilting, where simple fabric strips are transformed into complex, radiating designs that seem to defy logic. This specific technique is beloved by both beginners and seasoned quilters because it offers a high-impact visual result without requiring the tedious precision of traditional curved piecing or intricate paper piecing. By following this Hidden Wells Quilt – Tutorial, you will discover how a straightforward “stack and slice” method can create a secondary pattern that appears to bubble up from the depths of the fabric, much like water in a hidden garden well.
The magic of the Hidden Wells Quilt – Tutorial lies in the strategic use of color value and strip width. Unlike other patterns where you sew individual blocks together, this method relies on creating a “strata”—a large panel of sewn strips—which is then cut at specific angles and rearranged to reveal the “hidden” design. Because the process involves cutting through finished seams, it is essential to use a high-quality cotton quilting fabric and a sharp rotary cutter. This ensures that your edges remain crisp and your blocks align perfectly when you begin the final assembly of your masterpiece.
As you dive into this Hidden Wells Quilt – Tutorial, you will find that it is a fantastic way to clear out your fabric stash or showcase a coordinated bundle of fat quarters. The design works exceptionally well with high-contrast colors; think deep navies against bright yellows, or rich burgundies paired with soft creams. Throughout this guide, we will provide you with the technical steps, time-saving tips, and the creative inspiration needed to turn a simple pile of fabric into a stunning heirloom. Let’s get our cutting mats ready and begin this rewarding creative process.
1. Selecting Fabrics and Preparing Your Strata for the Hidden Wells Quilt – Tutorial
The foundation of a successful Hidden Wells Quilt – Tutorial starts with your fabric selection, specifically focusing on contrast. You will need at least four to five different fabrics that vary in “value”—which refers to how light or dark a fabric is regardless of its color. If your fabrics are too similar in tone, the “well” effect will be lost, and the final quilt will look muddy. To test this, you can take a photo of your fabric pile in black and white; if the fabrics still look distinct, you have a winner.
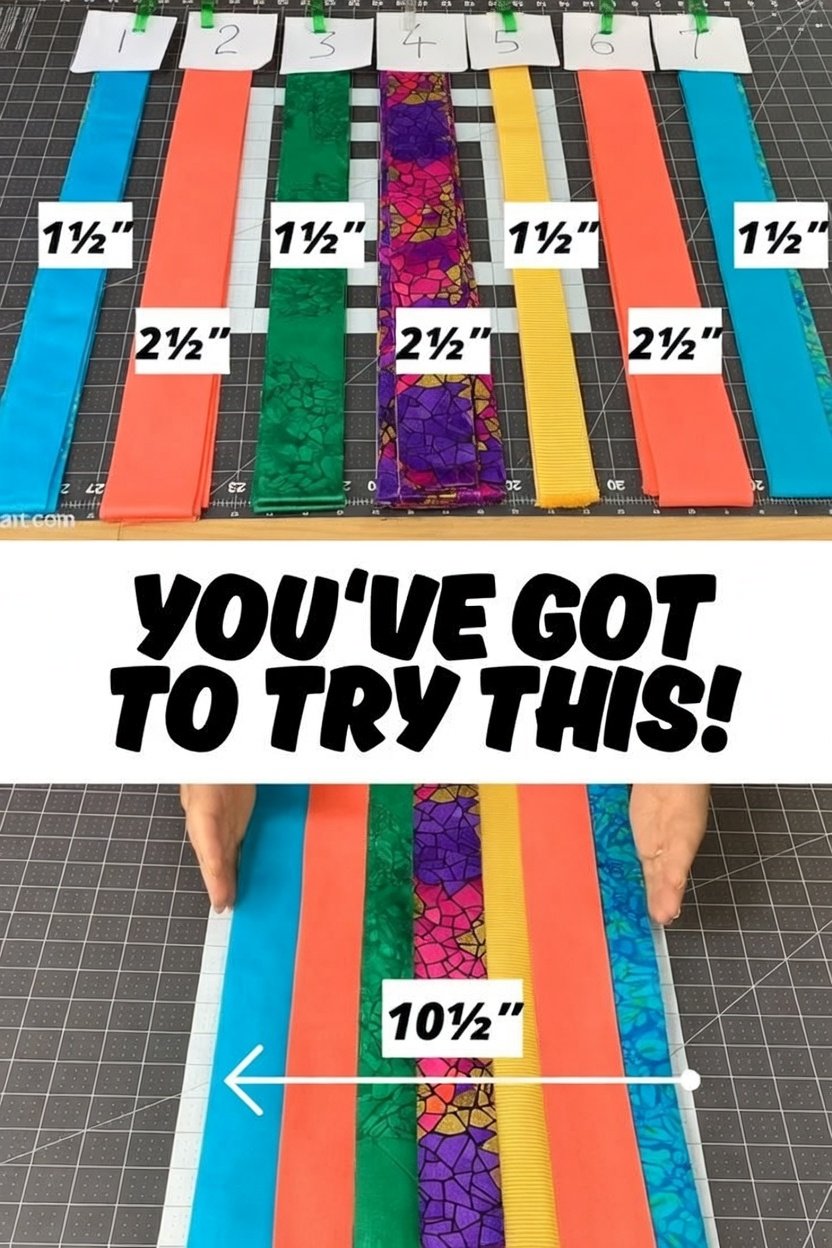
Once you have chosen your palette, the next step in this Hidden Wells Quilt – Tutorial is cutting your initial strips. Typically, you will cut strips between 2.5 and 4 inches wide across the entire width of the fabric (WOF). Consistency is key here, as these strips will be sewn together to form your strata. Make sure your edges are perfectly straight, as even a quarter-inch deviation can cause the final pattern to look crooked once the blocks are rotated and sewn back together.
After cutting, you will sew these strips together along their long edges using a standard quarter-inch seam allowance. This is a crucial rule in any Hidden Wells Quilt – Tutorial: your seams must be consistent to ensure the secondary patterns align. It is highly recommended to use a specialized quilting foot on your sewing machine to maintain this distance. Once the strips are joined, you will have a large striped panel that looks like a colorful picket fence.
Pressing is the “silent partner” of successful quilting, and it is especially important in this Hidden Wells Quilt – Tutorial. You should press your seams toward the darker fabric to prevent them from “shadowing” or showing through the lighter sections. Use a dry iron and a pressing motion rather than a sliding motion to avoid stretching the fabric. A flat, well-pressed strata is much easier to cut accurately in the following steps, preventing “bowing” in the middle of your quilt.
After your strata is pressed, you will perform the most exciting part of the Hidden Wells Quilt – Tutorial: the “doubling up” process. You will cut your large panel into squares, and then you will layer two of these squares together with the stripes running in the same direction. However, the top square is then rotated 90 degrees. This creates a cross-hatch effect that serves as the blueprint for the hidden well design that will emerge after the final cuts.
To finish this preparation phase, you will sew all the way around the perimeter of these layered squares. This might feel counter-intuitive to traditional quilters, but in the Hidden Wells Quilt – Tutorial, this “envelope” method is what allows the fabric to be sliced and flipped open. Ensure your thread tension is balanced, as you don’t want any puckering along the edges. Once your squares are framed with this outer seam, you are officially ready to move into the precision cutting phase.
2. The Art of the Slice: Revealing the Pattern in Your Hidden Wells Quilt – Tutorial
Cutting into a sewn square can be nerve-wracking, but it is the defining moment of the Hidden Wells Quilt – Tutorial. Using a large square quilting ruler and a fresh blade in your rotary cutter, you will make two diagonal cuts from corner to corner, forming an “X”. It is vital that you do not shift the fabric between these two cuts. If you have a rotating cutting mat, this is the perfect time to use it to maintain the perfect alignment of your layered pieces.
Once the “X” is cut, you will have four triangles. When you flip these triangles open, you will see that the stripes have transformed into a nested square pattern. This is the “hidden well” that gives this Hidden Wells Quilt – Tutorial its name. The way the colors now radiate from the center creates a sense of depth and movement that wasn’t there before. Each of these four units is now a block that will eventually be part of your larger quilt top.
To ensure the best results in your Hidden Wells Quilt – Tutorial, you must handle these triangles carefully. Because the diagonal cuts are on the “bias” (the diagonal grain of the fabric), they are very stretchy. Avoid pulling or tugging on the edges. A light mist of fabric starch before cutting can help stabilize the fibers and keep your triangles from distorting. This professional tip will make the subsequent sewing much more manageable and keep your points sharp.
The next task is squaring up your blocks. In any Hidden Wells Quilt – Tutorial, the goal is to have perfectly identical blocks so they fit together like a puzzle. Use your ruler to trim away any “dog ears” (the little points of fabric that stick out at the corners). Even if you lose a tiny bit of the design, having a perfectly square block is more important for the overall structural integrity of the quilt than having oversized, wonky edges.
As you look at your four new blocks, you will notice that the center where the four triangles meet is the “heart” of the well. In this Hidden Wells Quilt – Tutorial, you have the option to arrange these blocks in various ways. You can keep the centers pointing inward to create a “closed” well, or point them outward to create a diamond lattice effect. The versatility of this single cutting technique allows for dozens of different layout possibilities depending on your personal style.
Take a moment to lay out all your cut blocks on a design wall or a large floor space. This is a critical step in the Hidden Wells Quilt – Tutorial because it allows you to see the “big picture.” Sometimes a block that looks great up close might need to be rotated to better balance the colors of the entire quilt. Seeing the patterns emerge across the whole surface is often the most rewarding part of the entire quilting process.
3. Mastering the Layout and Assembly for a Professional Finish
Assembling the quilt top requires a methodical approach to ensure that the “wells” stay aligned across the rows. In this Hidden Wells Quilt – Tutorial, we recommend sewing your blocks into horizontal rows first. Keep a close eye on the direction of your stripes. It is very easy to accidentally flip a block 90 degrees, which would break the optical illusion. Many quilters find it helpful to use painter’s tape to label the order and orientation of each block.
Pinning is non-negotiable during the assembly phase of your Hidden Wells Quilt – Tutorial. When you join two blocks together, you want the seams of the stripes to match up as closely as possible. This is called “nesting” your seams. By pinning at every intersection, you prevent the fabric from shifting under the presser foot. This attention to detail is what separates a beginner’s project from a gallery-quality piece of art.
Once your rows are finished, it is time to join them to each other. In this Hidden Wells Quilt – Tutorial, joining rows is where the “secondary pattern” really takes flight. As the blocks from Row A meet the blocks from Row B, you will see new shapes forming at the intersections. This “hidden” geometry is why the pattern is so popular in modern quilting circles. It creates a complex look that suggests hours of difficult work, even though it was achieved through simple strip piecing.
If you find that your rows are not perfectly the same length, don’t panic. This is a common occurrence in the Hidden Wells Quilt – Tutorial due to the number of seams involved. You can gently “ease” the longer row into the shorter one by placing the longer fabric on the bottom against the sewing machine’s feed dogs. The feed dogs will naturally pull slightly more fabric through, helping to even out the lengths without creating unsightly pleats or puckers.
After the top is fully assembled, give it one final, thorough pressing. In this Hidden Wells Quilt – Tutorial, pressing the final top is about making it as flat as possible for the quilting process. Use a large, flat surface and be careful not to “iron” (slide) the tool, which can distort the blocks you worked so hard to keep square. A well-pressed top is a joy to quilt, whether you are doing it by hand or on a longarm machine.
Consider adding a border to your Hidden Wells Quilt – Tutorial project. A solid, dark border acts like a frame for a painting, containing the busy energy of the hidden wells and giving the eye a place to rest. You might even use one of the fabrics from your original strips to create a “floating” effect. Borders also provide extra stability to the edges of the quilt, which will be handled frequently during the binding process.
4. Troubleshooting and Advanced Variations of the Hidden Wells Technique
One common issue encountered during a Hidden Wells Quilt – Tutorial is the “disappearing point.” This happens when the center of the well doesn’t quite meet in a perfect “X”. This usually stems from a seam allowance that was slightly too wide or narrow. To fix this in future blocks, double-check your “scant quarter-inch” seam. Practicing on a few scrap strips before starting your main project is a wise investment of time that pays off in precision.
Another challenge is “fabric bleed,” especially if you are using high-contrast colors like red and white. Since the Hidden Wells Quilt – Tutorial involves many seams, there are many opportunities for dark threads to show through light fabrics. Always use a high-quality thread that matches your lightest fabric, and consider using “color catchers” in the wash if you haven’t pre-washed your fabrics. This ensures your crisp white “wells” stay bright and clean.
For those who want to take this Hidden Wells Quilt – Tutorial to the next level, try varying the widths of your strips within the same strata. Instead of all 3-inch strips, try a sequence of 1″, 3″, 5″, 3″, 1″. This creates a “fisheye” lens effect where the center of the well looks like it is bulging toward the viewer. This advanced variation is a great way to experiment with perspective and depth in your textile art.
You can also experiment with the “fussy cutting” of your stripes. If you use a fabric with a distinct linear pattern, like a stripe or a chevron, as one of your strips, the Hidden Wells Quilt – Tutorial will take on a kaleidoscopic appearance. The printed stripes will interact with the pieced stripes to create a dizzying array of angles. Just be prepared to use a bit more fabric, as fussy cutting often results in more waste.
If you are struggling with the bias edges, consider using a water-soluble stabilizer along the cut lines of your “X”. This keeps the fabric rigid while you are sewing the triangles back together. Once the quilt top is finished, a quick wash removes the stabilizer, leaving behind perfectly flat seams. This is a “pro-quilter” secret that can save a lot of frustration during any Hidden Wells Quilt – Tutorial involving diagonal cuts.
Finally, remember that quilting is a creative journey. Don’t be afraid to break the rules of the Hidden Wells Quilt – Tutorial. If you want to use mismatched strips or unconventional colors, go for it! The “hidden well” structure is strong enough to handle a lot of experimentation. Every quilt you make is a reflection of your unique voice as a creator, and this pattern is the perfect canvas for your imagination to run wild.
FAQ – Frequently Asked Questions
1. Is the Hidden Wells Quilt – Tutorial suitable for a complete beginner?
Yes! While it looks complicated, it is essentially just sewing straight lines. The most “difficult” part is the diagonal cut, but as long as you have a sharp rotary cutter and a steady hand, a beginner can absolutely achieve a professional result. It’s a great “confidence booster” project.
2. How much fabric do I need for a lap-sized Hidden Wells Quilt?
Generally, you will need about 3 to 4 yards of total fabric for the top (split between your different colors). This allows for enough strips to make a decent-sized strata. Always buy an extra half-yard of your “background” or darkest color just in case of cutting errors.
3. Can I use scraps instead of full-width strips in this Hidden Wells Quilt – Tutorial?
Absolutely. As long as your scraps are long enough to form a consistent strip across your strata square, it works perfectly. In fact, using a variety of different fabrics within the same “color value” can create a “scrappy hidden well” look that is very charming and rustic.
4. What is the best way to quilt the finished top?
Because the Hidden Wells Quilt – Tutorial pattern is so geometric, “stitch-in-the-ditch” or simple straight-line quilting works beautifully. However, if you want to emphasize the “well” effect, you can quilt concentric squares or spirals starting from the center of each block to enhance the feeling of depth.
5. Why is my “well” off-center?
This usually happens if the diagonal cuts of the “X” didn’t pass exactly through the corners of the square. When performing the Hidden Wells Quilt – Tutorial cuts, ensure your ruler is perfectly aligned with the points. Even a 1/8th inch offset will be magnified once the pieces are flipped and sewn.
Conclusion
In this Hidden Wells Quilt – Tutorial, we have explored the mesmerizing process of turning simple fabric strips into an intricate optical illusion. We’ve covered the importance of color contrast, the “stack and slice” technique that reveals the hidden patterns, and the assembly methods required to keep your design aligned and professional.
By mastering the strata method and the diagonal “X” cut, you now have the skills to create a quilt that looks incredibly complex but remains a joy to construct.