Crochet Bee – Tutorial: If you are looking for a delightful, rewarding, and incredibly cute crafting project, you have come to the right place. Learning how to create a charming amigurumi insect is one of the most popular trends in the crafting community today, offering a perfect blend of creativity and relaxation. This comprehensive guide will walk you through every single step required to craft your very own buzzing companion from scratch.
Crafters of all skill levels are discovering the joy of bringing these little textured creatures to life with just a hook and some yarn. Beyond being an adorable decoration, a finished handmade toy makes for a heartfelt, personalized gift that friends and family will cherish for years to come. In this article, we will break down the entire process into easy-to-follow steps, ensuring your crafting experience is smooth, successful, and highly enjoyable.
Before we dive into the actual stitches, it is essential to understand the core techniques and materials that make this specific project successful. By mastering a few fundamental concepts, you will be able to shape, stuff, and assemble your project with absolute confidence. Let us explore the essential terms, materials, and methods you need to master to create a flawless piece.
1. Essential Materials and Tools for Your Crochet Bee – Tutorial
Selecting the right crochet hook size is the absolute foundation of any successful amigurumi project. For this specific project, using a smaller hook than what is typically recommended on the yarn label is crucial because it creates tight, dense stitches. These tight stitches ensure that the soft fiberfill stuffing stays securely inside the toy and does not peek through the gaps.
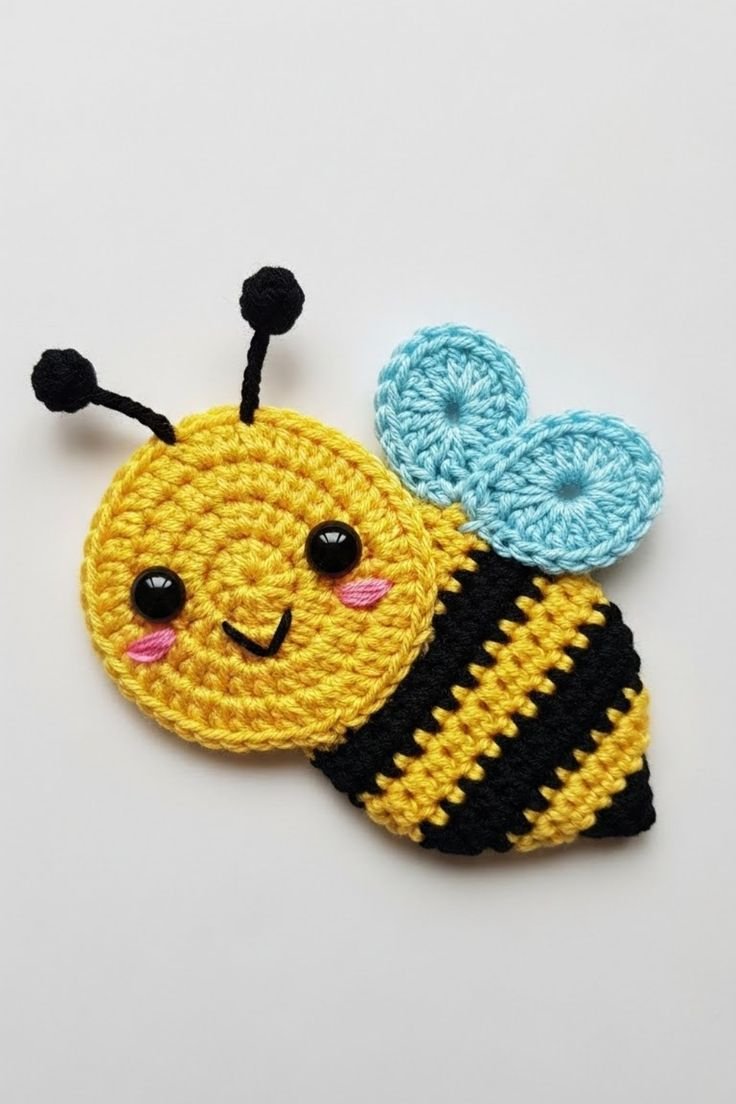
The choice of yarn weight dramatically influences the final size and texture of your finished piece. Most crafters prefer using medium worsted weight yarn or soft blanket yarn for a plush, chunky appearance. For a classic look, you will need three primary colors: vibrant yellow, deep black or dark brown, and a soft white or light blue for the delicate wings.
To keep track of your progress without getting lost, a reliable stitch marker is an indispensable tool in your crafting kit. Since amigurumi is worked in continuous rounds rather than joined rows, it is incredibly easy to lose count of your stitches. Placing a marker in the very first stitch of each round saves time and prevents frustrating mistakes.
Safe assembly requires a few specific notions, including safety eyes and a sturdy yarn needle. Safety eyes provide that classic, glossy, professional look while ensuring the facial features remain securely attached to the fabric. The large-eyed needle is absolutely essential for weaving in loose ends and seamlessly sewing the wings onto the body.
Understanding how to read a crochet pattern will make following this guide completely effortless. Patterns use standardized abbreviations to save space and describe specific actions, such as increasing or decreasing. Taking a few moments to familiarize yourself with these common terms will significantly boost your crafting confidence and speed.
Proper tension control is a skill that develops with practice but is vital for a beautifully shaped final product. Holding your yarn too tightly can make it difficult to insert your hook, while holding it too loosely creates large gaps. Finding a comfortable, consistent rhythm will ensure your stitches look uniform and professional throughout the project.
2. Core Stitches and Techniques for the Body
Every great Crochet Bee – Tutorial begins with mastering the famous magic ring technique, also known as a magic circle. This ingenious method allows you to start crocheting in the round while completely eliminating the hole in the center. It provides an adjustable loop that you can pull tight, creating a flawless, solid start for the head.
The single crochet, abbreviated as sc stitch, is the workhorse of the entire amigurumi world. This simple, tight stitch creates a sturdy, durable fabric that holds its shape beautifully under the pressure of dense stuffing. You will use this specific stitch for nearly ninety percent of the entire project, making consistency key.
To transform a small circle into a volumetric three-dimensional shape, you must master the increase stitch. An increase simply means working two single stitches into the exact same loop from the previous round. This technique gradually expands the circumference of your work, allowing you to sculpt the rounded head and body.
Conversely, to close up the shape and finish the body, you will need to use the invisible decrease. Unlike a standard decrease, the invisible version utilizes only the front loops of the stitches, making the reduction completely seamless. This advanced SEO-friendly technique prevents unsightly bumps and keeps the surface perfectly smooth.
Achieving clean aesthetics requires learning how to make a seamless color change between your yellow and black rows. Instead of tying messy knots, carry the new color through the very last loop of the previous stitch. This clever method creates sharp, defined stripes around the body, mimicking nature perfectly.
The process of stuffing amigurumi requires a gentle touch and an eye for symmetry and balance. Add small clumps of fiberfill gradually as you near the final rounds, shaping the body with your hands from the outside. You want the toy to be firm enough to hold its shape over time, but soft enough to remain huggable.
3. Crafting the Perfect Wings and Details
The wings of your insect require a slightly different approach, often utilizing the elegant double crochet stitch. This taller stitch allows you to quickly build height and create a lighter, more delicate texture that contrasts beautifully with the dense body. White or translucent yarn works best to give the wings an airy, aerodynamic appearance.
To create the beautiful, organic curve of a wing, you will combine the slip stitch with half-double crochets. A slip stitch keeps the edges incredibly low and sleek, while taller stitches create a natural bulge in the middle. This strategic combination results in a classic teardrop shape that looks incredibly realistic.
Once the individual pieces are completed, fastening off correctly ensures that your hard work will never unravel. Leave a generously long tail of yarn when you cut it from the skein, as this tail will be used for assembly. Secure the final loop tightly to create a neat, durable knot that hides inside the piece.
Assembling the parts requires precise amigurumi assembly techniques to give your character its unique personality. Use straight sewing pins to temporarily position the wings and eyes on the body before doing any permanent stitching. This allows you to check the symmetry and adjust the placement until it looks absolutely perfect.
Embroidering a tiny crochet face is where your character truly comes to life with a unique expression. Using a small strand of black embroidery floss or yarn, you can stitch a simple, cheerful smile right between the safety eyes. This small, customized detail adds an immense amount of charm and a truly humanized, handmade touch.
Weaving in the yarn tails is the final structural step to ensure your creation is safe for display or play. Thread the remaining yarn ends through your needle and pass them deep through the inside of the stuffed body several times. Cut the excess yarn close to the fabric, allowing the end to snap back inside out of sight.
4. Advanced Tips for Professional Amigurumi Results
To elevate your project from a simple hobby craft to a masterpiece, focus on achieving flawless stitch definition. Using a high-quality mercerized cotton or premium acrylic yarn will make every single loop pop with crisp clarity. Clean rows not only look beautiful but also make counting your stitches significantly easier.
If you notice tiny gaps in your fabric, switching to the yarn under method instead of yarn over can be life-changing. Budget-conscious crafters love this simple adjustment because it creates tighter, more square-shaped stitches that naturally block out light. It is an industry-secret technique used by top designers worldwide.
Managing your yarn skeins properly during frequent color changes will save you hours of untangling frustration. Keep your yellow yarn on one side of your lap and your black yarn on the absolute opposite side. Rotating your work in alternating directions after each round prevents the two strands from twisting together.
For those who want an extra cuddly variation, trying a velvet yarn or chenille yarn can yield spectacular results. These chunky, luxurious textures hide minor stitching imperfections perfectly and create an incredibly soft, trendy plushie. Just remember to adjust your hook size upward to match the thicker material.
Proper blocking techniques are rarely mentioned for amigurumi, but relaxing the fibers can improve the final shape of flat pieces like wings. Gently steaming the wings with an iron—without touching the yarn directly—makes them lay perfectly flat and crisp against the rounded, plump body.
Lastly, maintaining a clean stitch count at the end of every single round is the ultimate key to avoiding mistakes. Write down your progress on a piece of paper or use a digital counter app to ensure you haven’t missed an increase. A accurate count ensures your stripes align perfectly and the body maintains its ideal proportions.
FAQ – Frequently Asked Questions
What is the best yarn for a beginner starting a Crochet Bee – Tutorial?
For beginners, a medium weight (category 4) 100% acrylic or cotton yarn is highly recommended. It is easy to handle, holds its shape well, does not split easily, and clearly defines your stitches, making it simple to count your rows.
How do I prevent holes from showing in my amigurumi project?
To eliminate gaps, always use a hook size that is 1mm to 2mm smaller than what the yarn label suggests. Additionally, practicing the invisible decrease technique instead of a standard decrease will keep your fabric completely solid and smooth.
Are safety eyes safe for toys intended for babies and toddlers?
While they are called “safety eyes,” they can still pose a choking hazard for children under three years old if pulled out with force. For infant toys, it is always best and safest to embroider the eyes directly onto the face using black yarn.
How long does it typically take to finish this complete project?
Because of its compact size and simple color changes, this project is relatively quick. A beginner might take three to four hours to complete it, while an experienced crafter can easily finish a beautiful piece in under two hours.
Can I wash my finished plush toy if it gets dirty?
Yes, most acrylic and cotton plushies can be gently hand-washed in cold water with mild soap. Avoid twisting or wringing the toy; instead, gently press the water out with a towel and allow it to air dry completely to maintain its shape.
Conclusion
In this comprehensive Crochet Bee – Tutorial, we have covered all the fundamental steps required to create a beautiful, handmade amigurumi plushie.
From selecting the perfect hook size and managing your yarn tension to mastering the magic ring, single crochet stitches, and seamless color changes, you now possess the knowledge to complete this project with confidence. By carefully assembling the wings and embroidering a cheerful facial expression, you can transform simple yarn into a delightful character full of personality.