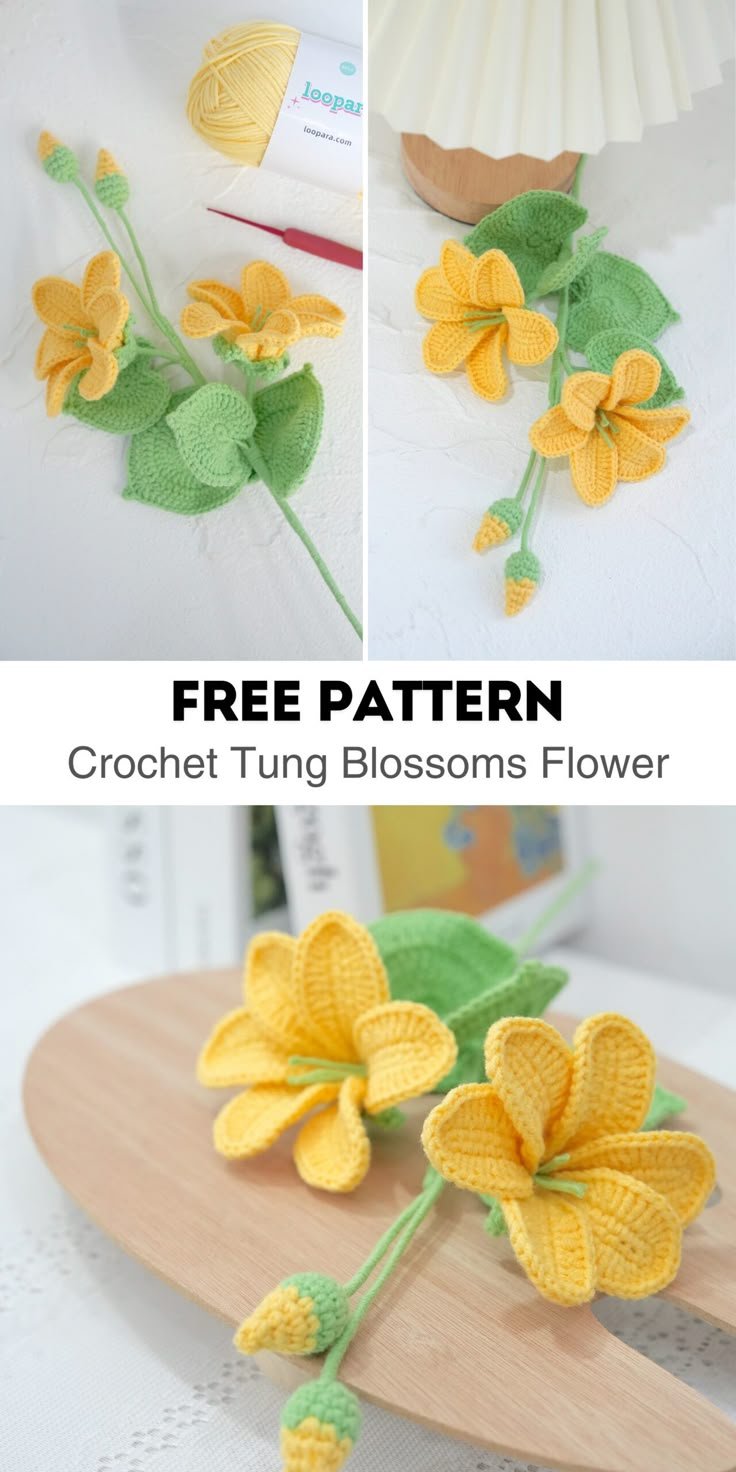
If you are looking to create something beautiful and intricate, then the Crochet Tung Blossoms – Pattern might be the perfect project for you.
This pattern is known for its delicate floral design that brings a touch of elegance to any crochet project.
Whether you’re a beginner or an experienced crocheter, the Crochet Tung Blossoms will surely captivate you with its beauty and charm.
In this guide, we’ll take you through the process of creating your very own Tung Blossoms step by step, providing tips and techniques to ensure you get the most out of your project.
The Tung Blossoms are a type of floral motif often used to embellish blankets, scarves, shawls, and other crochet pieces. The intricate nature of the design makes it an excellent way to showcase your crochet skills, while the softness and beauty of the flowers add texture and dimension to your work. Once you complete your Tung Blossoms, you’ll find they are versatile enough to be used in various projects or even standalone as decorative pieces.
Before diving into the specifics of the Crochet Tung Blossoms – Pattern, it’s essential to understand the basic tools and materials you’ll need to get started. You will want to choose a yarn that is soft but sturdy enough to hold the shape of the blossoms. A smaller hook size is recommended to keep the stitches tight and well-defined. This pattern can be made using any color of your choice, but light pastel shades tend to give the blossoms a more delicate look, while vibrant colors can make them pop.
1. What are Tung Blossoms in Crochet?
Tung Blossoms are a specific type of crochet flower design that is often used in various projects like scarves, shawls, and blankets. This flower pattern is famous for its intricate yet delicate appearance, with several petals that layer on top of each other, giving it a realistic floral look. The Tung Blossoms – Pattern is typically created using a combination of chain stitches, single crochet stitches, and slip stitches, which work together to form a structured and dimensional flower.
What makes Tung Blossoms unique is the use of subtle shaping within the pattern. The petals are worked in such a way that they curve naturally, providing a 3D effect that resembles real flowers. Depending on the yarn and hook used, the size and texture of the flowers can vary, offering a wide range of possibilities for customization. The blossoms can be arranged in different formations, allowing you to experiment with designs and layouts in your projects.
The Tung Blossoms – Pattern is often seen in projects where you want to add a floral or nature-inspired element. Many crocheters use this pattern for accenting items like bags, hats, and home décor, as the flowers bring a refreshing touch of beauty and elegance to the piece. The versatility of these blossoms allows them to be used in both casual and formal crochet items, depending on the color scheme and size of the flowers.
Another important feature of the Tung Blossoms is their ability to blend well with other crochet motifs. Whether you are making a large blanket or a smaller item, the Tung Blossoms can be incorporated into a variety of designs, giving your project a sophisticated and unified look. Whether you choose to scatter the blossoms or group them together, they will undoubtedly enhance the overall aesthetic of your crochet work.
2. Materials Needed for the Crochet Tung Blossoms – Pattern
Before starting your Crochet Tung Blossoms – Pattern, it’s essential to gather all the necessary materials. Having the right supplies can make the process smoother and more enjoyable. Here’s a list of what you’ll need:
1. Yarn
The type of yarn you choose can significantly impact the look and feel of your Tung Blossoms. Choose a yarn that is soft yet durable, as you want the flowers to hold their shape without being too stiff or flimsy. Cotton yarn is a popular choice due to its softness and structure, but acrylic or wool blends also work well for this pattern. Select a color that complements the rest of your project. For a subtle, delicate effect, pastels work beautifully, while bright colors can make the flowers stand out.
2. Crochet Hook
The size of the hook you use is important for achieving the right tension and structure. A smaller hook (such as a 2.5mm to 3.5mm hook) is typically recommended for creating Tung Blossoms, as it ensures the stitches are tight and well-defined. The choice of hook size will also affect the final size of your flowers, so keep that in mind when selecting your tools.
3. Scissors
You’ll need a pair of scissors to cut the yarn when you finish the flowers or need to change colors. Having sharp, precise scissors will ensure that the yarn is cut cleanly and without fraying.
4. Yarn Needle
A yarn needle is essential for weaving in any loose ends after finishing the blossoms. This tool will also help you attach the flowers to your main crochet project if necessary.
5. Stitch Markers
Stitch markers can be helpful for keeping track of your rows and ensuring your work stays organized. Although they are not required, they can make it easier to keep track of where each flower starts and ends.
6. Optional Embellishments
If you want to add more texture to your Tung Blossoms, consider using beads or buttons in the center of the flowers. This can give your flowers a unique and decorative touch that stands out even more.
3. Step-by-Step Guide to Crocheting the Tung Blossoms – Pattern
Now that you have your materials ready, it’s time to start crocheting your Tung Blossoms. This pattern is relatively simple, but it does require some patience and attention to detail. Follow these steps to create your blossoms:
Step 1: Make a Magic Ring
Start by creating a magic ring, which will serve as the base of your flower. A magic ring is useful for amigurumi and flowers because it allows you to pull the yarn tight to close the hole at the center of your project.
Step 2: Crochet the First Round
Once you’ve made your magic ring, work the first round of the flower. For this, you’ll crochet chain stitches, followed by single crochet stitches, creating the foundation for the petals. Typically, the first round will have a series of single crochets worked into the ring, but refer to your specific Tung Blossoms – Pattern for exact stitch counts.
Step 3: Shape the Petals
Next, work the petals. These are usually created by making a series of double crochet stitches followed by chain stitches to shape the petals into a curve. This step can take a little practice to get the petals to curl just right, but once you master it, the flowers will begin to take shape.
Step 4: Repeat the Petal Rows
Repeat the process for each additional petal, working in a similar fashion to the first. Some patterns may include variations like picot stitches to add more detail, so make sure you follow the instructions carefully.
Step 5: Secure the Petals
Once all petals are completed, use a slip stitch to join the last petal to the first one. This step helps to keep the flower’s shape intact. Ensure the petals are evenly spaced and aligned before securing them in place.
Step 6: Finish Off and Attach the Flower
After you’ve completed the final petal, fasten off your yarn and weave in the loose ends. If you’re planning to attach the flower to a larger crochet piece, use your yarn needle to sew the flower securely in place.
4. Creative Uses for the Crochet Tung Blossoms – Pattern
The Crochet Tung Blossoms – Pattern is versatile, and there are countless ways to incorporate these beautiful flowers into your crochet projects. Here are a few ideas to inspire you:
1. Embellish Blankets
Use multiple Tung Blossoms to add a floral touch to a simple blanket. You can scatter the blossoms across the blanket or create a border with them for a more detailed look.
2. Create Floral Headbands
Crochet Tung Blossoms and sew them onto a headband for a charming accessory. This is a fun way to add a pop of color to your wardrobe.
3. Decorate Home Décor
Incorporate Tung Blossoms into your home décor by sewing them onto cushions, pillows, or even a decorative throw. They can add texture and interest to any room.
4. Use Them as Appliqués
Add Tung Blossoms to clothing items like sweaters, bags, or hats. These flowers can be a fun and creative way to personalize your wardrobe.
5. Make a Floral Garland
For a festive or seasonal touch, create a Tung Blossoms garland by stringing the flowers together with yarn. This can be hung as a decorative piece for parties or in your home.
6. Add to Jewelry
Crochet small Tung Blossoms and use them as charms on bracelets, necklaces, or earrings. These flowers will make for unique, handmade jewelry pieces.
Frequently Asked Questions (FAQ)
1. How difficult is it to crochet Tung Blossoms?
The Tung Blossoms – Pattern is relatively beginner-friendly, but it does require some practice with shaping the petals. Once you’re familiar with the process, it becomes easier to replicate.
2. Can I use any type of yarn for Tung Blossoms?
Yes, you can use different types of yarn, but soft and medium-weight yarn is ideal for creating delicate flowers that hold their shape.
3. How do I attach the Tung Blossoms to other crochet projects?
You can sew the Tung Blossoms onto any project using a yarn needle. Secure the flowers by stitching them carefully in place.
4. Can I add beads or embellishments to the flowers?
Absolutely! You can add beads, buttons, or other embellishments to the center of your flowers for extra detail and personality.
5. How long does it take to make a Tung Blossom?
It generally takes 20-30 minutes to crochet a single Tung Blossom, depending on your speed and experience level.
Conclusion
In this article, we’ve walked you through the process of creating a stunning Crochet Tung Blossoms – Pattern, from gathering materials to completing the flower. These blossoms can be used in a variety of projects, adding elegance and texture to your crochet pieces. Whether you’re adding them to a blanket, headband, or even home décor, these flowers will undoubtedly enhance your creations. We hope this guide has inspired you to give the Tung Blossoms a try. Feel free to share your thoughts or suggestions in the comments below – we’d love to hear how your flowers turn out!