If you love combining nature with fabric art, the Bird Quilt Block Pattern is a perfect choice for your next quilting project. These blocks bring charm, personality, and a touch of the outdoors into your quilts. Whether you’re designing a full quilt, a decorative wall hanging, or a special handmade gift, bird-themed quilt blocks offer endless creative opportunities.
Birds symbolize freedom, peace, and beauty — making them a favorite subject among quilters and fabric artists around the world. And with the right bird quilt block pattern, even beginner quilters can create stunning blocks that look intricate but are actually quite approachable. You don’t need to be an expert to create something truly special.
In this detailed guide, we’ll explore how to choose the right bird quilt block pattern, plan your layout, assemble your blocks, and finish your project with confidence. We’ll also offer design ideas, helpful tips, and a well-crafted FAQ to answer the most common questions quilters have when working on bird-themed blocks.
1. Choosing the Right Bird Quilt Block Pattern
Choosing the perfect Bird Quilt Block Pattern is one of the most exciting parts of starting a quilt. From simple geometric birds to detailed appliqué or foundation paper piecing, there’s a style for everyone — and every skill level.
Start by deciding what type of technique you’re most comfortable with. If you’re new to quilting, a basic pieced bird block made of squares and triangles might be the best place to start. These designs focus on simplicity and teach foundational quilting skills.
If you’re a more experienced quilter, you may want to try paper piecing or appliqué. These allow for greater detail and realism in the bird’s shape and feathers. Paper piecing provides crisp, accurate angles, while appliqué gives you freedom to play with curves and colors.
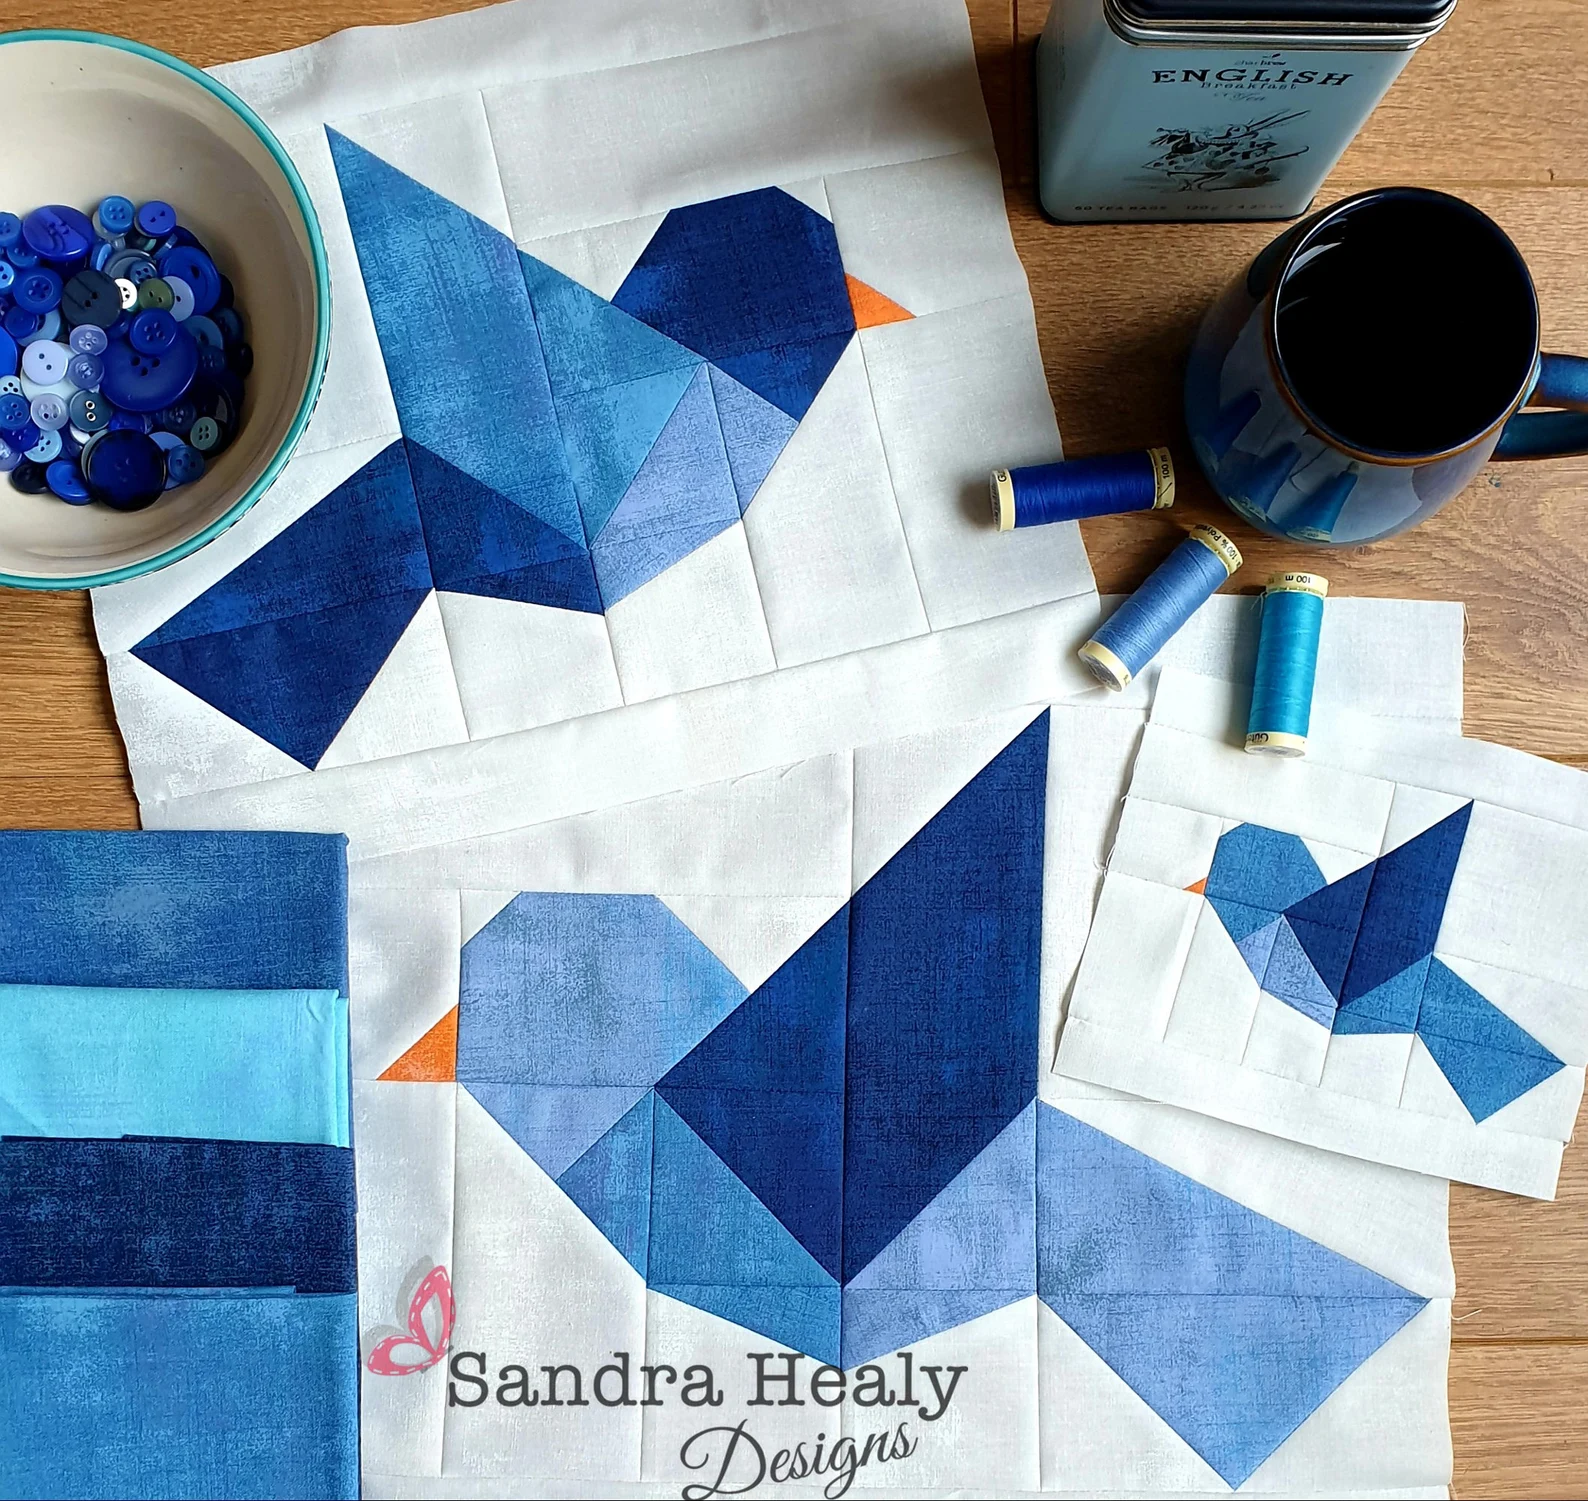
Also consider the overall theme of your quilt. Do you want a single bird repeated across blocks, or a variety of different birds? There are bird quilt block patterns featuring owls, sparrows, bluebirds, cardinals, and even abstract bird silhouettes.
Color choice is key. Birds offer a wide range of natural colors, so you can go realistic with browns, blues, and reds — or imaginative with pastels and bold modern prints. You can also use scraps to make each bird unique, which is great for using up your fabric stash.
Be sure to choose a pattern that comes with clear instructions, diagrams, and measurements. This makes the process smoother and increases your chances of creating a block you’re proud of. Free and paid patterns are widely available online, often with printable templates or digital files.
2. Planning Your Layout and Fabric Selection
Once you’ve selected your bird quilt block pattern, the next step is planning how your blocks will fit into the overall quilt. Layout and fabric selection are just as important as the block design itself.
Start by determining how many blocks you want to include in your quilt. Will it be a small wall hanging with four to six blocks, or a full-sized quilt with twenty or more? Knowing your block count will help you calculate how much fabric you need for both the birds and the background.
Choose a cohesive color palette for your quilt. Nature-inspired shades like greens, browns, and sky blues work well with bird themes. However, don’t be afraid to incorporate more playful or modern fabrics if you want to create something fresh and eye-catching.
When selecting fabrics for your birds, consider using solids or subtle prints for the main body and wings. This helps each block stand out while keeping the birds visually distinct. Using contrast between the bird and the background is crucial for definition.
Think about your background fabric, too. A light neutral like white, cream, or light gray is classic and makes your birds pop. But if you’re feeling bold, try a dark navy or forest green background for dramatic effect.
It’s also helpful to make a test block using scraps before committing to your fabric choices. This allows you to tweak placement and make sure the design flows well. Quilting is a visual art, and seeing it in action is often the best way to make confident decisions.
3. Assembling the Bird Quilt Blocks
Now that your materials and layout are planned, it’s time to begin assembling your bird quilt block pattern. This stage is where your design starts coming to life — piece by piece, stitch by stitch.
If you’re using a traditional piecing method, begin by cutting all your fabric pieces according to the pattern instructions. Use a rotary cutter, quilting ruler, and cutting mat to ensure clean, accurate cuts. Organization is key — label your pieces if needed.
Start piecing smaller sections first, like the bird’s beak, wings, or tail. These components often come together with simple shapes like half-square triangles or flying geese units. Sew each section with a consistent 1/4 inch seam allowance for best results.
As you assemble the full bird shape, press your seams as you go — either open or to one side, depending on your preference. Pressing keeps the block flat and helps align pieces correctly. Don’t skip this step; it makes a big difference in the final look.
If your pattern uses foundation paper piecing, carefully follow the numbered sections and use lightweight paper or specialty foundation paper. Sew slowly and accurately — paper piecing rewards precision.
Once your block is complete, give it a final press and trim it to the correct size. Check for any stretched or misaligned edges, and square it up as needed. A clean, square block makes assembling the full quilt much easier later on.
Repeat this process for all your blocks. Each one will get a little easier as you become more familiar with the pattern and your fabric choices. Enjoy the process — it’s creative, meditative, and rewarding.
4. Finishing Your Bird Quilt Project
After completing your bird quilt block pattern blocks, it’s time to put everything together and finish your quilt. This stage includes sashing, quilting, and binding — the final touches that turn your blocks into a lasting piece of art.
First, lay out all your blocks on a flat surface or design wall. Arrange them in a pleasing order, balancing colors and bird orientations. This is where your earlier planning really pays off. Don’t hesitate to rearrange a few times until you’re happy with the flow.
If you’re adding sashing (the strips between blocks), cut and sew those in between the rows and columns. Sashing can help each bird block stand out, especially if your designs are highly detailed or use busy prints.
Once your quilt top is assembled, layer it with batting and a backing fabric. Use safety pins or basting spray to hold the layers together before quilting. Choose a quilting design that complements your birds — straight lines, echo quilting, or even free-motion designs like feathers or waves.
Now it’s time to quilt! You can do this by hand or machine, depending on your comfort level and tools available. The quilting process adds texture, secures your layers, and gives your project its final shape.
Finally, trim the edges and bind your quilt. Use a fabric that frames the quilt nicely — solid colors or subtle prints often work best. Binding can be machine-stitched or hand-finished for a clean look.
Label your quilt with your name and the date, especially if it’s a gift or a keepsake. Every handmade quilt tells a story — and this one features beautiful birds, made by you.
FAQ – Bird Quilt Block Pattern
Q1: What is a bird quilt block pattern?
A: A bird quilt block pattern is a fabric block design featuring a bird motif, made using piecing, appliqué, or paper piecing techniques. It’s often used as part of a larger quilt or wall hanging.
Q2: Are bird quilt blocks beginner-friendly?
A: Yes! Many bird quilt block patterns are suitable for beginners, especially those using basic squares and triangles. More advanced designs use appliqué or paper piecing.
Q3: What size should a bird quilt block be?
A: Block sizes vary, but most patterns range from 8×8 inches to 12×12 inches. Always check your pattern’s specifications for exact measurements.
Q4: Can I use scraps for bird blocks?
A: Absolutely. Bird quilt blocks are a great way to use up small scraps, especially for the birds themselves. Just be sure to use consistent fabric weights.
Q5: Do I need special tools for bird quilt patterns?
A: Basic quilting tools like a rotary cutter, ruler, and sewing machine are sufficient. If you’re doing paper piecing, you’ll also need foundation paper and a fine needle.
Q6: Where can I find free bird quilt block patterns?
A: Many quilting blogs, pattern marketplaces, and sewing communities offer free or low-cost bird quilt block patterns. Pinterest and Etsy are also great resources.
Conclusion
In this guide, we’ve walked through everything you need to know about working with a Bird Quilt Block Pattern — from choosing your design and fabrics to assembling blocks and finishing your quilt. With creativity, patience, and a bit of planning, you can turn simple fabric pieces into beautiful, nature-inspired art.
Quilting bird blocks isn’t just about stitching fabric — it’s about capturing the spirit of nature in a handmade keepsake. Whether you’re gifting your quilt, displaying it proudly at home, or adding it to your portfolio of handmade work, it will be a testament to your skill and love for the craft.
We’d love to hear your feedback. Have you tried a bird quilt block before? Leave a sincere comment
with your thoughts or suggestions — and let us know what kind of tutorials or patterns you’d like to see next. Happy quilting!