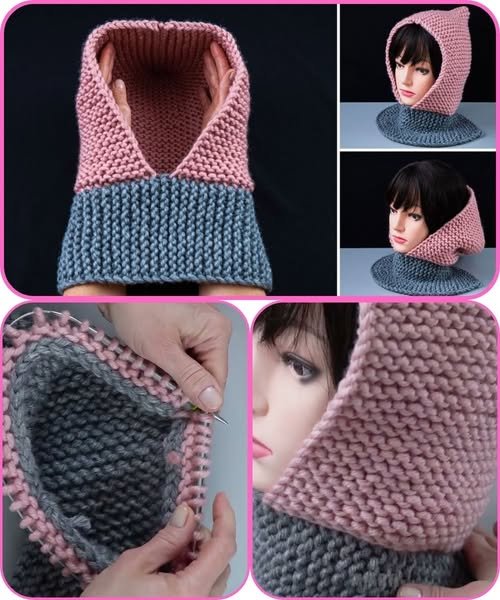
Crochet Hood – Tutorial is your ultimate guide to creating a stylish, cozy, and functional accessory that perfectly blends fashion with handmade charm. Whether you are looking to brave the chilly winter winds or simply want to add a bohemian flair to your daily wardrobe, learning how to craft a hooded cowl or a detached hood is a fantastic project. In this comprehensive guide, we will walk you through everything you need to know, from selecting the right materials to mastering the essential stitches required for this beautiful design.
The beauty of a crochet hood – tutorial lies in its versatility, as this project is highly customizable and can be adapted for beginners and advanced crocheters alike. Hoods are incredibly popular right now because they offer the warmth of a beanie combined with the full coverage of a scarf, making them a must-have accessory. By choosing your own yarn textures and color palettes, you can create a unique, personalized piece that reflects your individual style while keeping you incredibly warm.
In this step-by-step crochet hood – tutorial, we are going to break down the entire process into easy-to-follow sections so you can complete your project with confidence. We will cover the best yarn choices, the foundational stitches you need to practice, and the exact assembly methods to ensure your hood fits beautifully. Grab your favorite crochet hook, find a comfortable spot to sit, and let us dive straight into the wonderful world of making your very own handmade hood.
1. Choosing the Right Materials for Your Crochet Hood – Tutorial
Selecting the perfect yarn is the first and most crucial step when starting your new crochet hood – tutorial project. For a cozy hood, you want a yarn that is soft against the skin, especially since it will be touching your face, neck, and forehead frequently. Medium weight (worsted) or bulky weight yarns are highly recommended for this specific project because they work up quickly and provide excellent insulation against the cold.
Natural fibers like merino wool or alpaca blends offer incredible warmth and breathability, making them premium choices for a high-quality finish. However, if you are looking for something budget-friendly and easy to wash, high-quality acrylic yarns or cotton-acrylic blends are fantastic alternatives that maintain their shape well over time. Always check the yarn label for care instructions to ensure your finished piece remains beautiful after washing.
Along with your yarn, you will need to select the appropriate crochet hook size recommended on your yarn label, or go up one size to achieve a looser, more fluid drape. A hood that is too stiff will not sit comfortably on your shoulders, so aiming for a relaxed drape is key. You will also need a few basic notions, including a yarn needle for weaving in ends, sharp scissors, and a couple of stitch markers to keep track of your rows.
2. Essential Stitches and Techniques for Beginners
Before you begin crocheting the main body of your piece, it is important to familiarize yourself with the foundational stitches used in this crochet hood – tutorial. The most common stitch used for hoods is the half double crochet (hdc), which strikes the perfect balance between a tight fabric and a flexible drape. This stitch creates a warm, dense texture without being overly bulky, making it ideal for winter accessories.
Another popular option for adding texture to your hood is the double crochet (dc) stitch, which works up incredibly fast and creates a lighter fabric. If you want a more modern, knit-like appearance, you can practice working your stitches into the back loop only (BLO). This simple variation creates beautiful ridges that mimic a ribbed knit fabric, adding depth and visual interest to your handmade accessory.
To ensure your hood fits correctly, you must also understand how to create a proper foundation chain and maintain a consistent stitch count throughout your rows. Counting your stitches at the end of every row prevents your hood from accidentally narrowing or widening as you work. Taking the time to practice these basic elements will make the entire assembly process much smoother and more enjoyable.
3. Step-by-Step Construction and Shaping
The construction phase of this crochet hood – tutorial is surprisingly straightforward, often starting as a simple large rectangle that is later folded and seamed. To begin, you will chain a length that matches the measurement from the top of your head down to your collarbone. This initial chain determines the overall depth and height of your hood, so feel free to adjust it for a custom fit.
Once your foundation chain is ready, you will work back and forth in rows using your chosen stitch until the piece is wide enough to wrap comfortably around your head. This rectangular method is highly recommended for beginners because it eliminates the need for complex increasing or decreasing techniques. It allows you to focus purely on your tension and stitch consistency while ensuring a great result.
After reaching the desired width, it is time for the assembly, which is where the magic truly happens and your rectangle transforms into a wearable hood. Fold the rectangle in half so that the short sides meet, and use your yarn needle to sew the top seam together using a slip stitch or a mattress stitch. This creates the back and top structure of your hood, leaving the front completely open for your face.
4. Adding Custom Borders and Finishing Touches
Now that the main structure of your hood is complete, this crochet hood – tutorial focuses on the finishing details that elevate your project from basic to professional. Adding a beautiful border around the face opening not only hides any uneven row ends but also gives the piece a polished look. A simple ribbing created with alternating front post and back post double crochets works wonderfully here.
If you prefer a more bohemian or whimsical style, you can easily attach a playful pom-pom to the top point of your hood. You can make your own pom-pom using leftover yarn or purchase a faux-fur pom-pom for a trendy, high-end boutique appearance. Additionally, you can crochet a long chain to thread through the border as a functional drawstring, allowing you to pull the hood tight on windy days.
The final step in your crafting journey is to carefully weave in all your loose yarn tails using a tapestry needle to ensure they do not unravel. Once your ends are secure, we highly recommend blocking your crochet project by gently steaming it or soaking it and letting it dry flat. Blocking relaxes the yarn fibers, evens out your stitches, and gives your new hood a flawless, comfortable drape.
Frequently Asked Questions (FAQ)
How many skeins of yarn do I need to complete a crochet hood?
Generally, you will need between 2 to 3 skeins of medium weight yarn (approximately 300 to 450 yards) to complete a standard adult-sized hood. If you plan on adding a large cowl section, a thick border, or oversized pom-poms, it is always safer to purchase an extra skein to ensure you do not run out of yarn mid-project.
Is this crochet hood project suitable for absolute beginners?
Yes, absolutely! Since the primary construction relies on crocheting a basic rectangle without advanced shaping, it is an excellent project for beginners. As long as you know how to chain and perform basic stitches like the single or half double crochet, you can easily complete this stylish accessory.
Can I adjust the size of the hood for children?
Yes, customizing the size is incredibly simple. To make a smaller version for a child, reduce the length of your initial foundation chain so it matches the measurement from the top of their head to their neck, and work fewer rows so it fits comfortably around their head without slipping off.
What is the best way to wash and care for my handmade hood?
The care instructions depend entirely on the fiber content of the yarn you used. If you used acrylic yarn, it can usually be machine washed on a gentle cycle and tumbled dry on low heat. For wool or alpaca blends, hand washing in cold water with a gentle wool wash and laying it flat to dry is highly recommended to prevent shrinking or felting.
Conclusion
In this crochet hood – tutorial, we have explored the entire creative process of making a cozy, modern hood from scratch. We covered the importance of selecting soft, warm materials, mastered the essential stitches, broke down the easy rectangle construction method, and discussed how to add beautiful finishing touches like borders and drawstrings.
With these techniques, you now have the skills to create a beautiful, functional accessory that will keep you warm for seasons to come.