Learning how to create a Square Heart – Tutorial is a fantastic way to dive into the world of creative design and heartfelt crafting. Whether you are a beginner looking for a simple weekend project or an experienced artist searching for a new pattern to master, this guide will provide everything you need. The Square Heart – Tutorial is more than just a set of instructions; it is a gateway to personalizing gifts, decorating your home, and expressing your emotions through tangible art.
In this comprehensive Square Heart – Tutorial, we are going to explore the intersection of geometric precision and organic symbolism. The concept of a “Square Heart” combines the stability of four equal sides with the fluid, emotional resonance of a traditional heart shape. By following this Square Heart – Tutorial, you will learn how to balance these two elements to create a piece that is visually striking and structurally sound, ensuring your finished product looks professional every time.
Optimizing your creative process starts with understanding the right tools and techniques, which is exactly what this Square Heart – Tutorial aims to deliver. We will break down the complex steps into manageable actions, focusing on high-quality results that adhere to the best design principles. As you move through the sections, remember that the Square Heart – Tutorial is designed to be flexible; feel free to adapt the colors and textures to suit your specific aesthetic preferences while maintaining the core structural integrity of the design.
1. Understanding the Fundamentals of the Square Heart – Tutorial
The foundation of any great project starts with a clear vision of the final result. In this Square Heart – Tutorial, the primary goal is to merge a standard square grid with a curved heart silhouette. Understanding how these two shapes interact is crucial for anyone wanting to master the Square Heart – Tutorial layout.
When we talk about the Square Heart – Tutorial, we are focusing on “pixel-style” or “grid-based” logic. This means every part of the heart is calculated based on its position within a square frame. This approach makes the Square Heart – Tutorial incredibly versatile for mediums like crochet, digital art, or paper folding.
The first step in our Square Heart – Tutorial involves selecting your base materials. If you are working with digital software, ensure your canvas is set to a 1:1 ratio. For physical crafts, choose a sturdy medium that can hold the “square” edges of the heart without sagging, which is a common tip in any Square Heart – Tutorial.
Symmetry is the secret ingredient in a successful Square Heart – Tutorial. You must ensure that the left side of your heart mirrors the right side perfectly. This balance is what gives the Square Heart – Tutorial its professional and polished appearance, distinguishing it from more chaotic freehand designs.
Precision measurements are non-negotiable when following a Square Heart – Tutorial. You will need to define the exact center point of your square to begin radiating the heart’s curves outward. Most beginners find that using a ruler or a digital grid tool simplifies the Square Heart – Tutorial process significantly.
Finally, remember that the Square Heart – Tutorial is a journey of patience. Don’t rush the initial mapping phase. Taking your time to sketch the grid-based heart before applying permanent color or stitches will ensure the best possible outcome for your Square Heart – Tutorial project.
2. Essential Tools and Materials for Your Square Heart – Tutorial
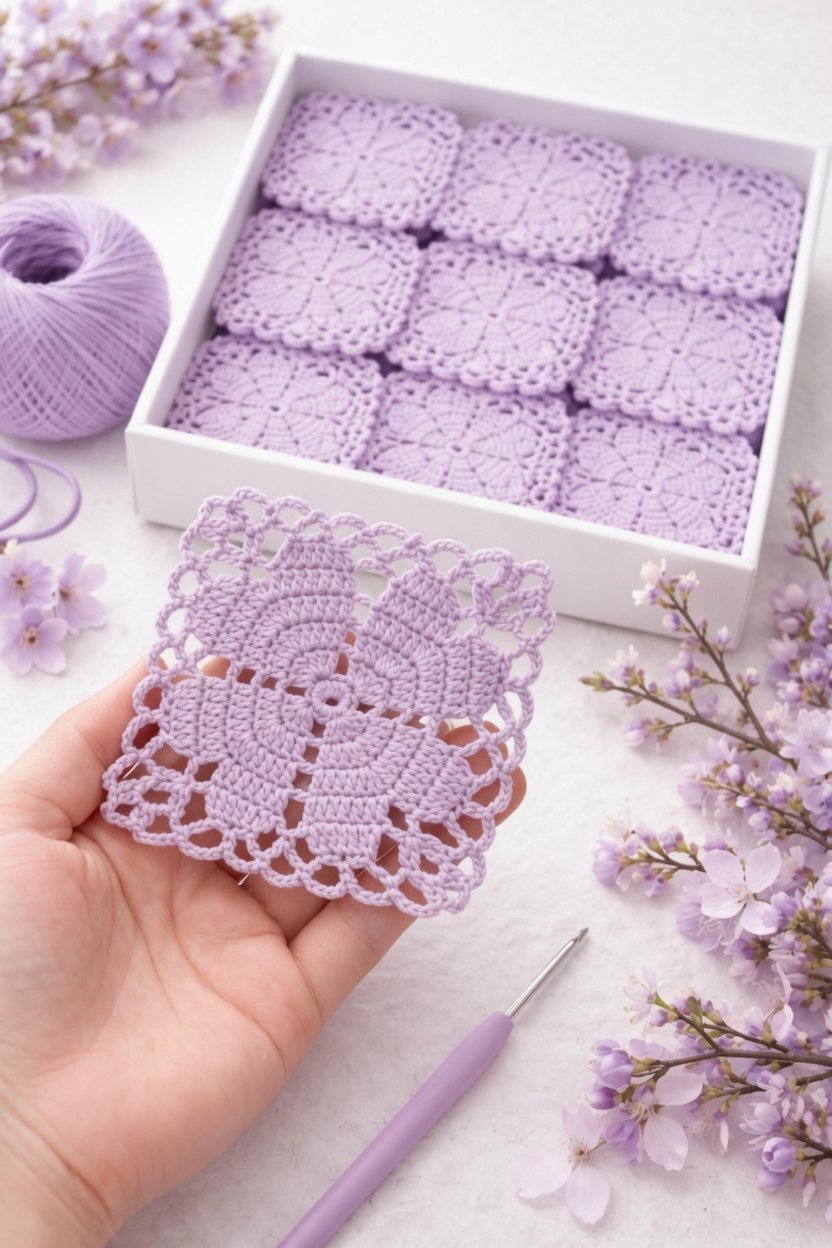
To execute the Square Heart – Tutorial effectively, you need a specific set of tools tailored to your chosen medium. If you are following the Square Heart – Tutorial for textile arts, you will need high-quality yarn, a matching hook, and a tapestry needle. These basics are the backbone of the Square Heart – Tutorial experience.
For those using the Square Heart – Tutorial for graphic design, software like Adobe Illustrator or Canva is recommended. These programs allow you to utilize grid systems that make the Square Heart – Tutorial much easier to align. Digital precision ensures that your Square Heart – Tutorial remains crisp and scalable for any project.
If your interest in the Square Heart – Tutorial lies in paper crafting or scrapbooking, gather heavy cardstock and precision cutting tools. A cutting mat with a built-in grid is a lifesaver when trying to maintain the square dimensions of your heart. This physical guide aligns perfectly with the steps outlined in this Square Heart – Tutorial.
Color selection plays a massive role in how the Square Heart – Tutorial is perceived. Traditionally, red or pink is used, but modern interpretations of the Square Heart – Tutorial often feature gradients or contrasting borders. Choosing the right palette is a key step in personalizing your Square Heart – Tutorial.
Adhesives or finishing sprays are often overlooked in a Square Heart – Tutorial, but they are vital for longevity. If you want your Square Heart – Tutorial creation to last, use archival-quality glues or UV-protectant sprays. This ensures the hard work you put into the Square Heart – Tutorial doesn’t fade over time.
Lastly, keep a notebook handy while going through this Square Heart – Tutorial. Documenting your progress and any modifications you make will help you replicate the Square Heart – Tutorial in the future. Learning from your own iterative process is a hallmark of a great creator using the Square Heart – Tutorial.
3. Step-by-Step Execution of the Square Heart – Tutorial Process
Now we reach the core of the Square Heart – Tutorial: the actual construction. Start by defining the outer boundaries of your square. In this Square Heart – Tutorial, we recommend a 10×10 or 20×20 grid to keep things simple for your first attempt at the Square Heart – Tutorial.
Locate the “V” point at the top center of your square. This is where the two lobes of the heart will meet. In our Square Heart – Tutorial, this point acts as the anchor for the entire shape. Carefully mark this spot as you follow along with the Square Heart – Tutorial instructions.
Draw or stitch the two top arches of the heart, ensuring they don’t exceed the top boundary of your square. The beauty of the Square Heart – Tutorial is that the top of the heart is often flattened slightly to emphasize the “square” aesthetic. This is a unique stylistic choice inherent to the Square Heart – Tutorial.
Next, bring the sides of the heart down to meet the bottom center point. This creates the classic pointed tip. In the Square Heart – Tutorial, the diagonal lines should be straight and sharp to maintain the geometric feel. This contrast is the defining feature of the Square Heart – Tutorial.
Filling in the shape is the most satisfying part of the Square Heart – Tutorial. Whether you are coloring, stitching, or layering paper, ensure your fill is consistent. Any gaps or unevenness will detract from the “square” precision we are aiming for in this Square Heart – Tutorial.
The final touch in the Square Heart – Tutorial execution is the border. A bold, contrasting outline can make your Square Heart – Tutorial pop. This technique is often used by experts to hide minor imperfections and give the Square Heart – Tutorial a professional finish.
4. Advanced Tips and Variations for the Square Heart – Tutorial
Once you have mastered the basic Square Heart – Tutorial, it is time to experiment. One popular variation of the Square Heart – Tutorial is the “3D Effect,” where you add shadows to one side of the square. This gives the Square Heart – Tutorial depth and makes it leap off the page.
Another way to elevate your Square Heart – Tutorial is by incorporating patterns inside the heart itself. Polka dots, stripes, or even smaller hearts can be nested within the main shape. This adds a layer of complexity to the Square Heart – Tutorial that intermediate users will enjoy.
For those using the Square Heart – Tutorial in digital marketing, try animating the heart. A pulsing “square heart” can be a very effective call-to-action button. The principles you learned in the Square Heart – Tutorial transition perfectly into motion graphics.
Scale is another factor to consider in your Square Heart – Tutorial journey. You can create a “Square Heart” as small as a postage stamp or as large as a wall mural. The grid-based logic of the Square Heart – Tutorial ensures that the proportions remain perfect regardless of the size.
Don’t be afraid to mix mediums. Combining embroidery with paper or digital printing with physical textures can lead to incredible results. The Square Heart – Tutorial is a versatile template that encourages mixed-media exploration and creative boundary-pushing.
Sharing your work is the final stage of the Square Heart – Tutorial. Post your results on social media using relevant hashtags to connect with others who have followed the Square Heart – Tutorial. The community feedback can provide new insights and inspirations for your next Square Heart – Tutorial project.
FAQ – Frequently Asked Questions
What is the best material for a Square Heart – Tutorial project?
The best material depends on your goal. For beginners, paper or digital software is best for practicing the grid layout. For long-term projects, high-quality yarn or cardstock is recommended to ensure the Square Heart – Tutorial result is durable.
Can I use the Square Heart – Tutorial for commercial purposes?
Yes, once you have created your unique version of the heart using the Square Heart – Tutorial, it is your artistic work. Many people use the designs from a Square Heart – Tutorial for logos, product packaging, and merchandise.
How long does it take to complete the Square Heart – Tutorial?
A basic Square Heart – Tutorial can be completed in about 30 minutes. However, more complex versions with intricate patterns or textures might take several hours. The Square Heart – Tutorial is designed to be scalable to your available time.
Is the Square Heart – Tutorial suitable for children?
Absolutely! The Square Heart – Tutorial is a great way to teach children about geometry, symmetry, and colors. Using a simplified version of the Square Heart – Tutorial can be a fun and educational activity for classrooms or at home.
What are the common mistakes in a Square Heart – Tutorial?
The most common mistake is losing symmetry. If one side of the heart is larger than the other, the “square” effect is lost. Always use a grid or ruler as suggested in the Square Heart – Tutorial to maintain perfect proportions.
How do I make my Square Heart – Tutorial look more professional?
Focus on the finishing touches. Clean lines, a solid border, and consistent coloring are the keys to a professional Square Heart – Tutorial outcome. Don’t rush the final stages of the project.
Conclusion
In this Square Heart – Tutorial, we have covered everything from the basic geometric principles to advanced creative variations. We explored how to use grids for symmetry, the essential tools for different mediums, and step-by-step instructions to ensure your success.
The Square Heart – Tutorial is a versatile skill that blends mathematics with art, allowing you to create something truly unique and meaningful. By mastering the techniques shared in this Square Heart – Tutorial, you now have the foundation to explore endless design possibilities.