
How To Make A Pincushion – Two Easy Ways! – Tutorial is the perfect project for anyone who enjoys sewing, quilting, or creating practical handmade accessories. Whether you are just beginning your sewing journey or have years of experience, making a pincushion is a fun, affordable, and rewarding craft that helps keep your workspace organized while adding a personal decorative touch.
A handmade pincushion is more than just a place to store pins. It protects your sewing tools, keeps sharp pins within easy reach, and allows you to customize your sewing room with colors, fabrics, and styles that reflect your personality. Best of all, this project is ideal for using fabric scraps that might otherwise go to waste.
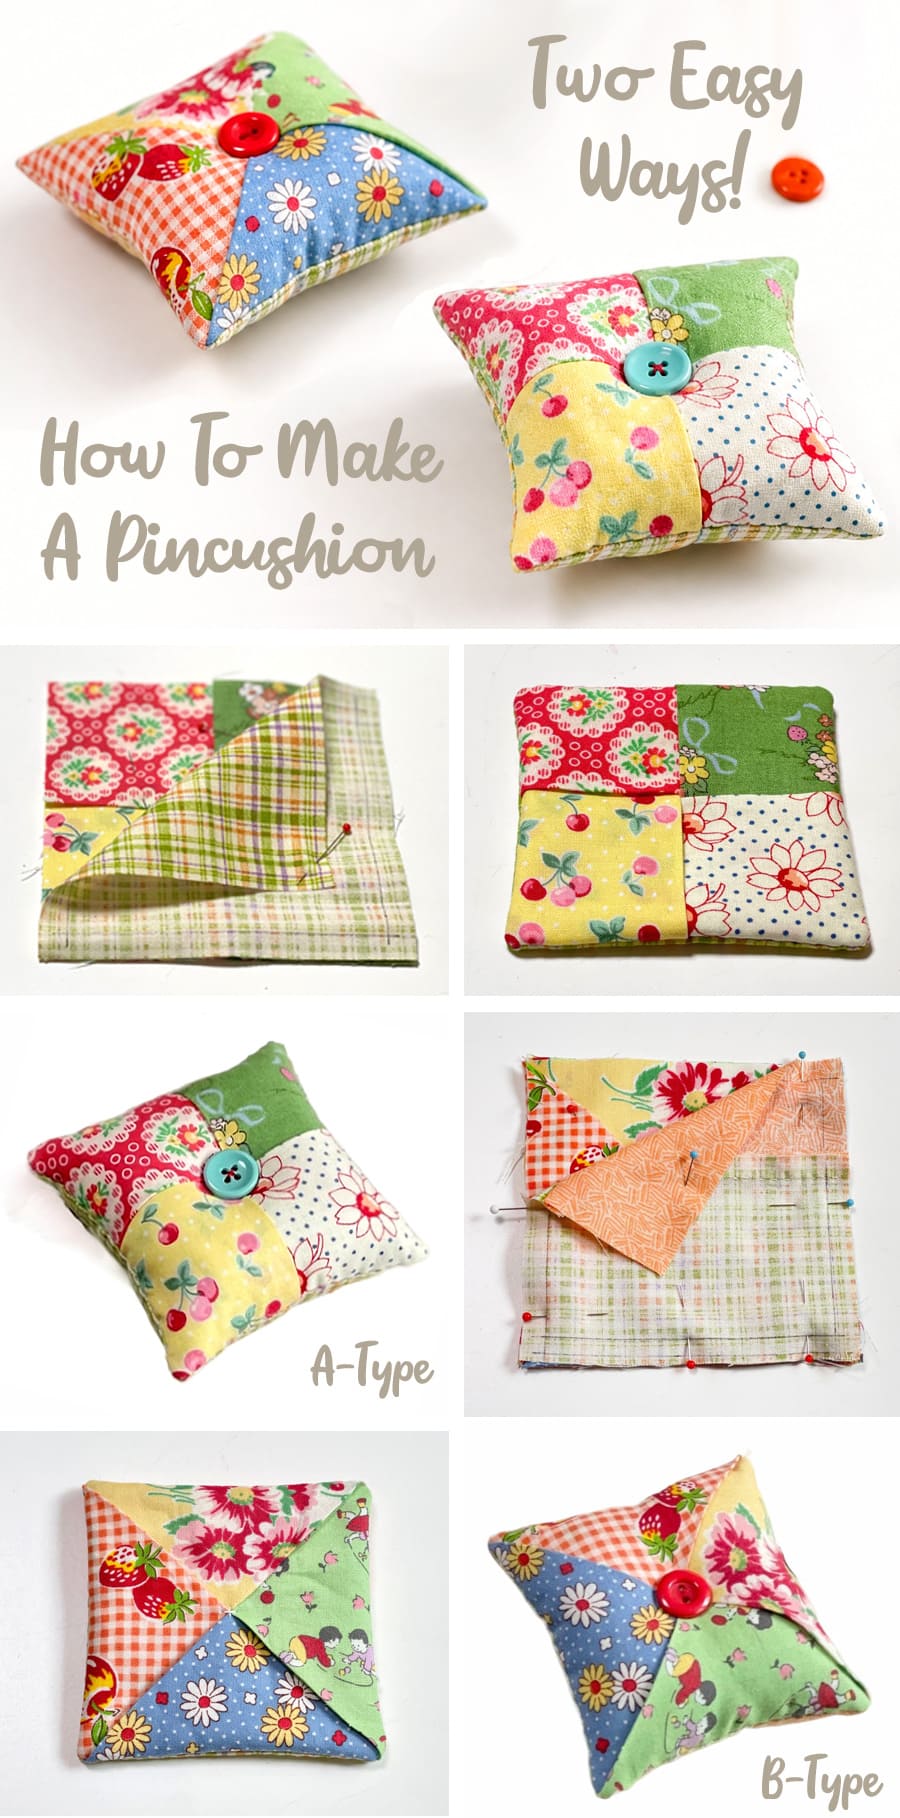
In this How To Make A Pincushion – Two Easy Ways! – Tutorial, you’ll discover two beginner-friendly methods that require only basic sewing supplies. Both designs are quick to complete, highly customizable, and make wonderful handmade gifts for friends, family members, or fellow sewing enthusiasts.
1. Gather Your Materials Before You Begin
Before starting your How To Make A Pincushion – Two Easy Ways! – Tutorial, gather all the materials you need. Having everything ready makes the sewing process smoother and more enjoyable.
For both methods, you’ll need cotton fabric, scissors, sewing pins, thread, a sewing needle or sewing machine, fabric marking tools, stuffing, and a ruler. These are common supplies found in most sewing rooms.
Cotton fabric is one of the best choices because it is durable, easy to sew, and available in countless beautiful prints. Quilting cotton works especially well for beginners.
When choosing stuffing, polyester fiberfill is a popular option because it creates a soft yet supportive cushion. Some experienced sewists also use crushed walnut shells to help keep pins sharp while providing extra weight.
Fabric scraps are perfect for this project. Small leftover pieces from previous quilting or sewing projects can become colorful and unique pincushions without additional cost.
Take a few moments to coordinate your fabric colors and patterns. Bright florals, modern prints, polka dots, and classic patchwork fabrics all create attractive finished projects that brighten your sewing space.
2. Easy Method One: The Classic Square Pincushion
The first method in this How To Make A Pincushion – Two Easy Ways! – Tutorial is the traditional square pincushion, which is ideal for beginners and can be completed in less than an hour.
Cut two equal squares of fabric. A common size is 5 x 5 inches, but you can easily adjust the dimensions depending on your preferred finished size.
Place the fabric pieces with the right sides facing together. Pin around the edges and sew using a ¼-inch seam allowance, leaving a small opening for turning.
Trim the corners carefully to reduce bulk. Turn the fabric right side out and gently push out each corner using a blunt tool or chopstick for crisp edges.
Fill the pincushion firmly with polyester stuffing. A tightly stuffed cushion holds pins more securely and keeps its shape over time.
Hand stitch the opening closed using a neat ladder stitch or invisible stitch. Your classic square pincushion is now ready for everyday use and can easily be personalized with embroidery, buttons, lace, or decorative quilting.
3. Easy Method Two: The Round Pumpkin-Style Pincushion
The second design featured in this How To Make A Pincushion – Two Easy Ways! – Tutorial is a charming pumpkin-style pincushion that looks elegant in any sewing room.
Begin by cutting a circle of fabric. A diameter between 8 and 10 inches creates a comfortable-sized finished project.
Using a running stitch, sew around the entire outer edge of the circle. Leave long thread tails without tying them off yet.
Fill the center generously with stuffing. Pull both thread ends gently to gather the fabric into a ball, then secure the opening tightly with several strong stitches.
To create the pumpkin segments, wrap sturdy thread around the ball several times, pulling slightly with each pass to create evenly divided sections. Knot securely underneath.
Finish your decorative pincushion by sewing a covered button, felt circle, fabric flower, or wooden button on the top center. This simple detail gives the project a polished and professional appearance.
The pumpkin version also makes an excellent seasonal decoration for autumn sewing rooms and is a thoughtful handmade gift for anyone who enjoys sewing or quilting.
4. Tips to Make Your Handmade Pincushion Last Longer
Choosing high-quality fabric will help your pincushion withstand years of regular use. Medium-weight quilting cotton is both durable and attractive.
Stuff the cushion firmly but evenly. Avoid empty spaces inside, as loose filling may allow pins to shift or bend over time.
Store your pincushion away from excessive moisture and direct sunlight. This helps preserve both the fabric colors and the stuffing.
Clean your pincushion occasionally by gently dusting it or using a lint roller to remove loose threads and fabric fibers from the surface.
If your pincushion begins losing shape after years of use, simply open one seam carefully, replace the stuffing, and stitch it closed again. Handmade projects are easy to refresh.
Don’t hesitate to experiment with creative embellishments. Decorative stitches, embroidery, appliqué, patchwork blocks, lace trims, ribbons, or personalized monograms can transform a simple pincushion into a one-of-a-kind sewing accessory.
FAQ – Frequently Asked Questions About How To Make A Pincushion
Is this tutorial suitable for beginners?
Yes. Both methods are designed with beginners in mind and only require basic sewing skills. Even if you’ve never made a sewing project before, these designs are easy to follow.
What fabric works best for a pincushion?
Quilting cotton is one of the best choices because it is durable, easy to sew, and available in many beautiful prints. Linen and canvas also work well.
What should I use as stuffing?
Polyester fiberfill is the most common option. Some sewists also use crushed walnut shells or fine steel wool in the center to help clean and sharpen pins while keeping the cushion stable.
Can I sew the pincushion entirely by hand?
Absolutely. While a sewing machine speeds up the process, both methods can easily be completed using simple hand stitches.
How long does it take to make a pincushion?
Most beginners can complete either version in approximately 30 to 60 minutes, depending on the amount of decorative finishing they choose to add.
Can I sell handmade pincushions?
Yes. Handmade pincushions are popular at local craft fairs, online handmade marketplaces, and gift shops. Creating unique fabric combinations and professional finishing can make them attractive products for customers.
How can I personalize my pincushion?
You can add embroidery, appliqué, decorative buttons, lace, patchwork designs, initials, fabric flowers, quilting stitches, or seasonal fabrics to create a completely unique design.
Which of the two methods is easier?
The square pincushion is generally the simplest option for complete beginners. The pumpkin-style version requires only a few additional steps but offers a beautiful decorative finish.
Conclusion
This How To Make A Pincushion – Two Easy Ways! – Tutorial demonstrates that creating a beautiful and practical sewing accessory doesn’t require advanced skills or expensive materials. Whether you choose the classic square design or the decorative pumpkin-style version, both projects are enjoyable, beginner-friendly, and perfect for using fabric scraps creatively.
By selecting quality materials, stuffing your pincushion properly, and adding your own personal decorative touches, you’ll create an accessory that serves your sewing room for years while reflecting your unique style. Handmade pincushions also make thoughtful gifts for quilters, sewists, and craft lovers of all skill levels.