A Pocket Organizer – Tutorial is the perfect way to dive into a functional sewing project that helps declutter your daily life. Whether you are tired of losing your favorite pens at the bottom of your bag or you need a sleek way to carry your phone and cards, a pocket organizer offers a tailored solution. Crafting your own allows for complete customization, ensuring that every tool has its designated spot while reflecting your personal style through fabric choice and design.
In this tutorial, we will explore the fundamental steps and professional techniques required to create a durable and stylish accessory. Understanding the construction of a pocket organizer is not just about sewing straight lines; it is about mastering fabric layering and pocket placement to maximize utility. By the end of this guide, you will have a comprehensive understanding of how to transform simple scraps of material into a high-quality, professional-grade organizer.
Focusing on a Pocket Organizer – Tutorial is also an excellent exercise for those looking to improve their precision sewing skills. Because these items are small, every stitch counts, making it a rewarding project for both beginners and seasoned crafters. We will break down the essential materials, the assembly process, and the finishing touches that make a DIY pocket organizer stand out from mass-produced alternatives.
1 Understanding the Pocket Organizer – Tutorial Basics
The core of any Pocket Organizer – Tutorial begins with choosing the right materials to ensure longevity and structure. Since this item will likely be tucked into a pocket or tossed into a bag, you need a sturdy fabric like canvas, denim, or reinforced cotton. Using a high-quality interfacing is crucial because it provides the necessary stiffness to keep the pockets from sagging under the weight of your tools.
To start your Pocket Organizer – Tutorial, you must first decide on the dimensions of your base piece. A standard size usually measures around 4 by 6 inches, but the beauty of a handmade organizer is the ability to scale it up or down. Always remember to include a seam allowance in your measurements, typically 1/4 inch, to ensure the final product doesn’t end up smaller than intended.
Preparation is key in this tutorial to avoid common mistakes like misaligned pockets. Ironing your fabric between each step is a professional secret that makes the sewing process much smoother and the end result look polished. Marking your stitch lines with a fabric pen or chalk will help you maintain those crisp, straight lines that define a well-made pocket organizer.
The design phase of the Pocket Organizer – Tutorial also involves selecting a closure method if you prefer one. While many organizers are open-top for quick access, adding a velcro strap, a snap button, or a zipper can provide extra security. For this specific tutorial, we will focus on a versatile open-access design that prioritizes speed and ease of use for the wearer.
Finally, remember that the Pocket Organizer – Tutorial is as much about aesthetics as it is about function. Mixing and matching colors or using a contrast thread can turn a simple utility item into a fashion statement. As you follow the steps, keep your target tools nearby to test the pocket widths frequently, ensuring that your organizer is perfectly calibrated for your daily essentials.
2 Preparing Your Materials and Cutting Patterns
Before diving into the assembly phase of this Pocket Organizer – Tutorial, you must gather your supplies. You will need your primary fabric, a lining fabric, fusible interfacing, a sharp pair of fabric shears, and a rotary cutter for precision. Having a metal ruler on hand is also highly recommended to ensure your measurements for the pocket organizer are exact and repeatable.
In this tutorial, the first “term” or concept we must master is fusing. This involves using an iron to bond your interfacing to the wrong side of your exterior fabric. This step is non-negotiable for a Pocket Organizer – Tutorial because it creates the “body” of the item, allowing it to stand upright and hold the shape of your pens or multi-tools without collapsing.
Next, you will cut your fabric into three main sections: the back panel, the front pocket panel, and the optional flap. For a standard pocket organizer, your back panel serves as the foundation. Ensure your fabric grain is aligned vertically to prevent the finished piece from warping over time, a common tip found in any expert Pocket Organizer – Tutorial.
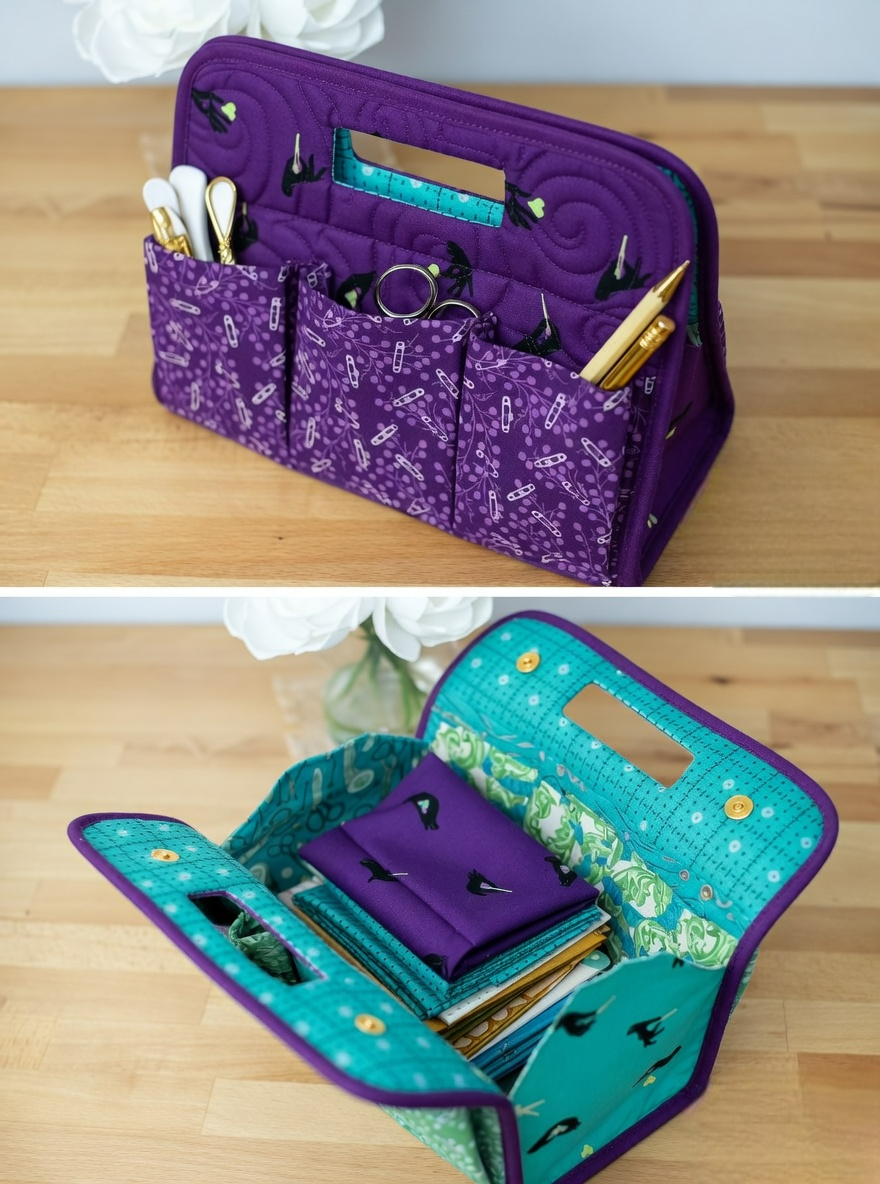
The front panel is where the magic happens in our Pocket Organizer – Tutorial. You can choose to have a single large pocket or several smaller slots. To create the slots, you will simply sew vertical lines through the pocket fabric and the base fabric. Use reinforced stitching at the top of each slot to prevent the seams from ripping when you slide your items in and out.
Precision cutting is what separates an amateur project from a professional pocket organizer. If your edges are frayed or uneven, the final assembly will be difficult. This tutorial emphasizes using clamping clips instead of pins if you are working with thicker materials like leather or heavy denim, as clips won’t leave permanent holes in your premium fabrics.
Once your pieces are cut and fused, lay them out to visualize the final Pocket Organizer – Tutorial layout. This is your last chance to adjust the width of the pockets. If you carry a specific tactical flashlight or a thick fountain pen, measure its circumference and add a little “wiggle room” to the pocket width so the fabric doesn’t stretch too tightly.
3 Sewing and Assembly Techniques
The actual construction of the Pocket Organizer – Tutorial starts with hemming the top edges of your pocket pieces. Since these edges will see the most friction, a double-fold hem is the best choice to hide raw edges and provide extra strength. This tutorial suggests using a topstitch with a slightly longer stitch length for a decorative, rugged look on your organizer.
After the pocket edges are finished, align them onto the right side of your back panel. Baste the sides and bottom with a long stitch to hold everything in place. In the world of Pocket Organizer – Tutorials, “basting” is a temporary hold that ensures your layers don’t shift when you apply the final binding or perimeter stitch.
Now, we address the internal dividers mentioned earlier in this Pocket Organizer – Tutorial. To ensure they are perfectly straight, use a crease line or a disappearing ink marker. Sew from the bottom of the pocket toward the top, and always backstitch at the beginning and end. This ensures that your customized pockets remain secure even under heavy daily use.
If you want to add a loop for a carabiner, this is the stage of the Pocket Organizer – Tutorial to do it. Simply fold a small strip of fabric or use a piece of nylon webbing, and sandwich it between the layers at the top corner. This small addition turns your pocket organizer into a versatile tool that can be clipped to a backpack or belt loop.
The most challenging part of the Pocket Organizer – Tutorial for some is finishing the outer edges. You can either sew the pieces right-sides together and flip them inside out, or you can use bias tape for a bound edge. For a sleek, thin pocket organizer, the “turn and flip” method is usually preferred as it reduces bulk and creates a clean, minimalist profile.
Once the main sewing is complete, give the entire project a final steam press. This sets the stitches into the fabric and flattens any bulk created by the multiple layers of the pocket organizer. Following this tutorial precisely ensures that your finished product looks like it came from a high-end boutique rather than a home craft room.
4 Customization and Advanced Finishing Touches
To truly master the Pocket Organizer – Tutorial, you should consider adding personalized elements. Embroidery, monogramming, or using patterned fabrics for the lining can make your pocket organizer unique. This tutorial encourages you to experiment with functional aesthetics, such as adding a small elastic loop on the side to hold a spare battery or a lip balm.
Another advanced technique in our Pocket Organizer – Tutorial is the use of corner rounding. Instead of sharp 90-degree angles, using a coin as a template to create rounded corners can make the organizer slide into your pocket much more comfortably. It also reduces the wear and tear on the corners of your fabric, extending the life of your handmade gear.
For those following this Pocket Organizer – Tutorial to create a gift, consider the specific hobbies of the recipient. A “Tech Edition” might include a mesh pocket for a USB drive, while a “Craft Edition” could have a felt patch for needles. The versatility of the pocket organizer design is what makes it one of the most popular sewing projects on the internet today.
Adding a water-resistant coating is a pro tip often overlooked in a basic Pocket Organizer – Tutorial. You can use a fabric spray or even rub beeswax onto canvas to give your organizer a rugged, weather-proof finish. This is especially useful if you plan to use your pocket organizer for outdoor activities like hiking or gardening.
Internal organization can be further improved by adding a hidden sleeve between the main compartments. This is a great place to tuck away emergency cash or a slim ID card. This tutorial teaches that adding layers doesn’t have to mean adding significant bulk if you choose your lining fabrics wisely, opting for thin but durable materials like ripstop nylon.
The final step of our Pocket Organizer – Tutorial is a thorough quality check. Trim any loose threads, test the tension of every pocket, and ensure that your brand labels (if you have them) are straight. Owning a custom-made pocket organizer is a point of pride, and the skills you’ve learned in this tutorial will serve as a foundation for many more complex sewing adventures.
FAQ – Frequently Asked Questions
What is the best fabric for a pocket organizer?
The best fabrics are heavyweight materials like 1000D Cordura, heavy denim, or waxed canvas. These provide the structure and durability needed for an item that is handled frequently.
Do I really need interfacing for this tutorial?
Yes, interfacing is essential. Without it, the fabric will be too floppy to hold tools securely, and the pocket organizer will lose its shape very quickly.
Can I sew a pocket organizer by hand?
While a sewing machine is faster and provides more consistent tension, you can certainly sew a pocket organizer by hand using a backstitch for strength. It will just take more time and patience.
How many pockets should I include?
In this Pocket Organizer – Tutorial, we recommend starting with 3 slots: one large for a phone or notebook, and two smaller ones for a pen and a multi-tool.
Is this project suitable for beginners?
Absolutely. This Pocket Organizer – Tutorial is designed to teach basic skills like straight stitching, hemming, and layering, making it a perfect beginner sewing project.
How do I clean my handmade organizer?
If you used cotton, you can spot clean with a damp cloth. If you used waxed canvas, avoid soap and heat; simply brush off dirt and re-wax as needed to maintain the organizer’s integrity.
Conclusion
In this Pocket Organizer – Tutorial, we have covered everything from selecting durable fabrics and applying fusible interfacing to the final assembly and customization of your accessory.
You learned how to map out functional compartments, use backstitching for durability, and apply professional finishes like topstitching and corner rounding. This project is a fantastic way to utilize fabric scraps while creating something truly useful for your daily routine. By following these steps, you now have a high-quality pocket organizer that is far superior to generic versions found in stores.