Creating an easy baby bib – pattern is one of the most rewarding and practical sewing projects for parents, caregivers, or DIY crafters. Not only does it help keep your baby clean during mealtimes, but it’s also a fun way to add a personal touch to your baby’s wardrobe.
Whether you’re an experienced sewer or just beginning, this guide will walk you through every step of the process using a user-friendly approach.
One of the best parts about using an easy baby bib – pattern is the customization potential. You can play with different fabrics, colors, snaps, and sizes to make it truly your own. Plus, handmade bibs make excellent gifts for baby showers, birthdays, and newborn arrivals.
In this article, we’ll break down what makes a bib pattern “easy,” how to choose the right materials, step-by-step sewing instructions, and tips for creating a professional finish. We’ll also answer common questions about sizing, fabric care, and more. By the end, you’ll feel confident enough to craft bibs for your baby—or even start selling them online!
1. What Makes a Baby Bib Pattern Easy?
When choosing an easy baby bib – pattern, simplicity is key. Many beginner sewers are intimidated by complicated instructions or tools, but an easy pattern will rely on basic shapes, minimal stitching, and straightforward assembly.
First, look for patterns that come with printable templates. These allow you to trace and cut your fabric with precision. Most easy patterns include a standard size that fits newborns to toddlers, so you won’t need to worry about resizing.
Second, minimal tools are needed for an easy baby bib – pattern. Generally, you’ll only need fabric, thread, a sewing machine (or even hand stitching), and a closure such as Velcro, a snap, or a button.
Third, the design of the bib itself should be uncomplicated. Patterns with a rounded neckline and a slightly curved bottom are ideal. These are both effective for catching spills and easy to sew, even for a beginner.
Fourth, the finishing process in an easy pattern typically uses topstitching to hold the layers together. This provides a clean, professional look without requiring advanced techniques like binding or serging.
Fifth, look for patterns that include visual aids or video tutorials. These can make the process much easier to understand and follow, especially if you’re a visual learner.
Finally, user reviews or community forums can also indicate whether a baby bib pattern is truly easy. If others found success with it on their first try, it’s likely a great place to start.
2. Choosing the Best Fabric for Your Easy Baby Bib – Pattern
Choosing the right fabric is just as important as the pattern itself. Since baby bibs come in close contact with sensitive skin, comfort and safety should always come first.
Cotton is the most common choice for the outer layer of a bib. It’s soft, absorbent, and comes in countless colors and prints. Organic cotton is a great choice for those who prefer eco-friendly or hypoallergenic materials.
For the backing, many people opt for terry cloth or flannel. Terry cloth, similar to what towels are made of, is very absorbent and works well for drooling or teething babies. Flannel is soft and warm, making it ideal for colder months or delicate skin.
Fleece is another great option for the backing layer. It’s water-resistant and keeps moisture from soaking through to the baby’s clothes. However, it’s less breathable than cotton, so it may not be ideal for hot climates.
If you’re looking for a reusable and eco-friendly option, bamboo fabric is worth considering. It’s naturally antibacterial and incredibly soft, making it perfect for baby products.
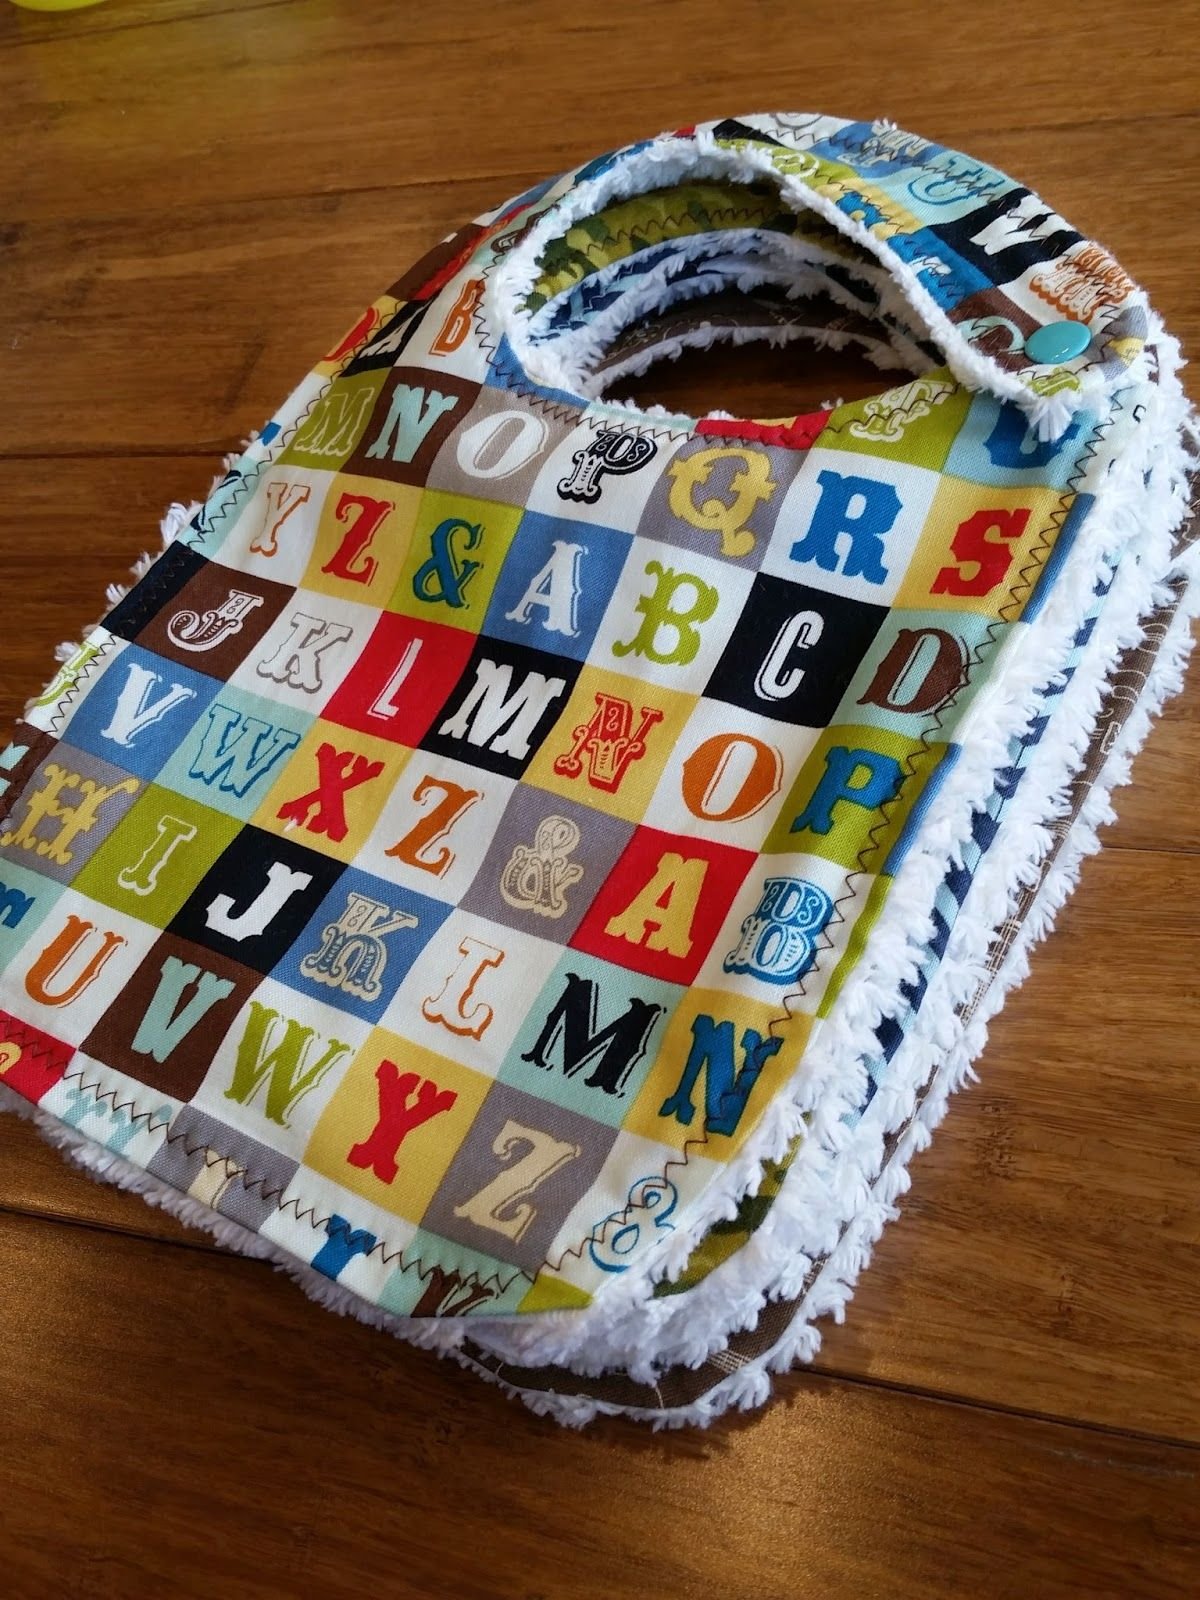
In terms of design, try mixing a patterned cotton top with a solid-colored backing. This not only looks professional but also hides stains more effectively.
Before starting, always pre-wash your fabrics to prevent shrinking. This step ensures your bib retains its shape after washing and drying, which is especially important for baby items.
3. How to Sew an Easy Baby Bib – Pattern: Step-by-Step Guide
Now that you have your fabric and pattern ready, it’s time to start sewing. This step-by-step guide is perfect for beginners looking to complete their first bib with ease and confidence.
Start by printing and cutting out your easy baby bib – pattern template. Lay it over your chosen fabrics and trace the shape onto both the front and backing materials.
Next, cut out both pieces of fabric along the traced lines. Make sure your cuts are clean and even to help with alignment during sewing.
With the right sides facing each other, pin or clip the two fabric pieces together. This will keep them aligned while you sew, preventing bunching or sliding.
Sew around the edges of the bib using a ¼-inch seam allowance, but make sure to leave a small opening (about 2 inches) along one side. This opening will be used to turn the bib right-side out.
Carefully trim any excess fabric around the curves and corners. This step helps the bib lay flat and smooth once it’s turned right-side out.
Turn the bib right-side out through the opening. Use a pencil or chopstick to gently push out the corners and curves. Then, topstitch around the entire bib to close the opening and add a professional finish.
4. Finishing Touches and Creative Ideas
Once your bib is sewn, there are several finishing touches and creative elements you can add to make it even more special. Personalizing a bib turns a basic design into a cherished keepsake.
Start with closures. You can use plastic snaps, Velcro, or buttons. Snaps are the most durable and safest option, especially for babies who like to pull at their bibs.
Add embroidery or applique to the front of the bib. This could include the baby’s name, initials, or fun shapes like stars or animals. Many embroidery machines allow you to do this quickly, or you can stitch by hand for a homemade look.
Consider making a matching set with coordinating fabrics. Create a bib, burp cloth, and pacifier clip using the same pattern or theme for a cohesive baby gift set.
You can also experiment with reversible designs. By using two decorative fabrics instead of a plain backing, you give parents the option of flipping the bib for a fresh look mid-day.
For added durability, apply a layer of fusible interfacing between the fabric layers. This helps the bib maintain its shape and stand up to repeated washings.
Lastly, don’t forget about packaging if you’re giving the bib as a gift. A simple ribbon or small tag with care instructions can elevate your presentation and show that you care about the details.
FAQ – Easy Baby Bib – Pattern
Q1: What size should I make my baby bib?
Most standard easy baby bib – pattern templates are designed to fit babies from 3 to 24 months. You can always adjust the neck opening or length if needed.
Q2: Can I hand sew a baby bib instead of using a machine?
Absolutely! While it may take longer, hand-sewing is entirely possible and allows for more control over your stitching, especially around tight corners.
Q3: What’s the best closure for a baby bib?
Plastic snaps are considered the safest and most durable. Velcro is also easy to use but may wear out over time or collect lint.
Q4: How do I wash and care for handmade baby bibs?
Use a gentle cycle with mild detergent. It’s best to avoid bleach or fabric softeners. Tumble dry low or hang to dry for longevity.
Q5: Can I sell bibs made from these patterns?
Yes, most free or purchased easy baby bib – pattern templates come with personal and commercial use licenses. Be sure to check the terms before selling.
Q6: How can I make my bib waterproof?
You can add a layer of waterproof fabric like PUL between the top and bottom layers. Just make sure it’s BPA-free and baby-safe.
Conclusion
Making your own easy baby bib – pattern is not just a practical way to care for your baby, but also a deeply satisfying craft project. You’ve learned how to choose the best pattern and fabric, sew your bib step-by-step, and add creative personal touches for a truly custom result.
Whether you’re crafting for your child, a gift, or even a small handmade business, the skills you’ve picked up here will serve you well. If you found this guide helpful, please leave a sincere opinion in the comments and let us know how your bib turned out. Suggestions for improvement or future topics are always welcome!